How to Select Country Server Location for WordPress Hosting
This guide explains how to pick the best-fit data-center region while you’re creating a site using WordPress Hosting in Patient Copilot. Selecting a nearby server cuts page-load times and boosts user experience with zero extra plugins or CDN setup. * * * ## What is Country Server Selection For WordPress Hosting? Country Server Selection is a WordPress hosting feature in Patient Copilot that integrates right into your dashboard, letting you choose exactly which data center (Ashburn, Phoenix, London, etc.) will host your site’s files before the server spins up. This ensures visitors always load pages from the closest server for optimal performance, and once you pick a region during setup, it’s permanently embedded in your site’s metadata and visible on your site card. * * * ## Key Benefits of Country Server Selection For WordPress Hosting This enhancement offers a range of advantages that directly impact your site’s performance and user experience. The feature provides: - Faster loading for local visitors: Having servers nearby makes pages open more quickly.
- Better site speed: Your website feels snappier, keeping visitors happy.
- Follow data rules easily: Keep EU traffic on EU servers or APAC traffic in Sydney/Singapore.
- One‑click setup: Pick your region once and skip any complex moves later.
- Locked region: Prevents accidental changes that could break things like caching or SSL.
- Clear hosting info: You’ll always see your site’s server location and setup time in the dashboard. * * * ## List of Available Locations Note: Your selected location is captured as part of your site’s metadata and is clearly displayed on your site card. The configuration remains immutable post-setup, ensuring consistency for ongoing performance. - US – Ashburn - US – Phoenix - US – Dallas
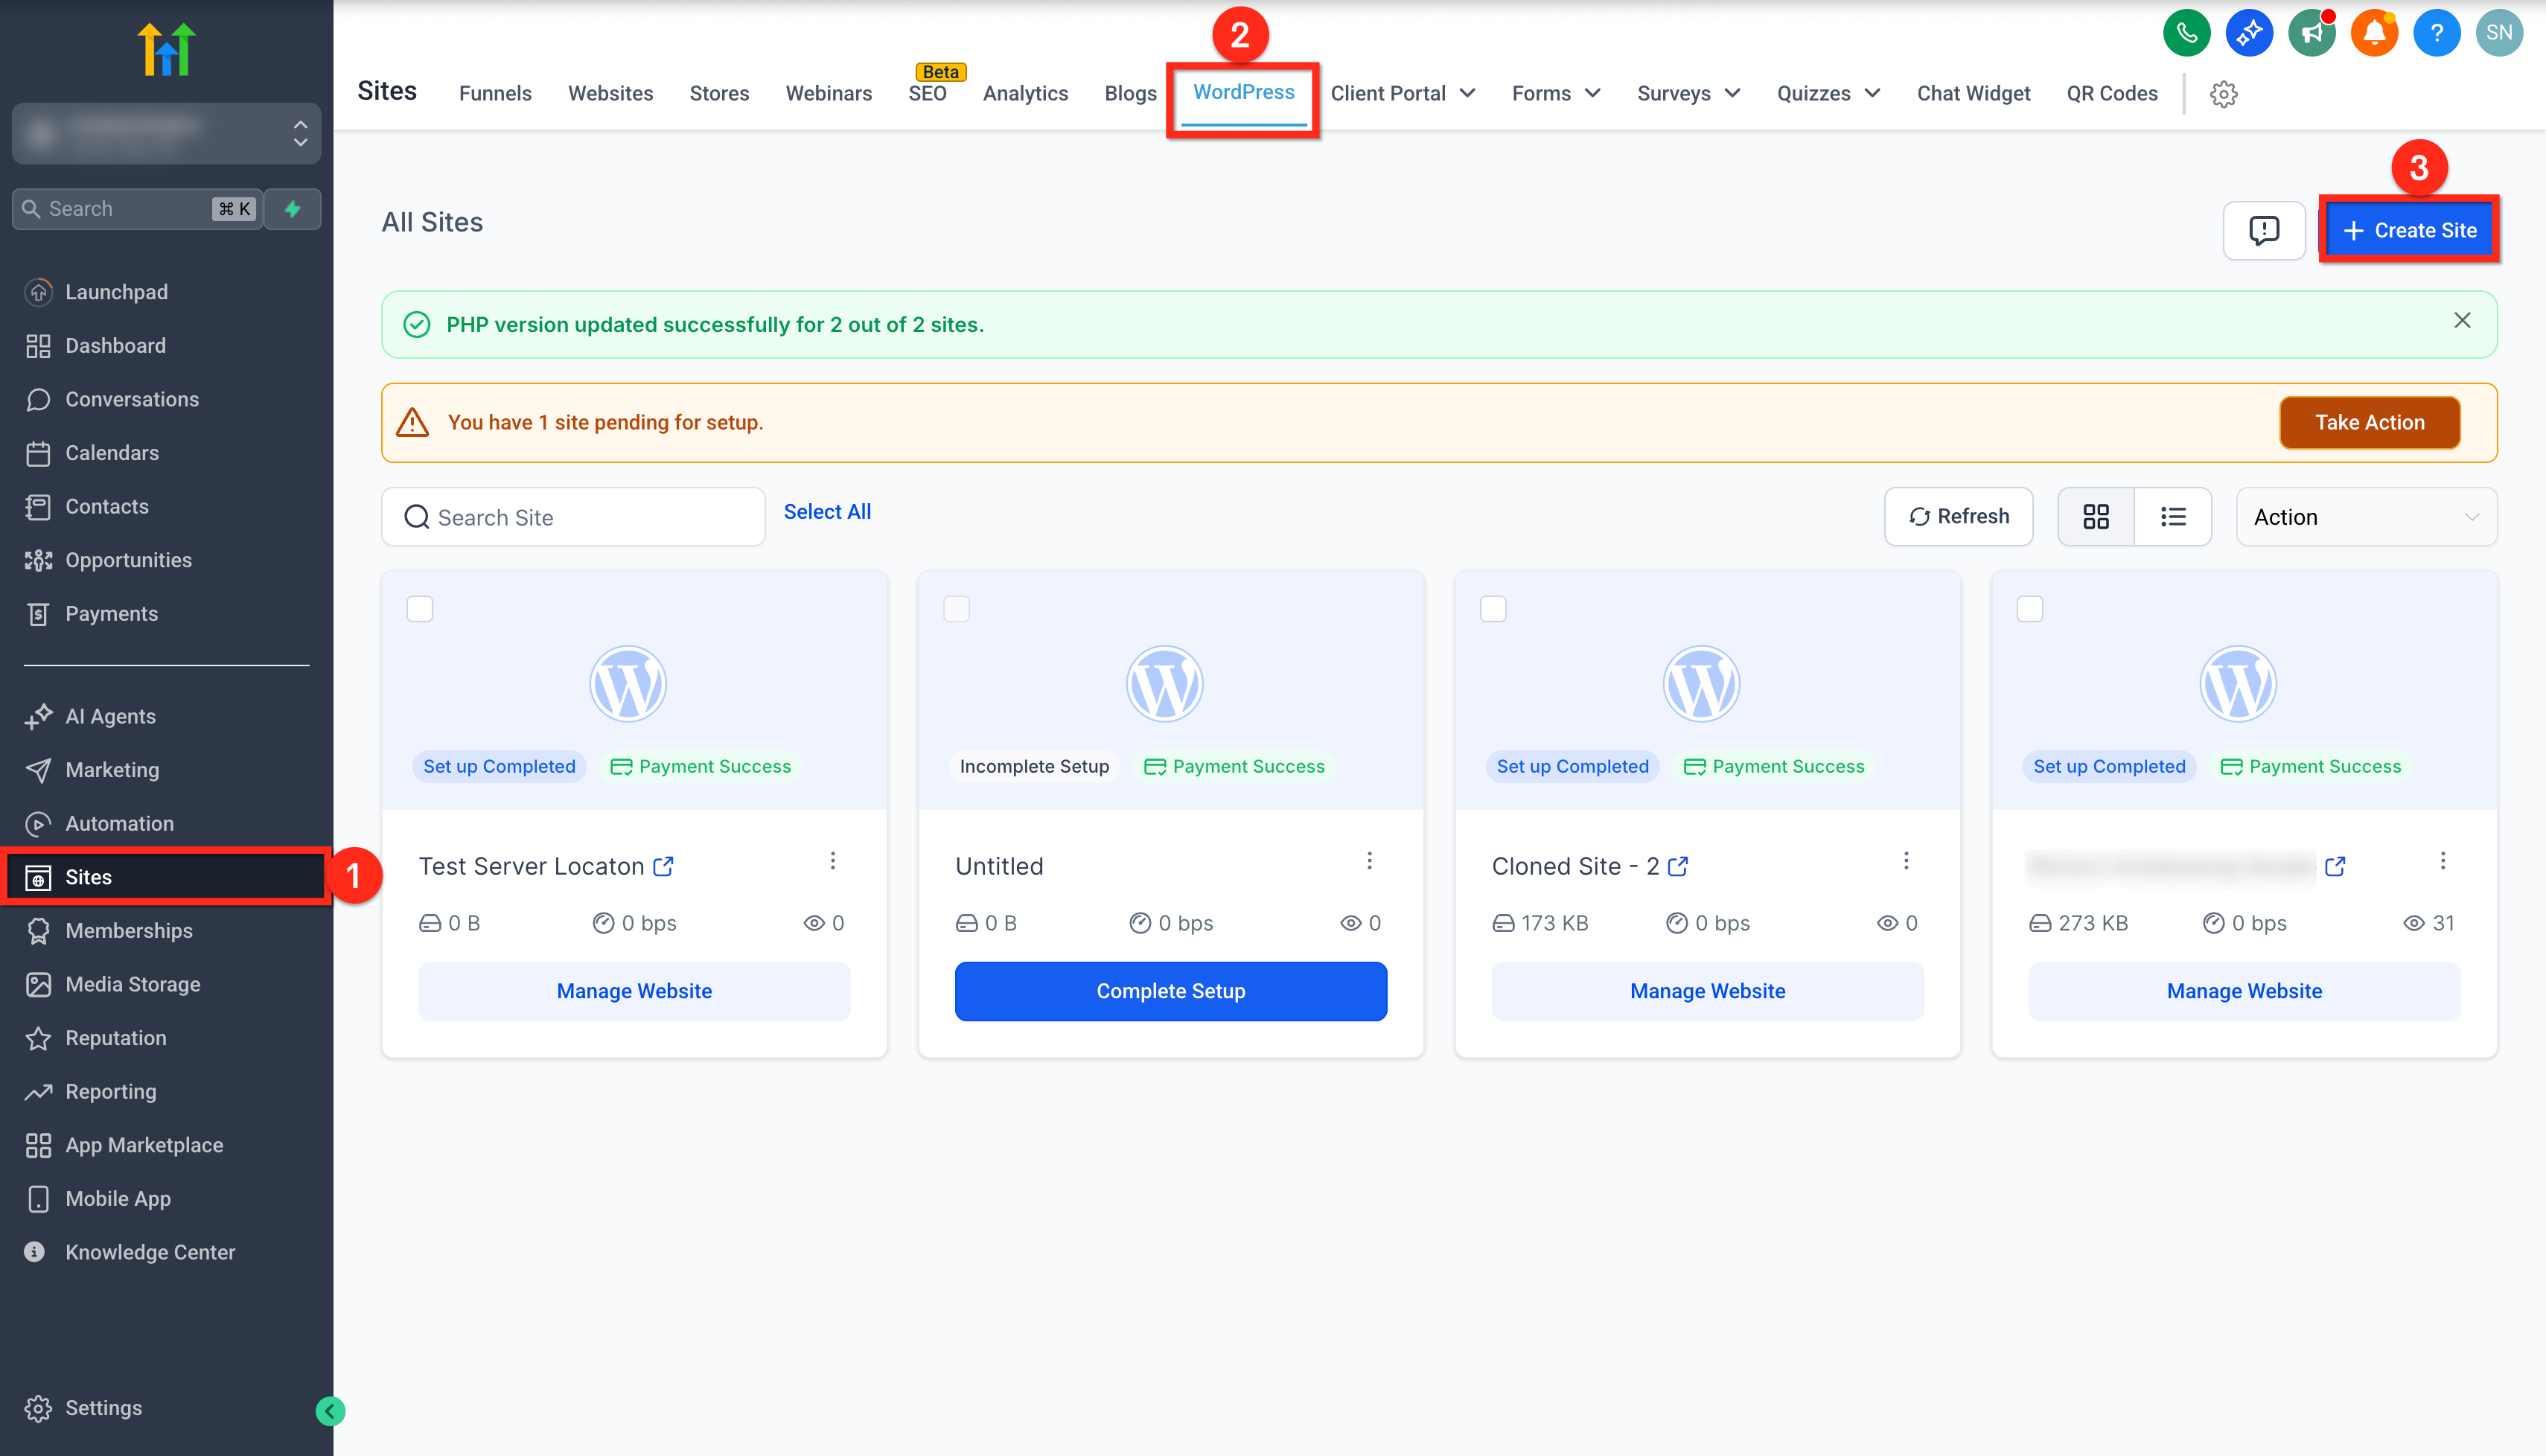
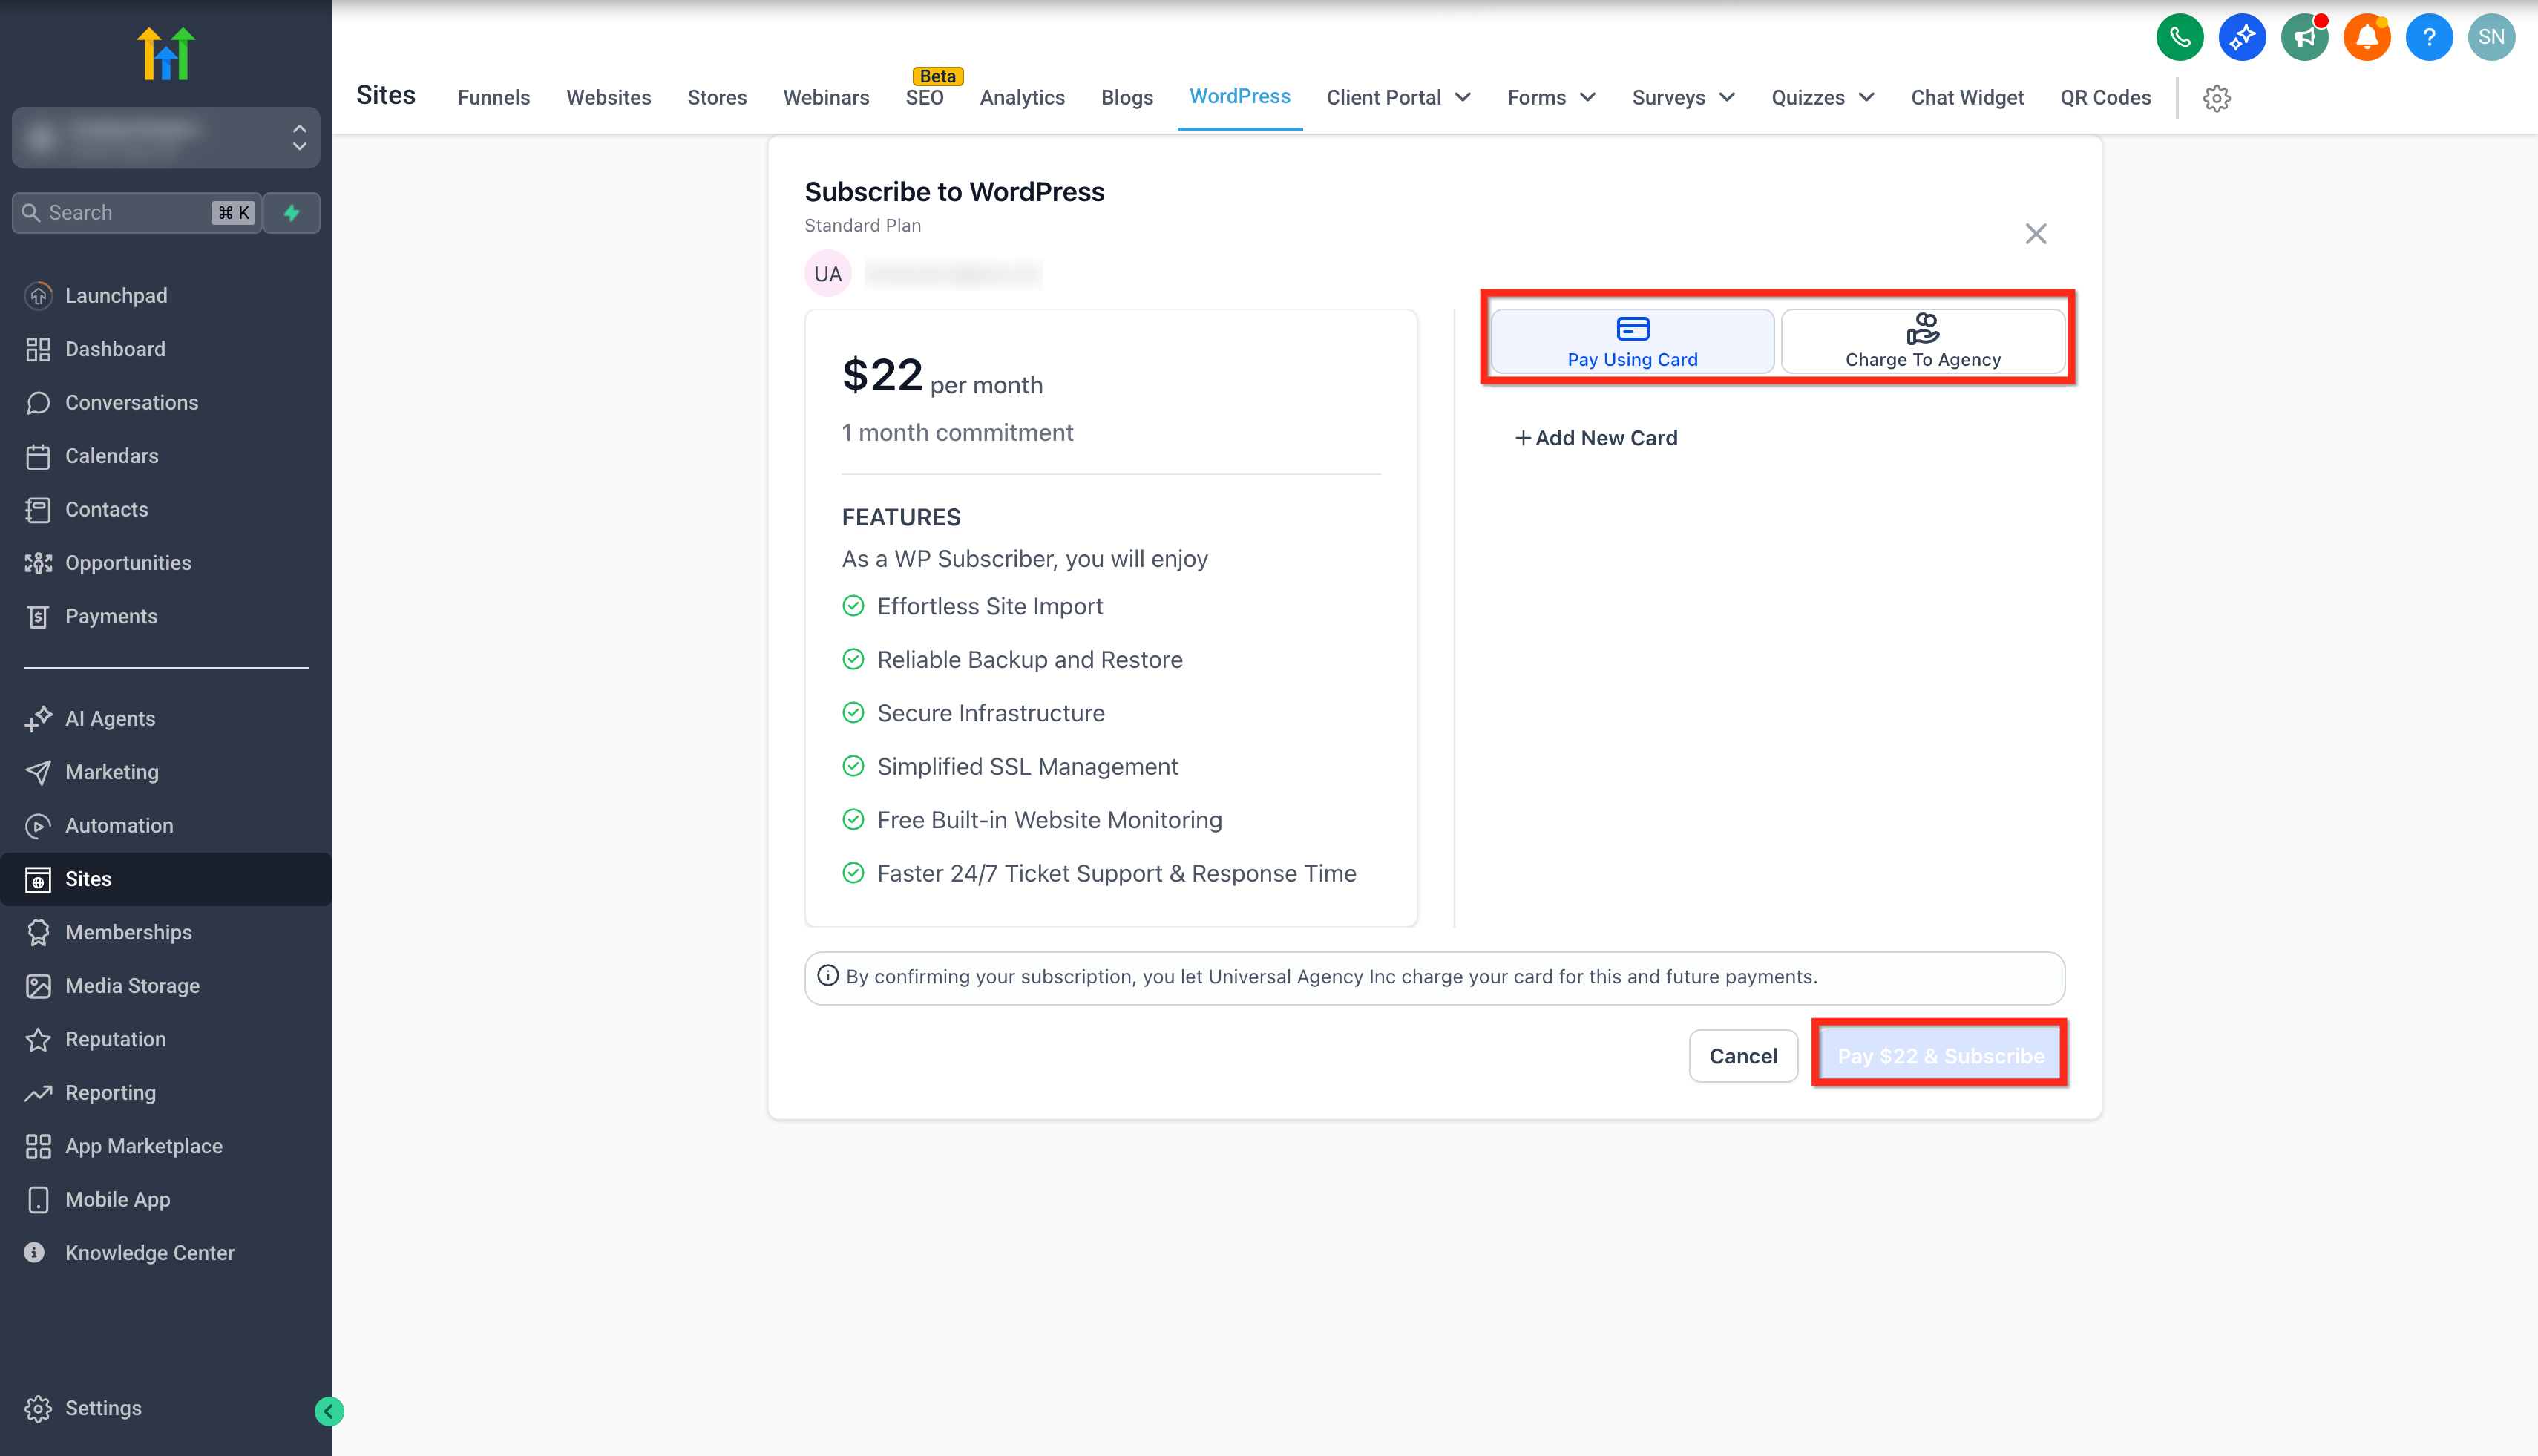
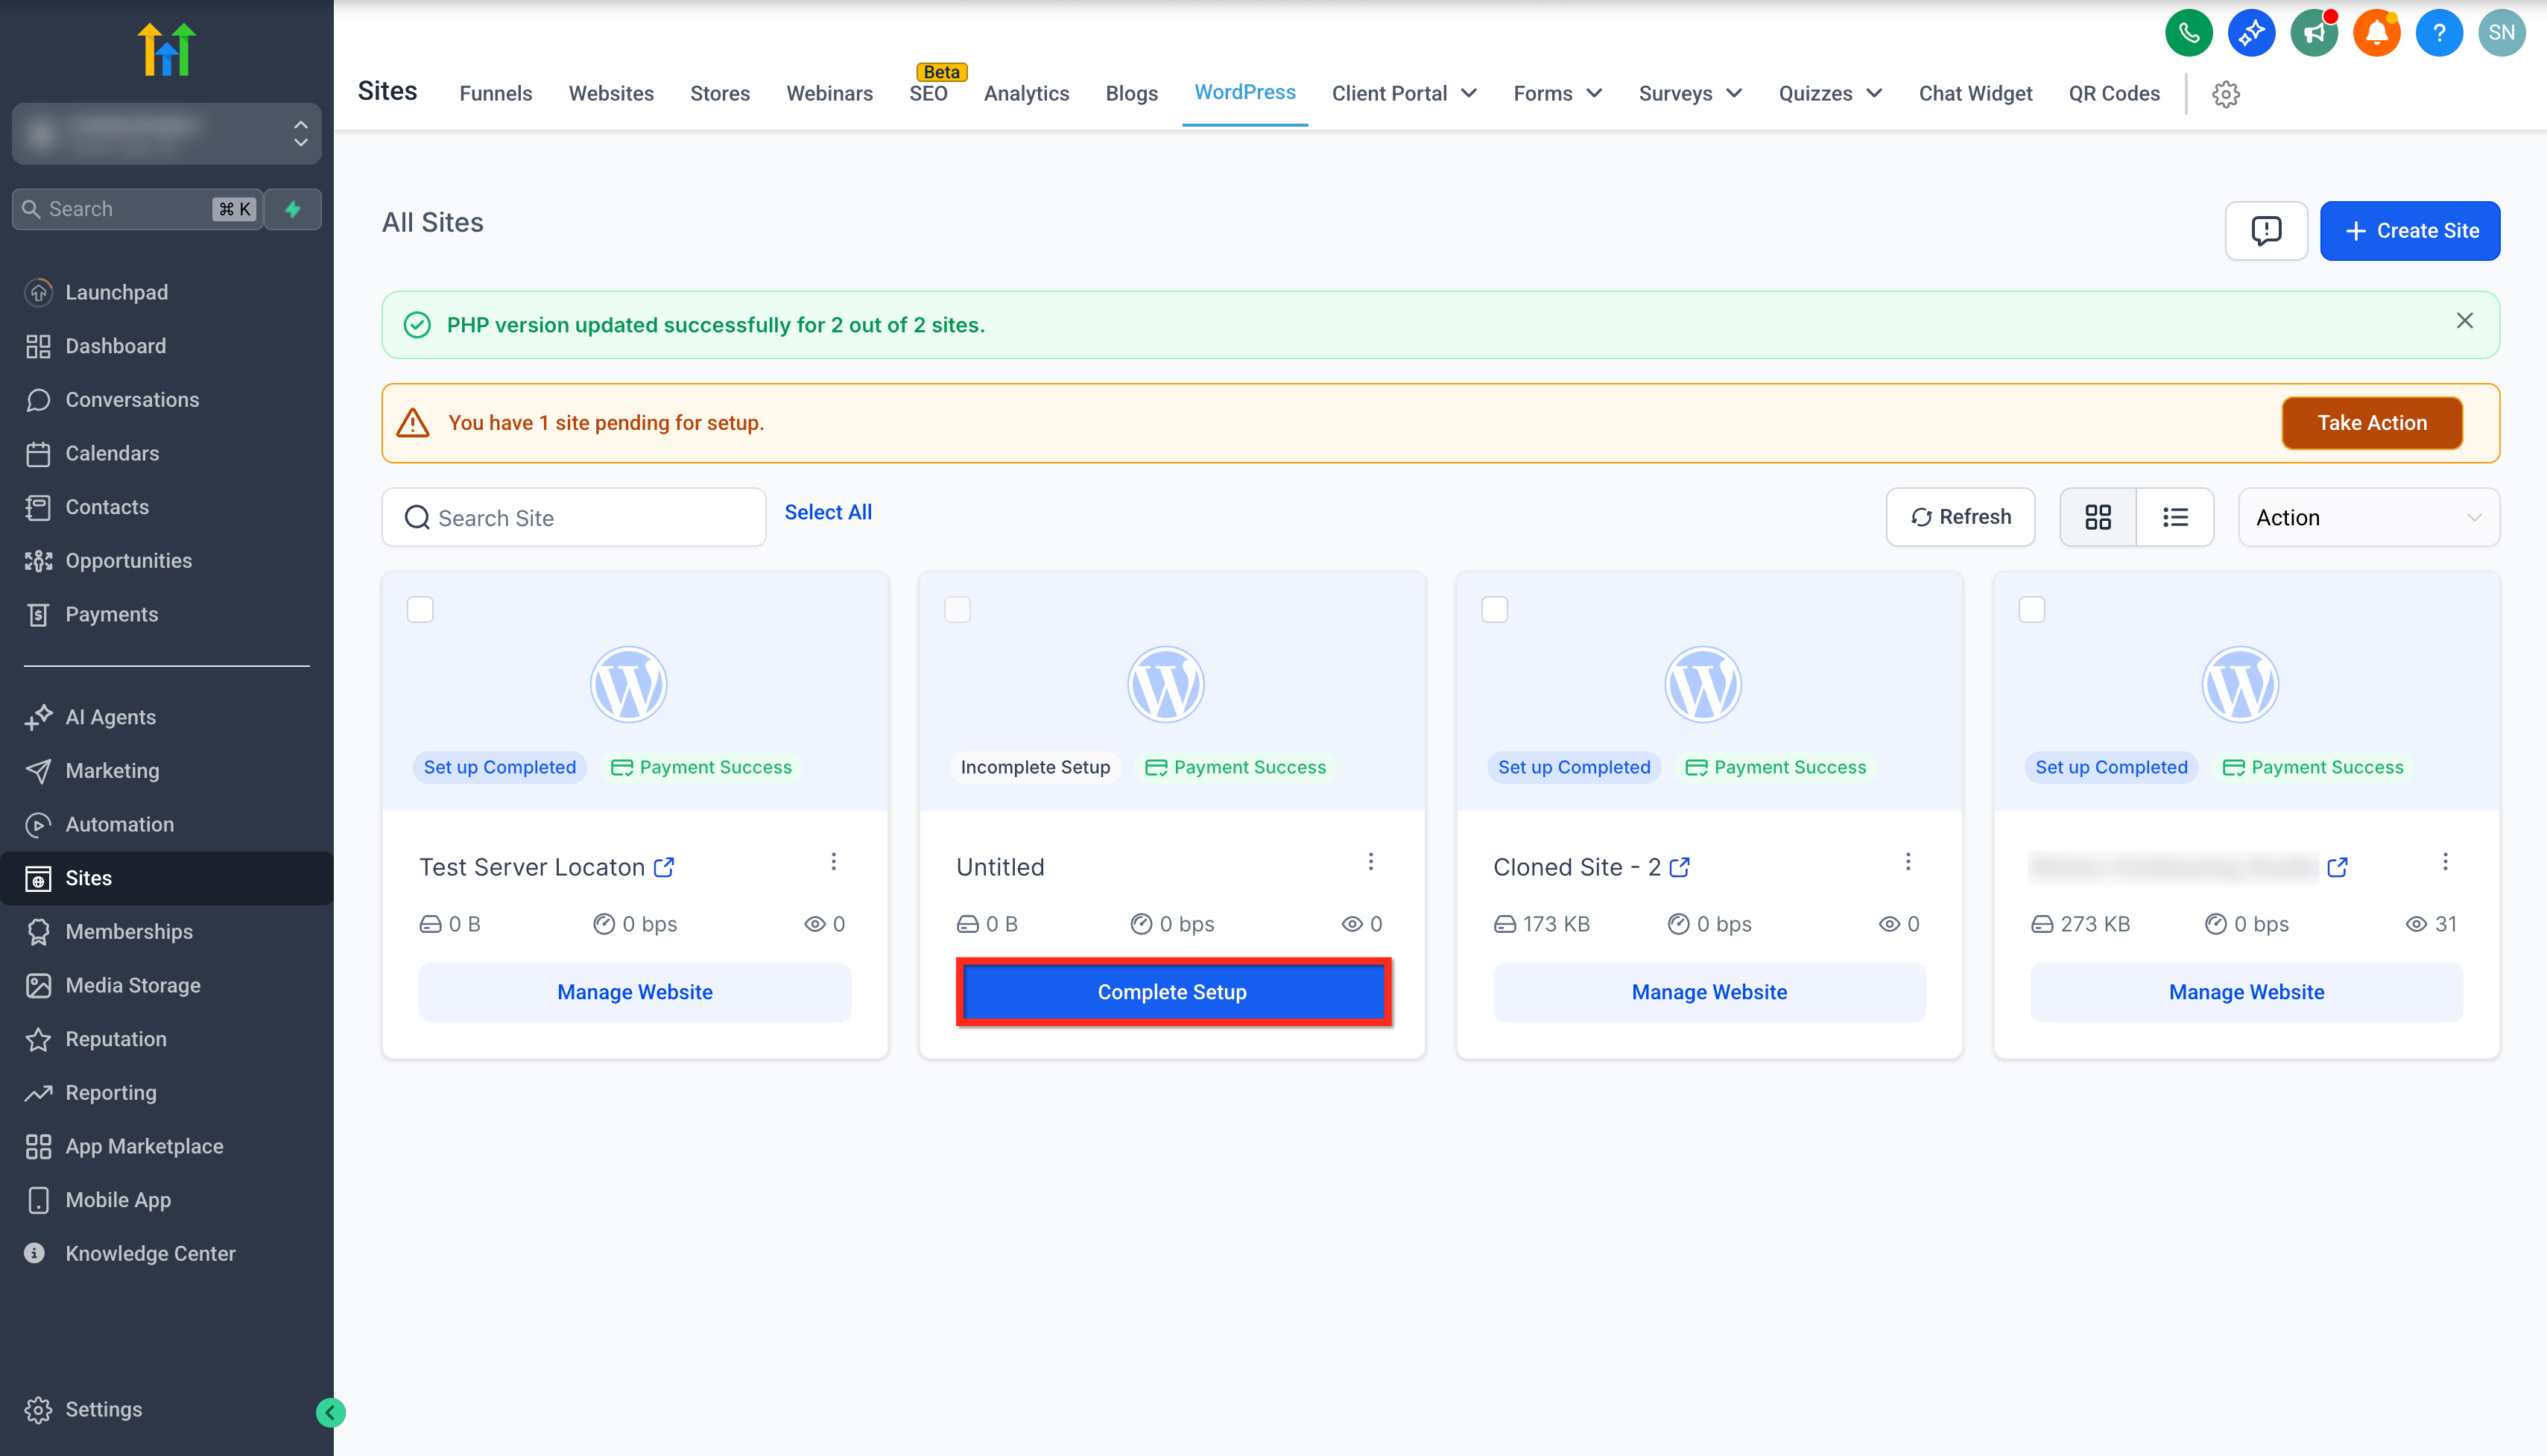
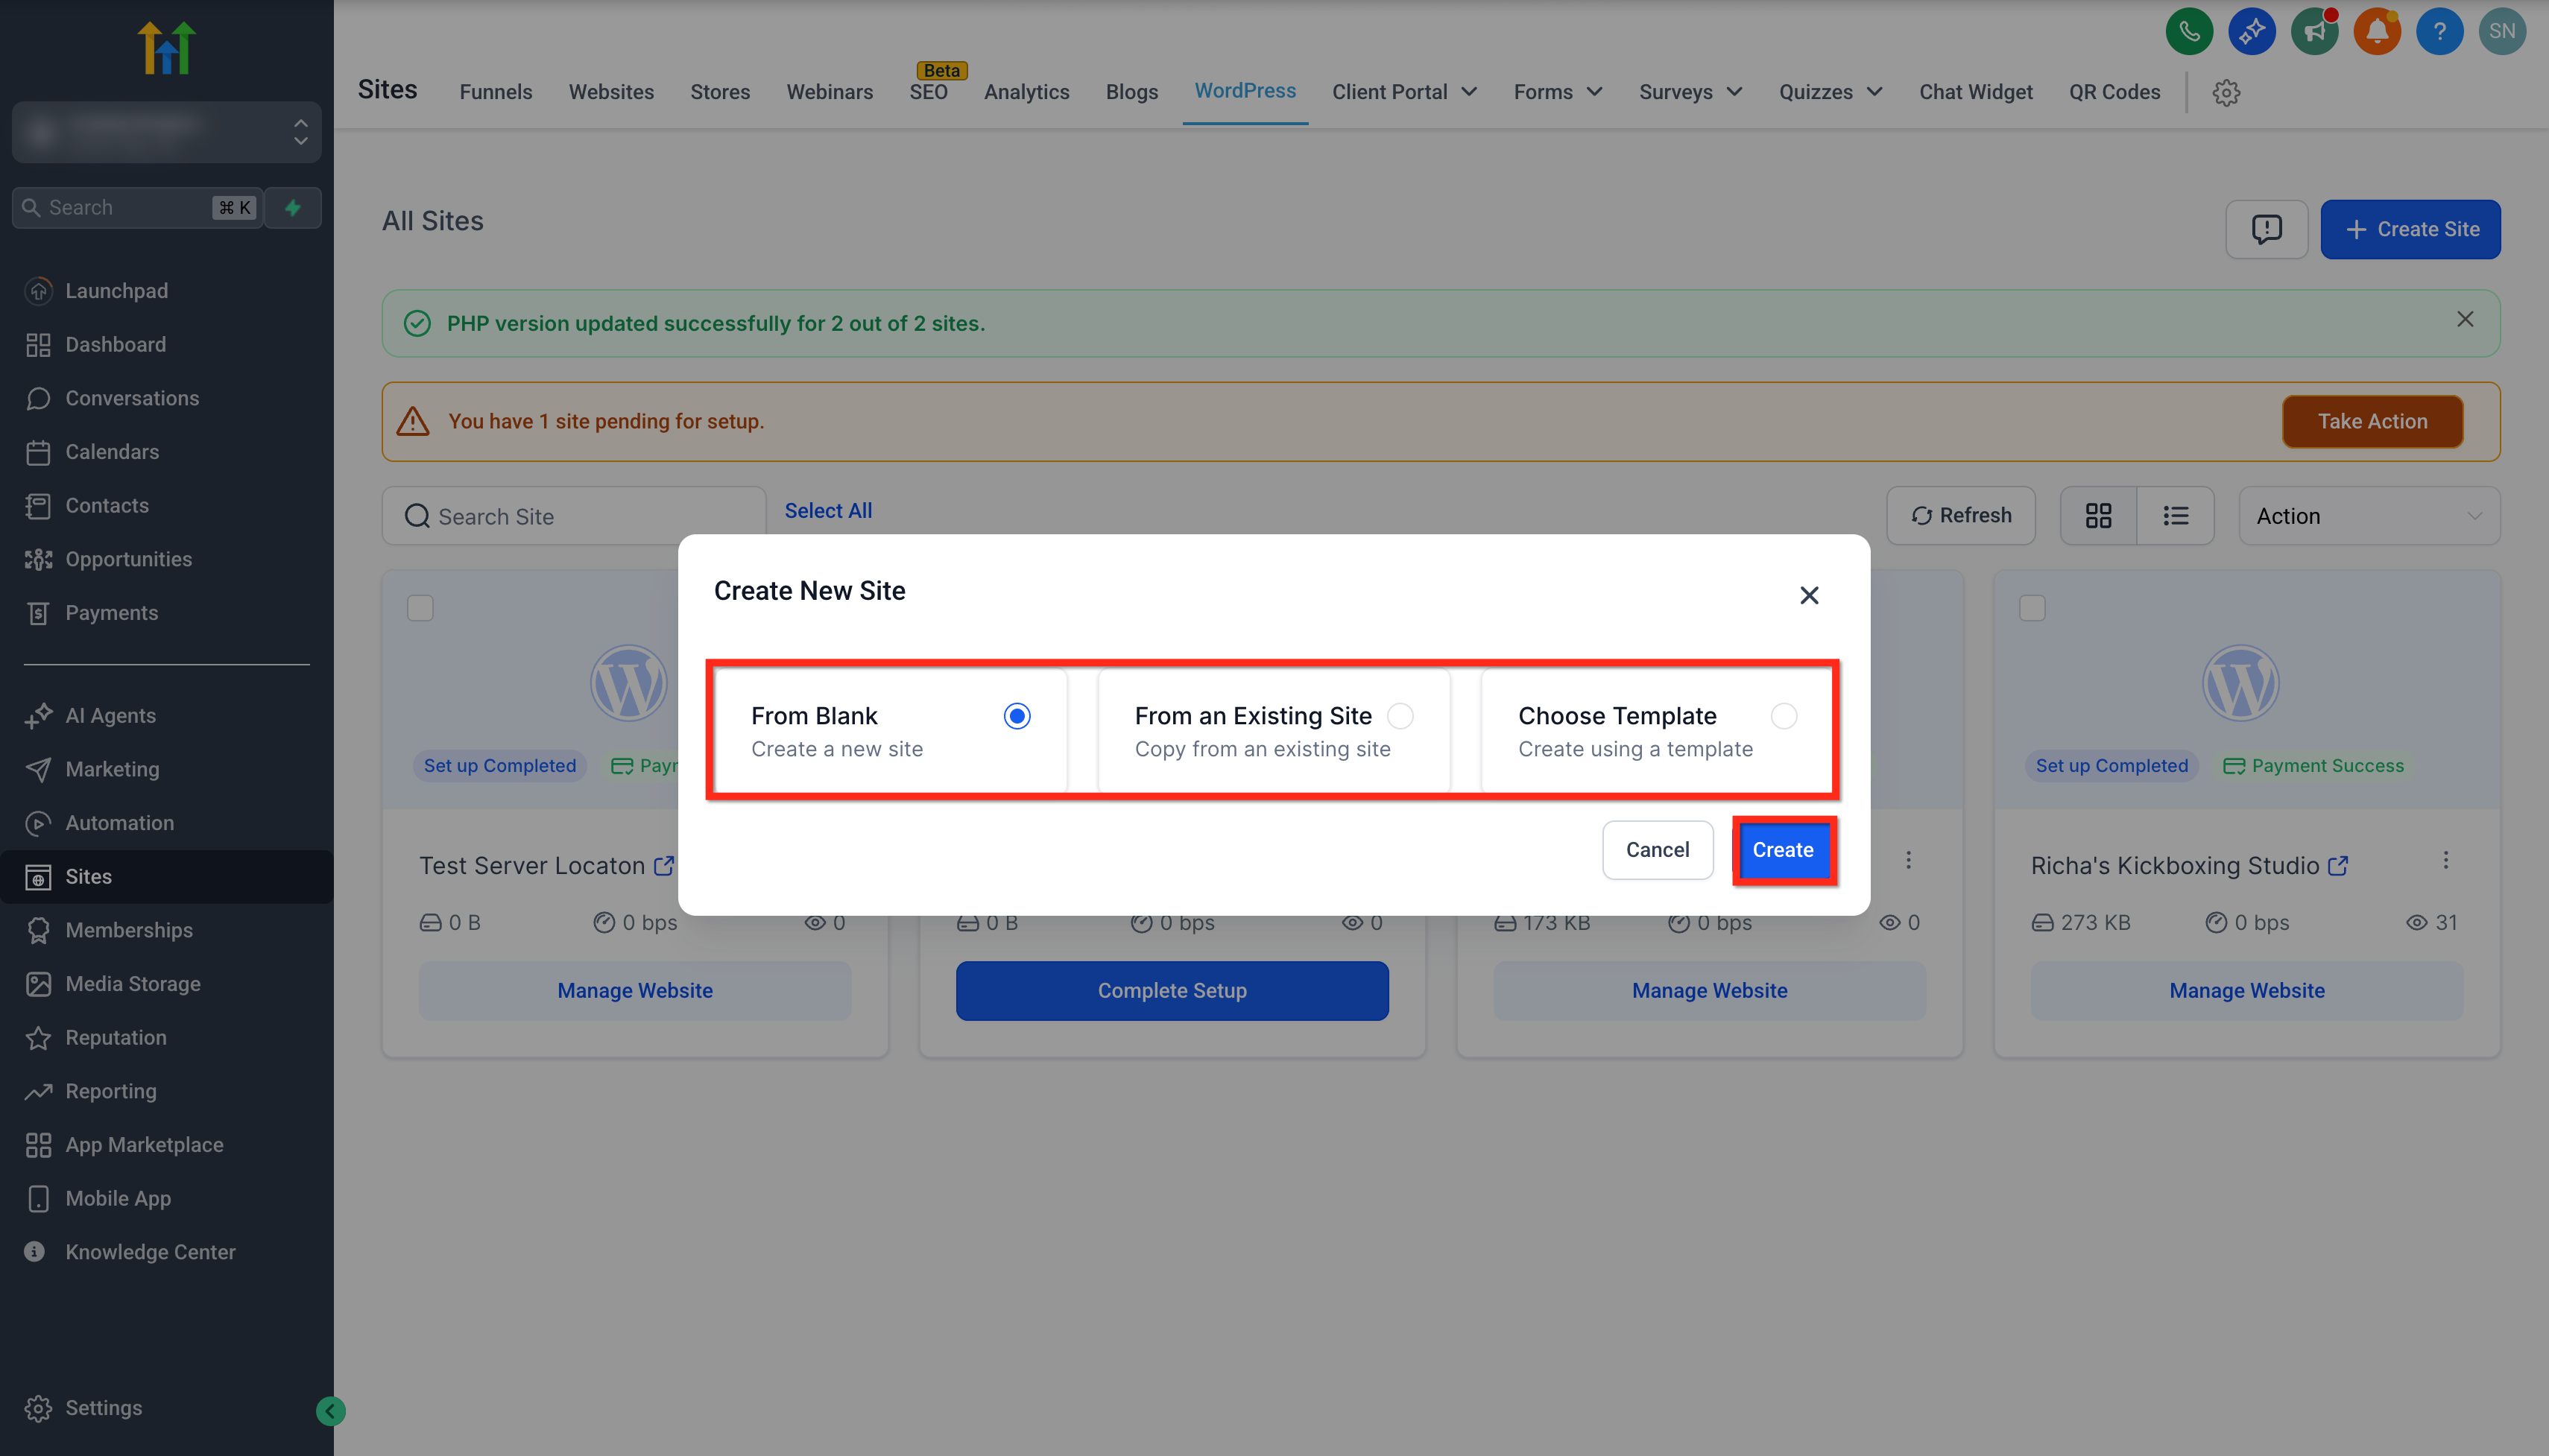
- GB – London - DE – Frankfurt - NL – Amsterdam - AU – Sydney - SG – Singapore * * * ## How To Select Country Server Location for a Site Setting up the Country Server Selection feature is integrated within your regular WordPress site creation process. Follow these steps to select your ideal server location: ### Step 1: Start Creating a Site 1. Login to your sub-account and click Sites in the left menu. 2. Click on the WordPress tab. 3. Click the + Create Site button.!(https://assets.patientcopilot.ai/cdf3fe68e5aa3905.png) 4. Subscribe to the WordPress plan.!(https://assets.patientcopilot.ai/a6bb2e6263f44343.png) 5. Or click on Complete Setup button of any previously subscribed site if you want to.!(https://assets.patientcopilot.ai/49fe9f4e0422a412.png) ### Step 2: Choose a Setup Method 1. Choose your preferred creation method: 1. Blank (start from scratch) 2. Existing Site (clone another WordPress site) 3. Template (use a prebuilt layout)
- Click Create after selecting your option.!(https://assets.patientcopilot.ai/e531adbcae8ef3b2.png) ### Step 3: Select Your Server Location 1. Click the Server Location dropdown.
- Select the data center closest to your target audience.
- Click **Create WordPress Site/**Create to create the site with your chosen server location.!(https://assets.patientcopilot.ai/93ff7d7d878c13ac.gif) * * * ## Understanding Immutable Locations Because your files and database reside on physical hardware, the chosen region is locked the moment the server spins up. - If you need a different region later, clone the site to a new location and repoint your DNS.
- Deleting and recreating the site also works but results in data loss. * * * ## Frequently Asked Questions Q: Can I modify the server location after my site has been created? No, the server location selection is permanent once the site setup is complete. Q: Does the Country Server Selection feature work with all WordPress site setup methods? Yes, it is available for blank setups, cloning from an existing site, and template-based setups. Q: How do I determine the best server location for my site? Consider the geographic location of your target audience and select the nearest data center to minimize latency. Q: Will selecting a specific server location guarantee better site performance? While selecting a nearby data center can reduce latency and enhance performance, overall speed may also be influenced by other factors. Q. Does the region I pick affect my hosting bill? No. Pricing is identical across all data centers. Q. What happens if I choose the wrong location by mistake? Delete and recreate the site, or clone it to the correct region and migrate content. Q. Do I still need a CDN? A CDN is optional but recommended for global audiences. Regional hosting delivers fast origin responses; a CDN adds edge caching worldwide. * * * ## Related Articles - **(https://help.patientcopilot.ai/en/support/solutions/articles/155000005070)**(https://help.patientcopilot.ai/en/support/solutions/articles/155000005070)[Getting Started - Migrate a Wordpress Site](https://help.patientcopilot.ai/en/support/solutions/articles/155000005070)
- Cloning Wordpress Websites in Patient Copilot
- How to Install Popular WordPress Plugins During Site Creation
- LC (LeadConnector) WordPress Plugin
- WordPress Access & Activity Logs