Creating a Booking
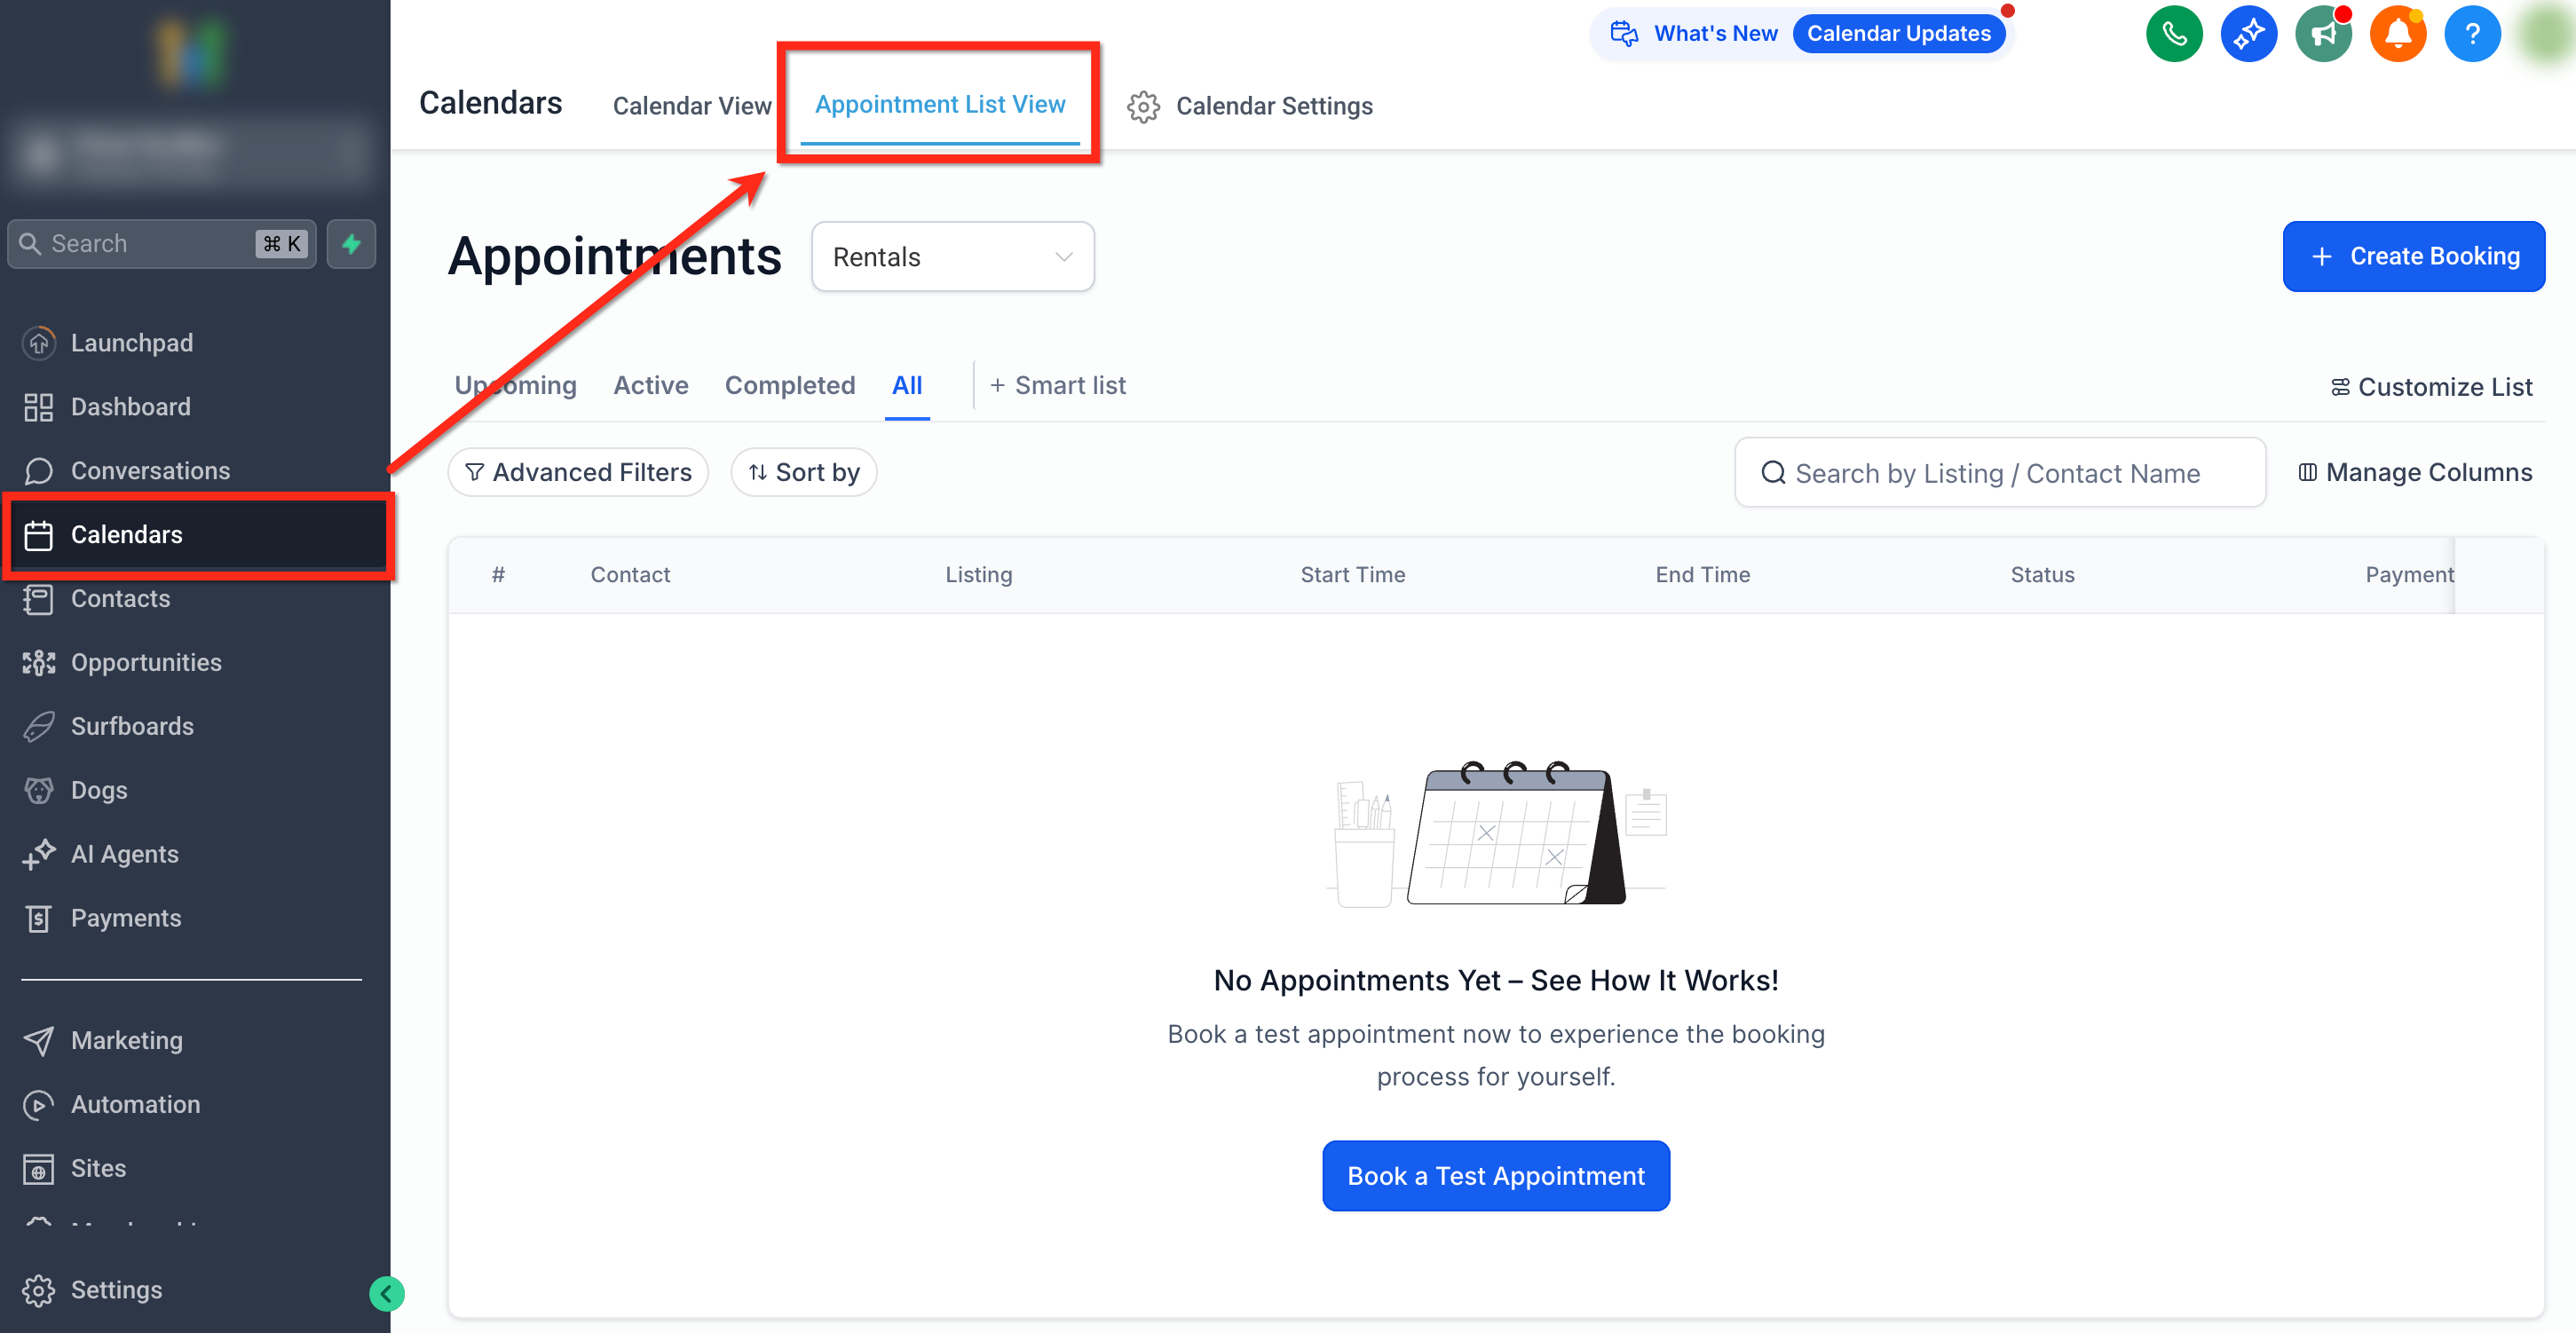
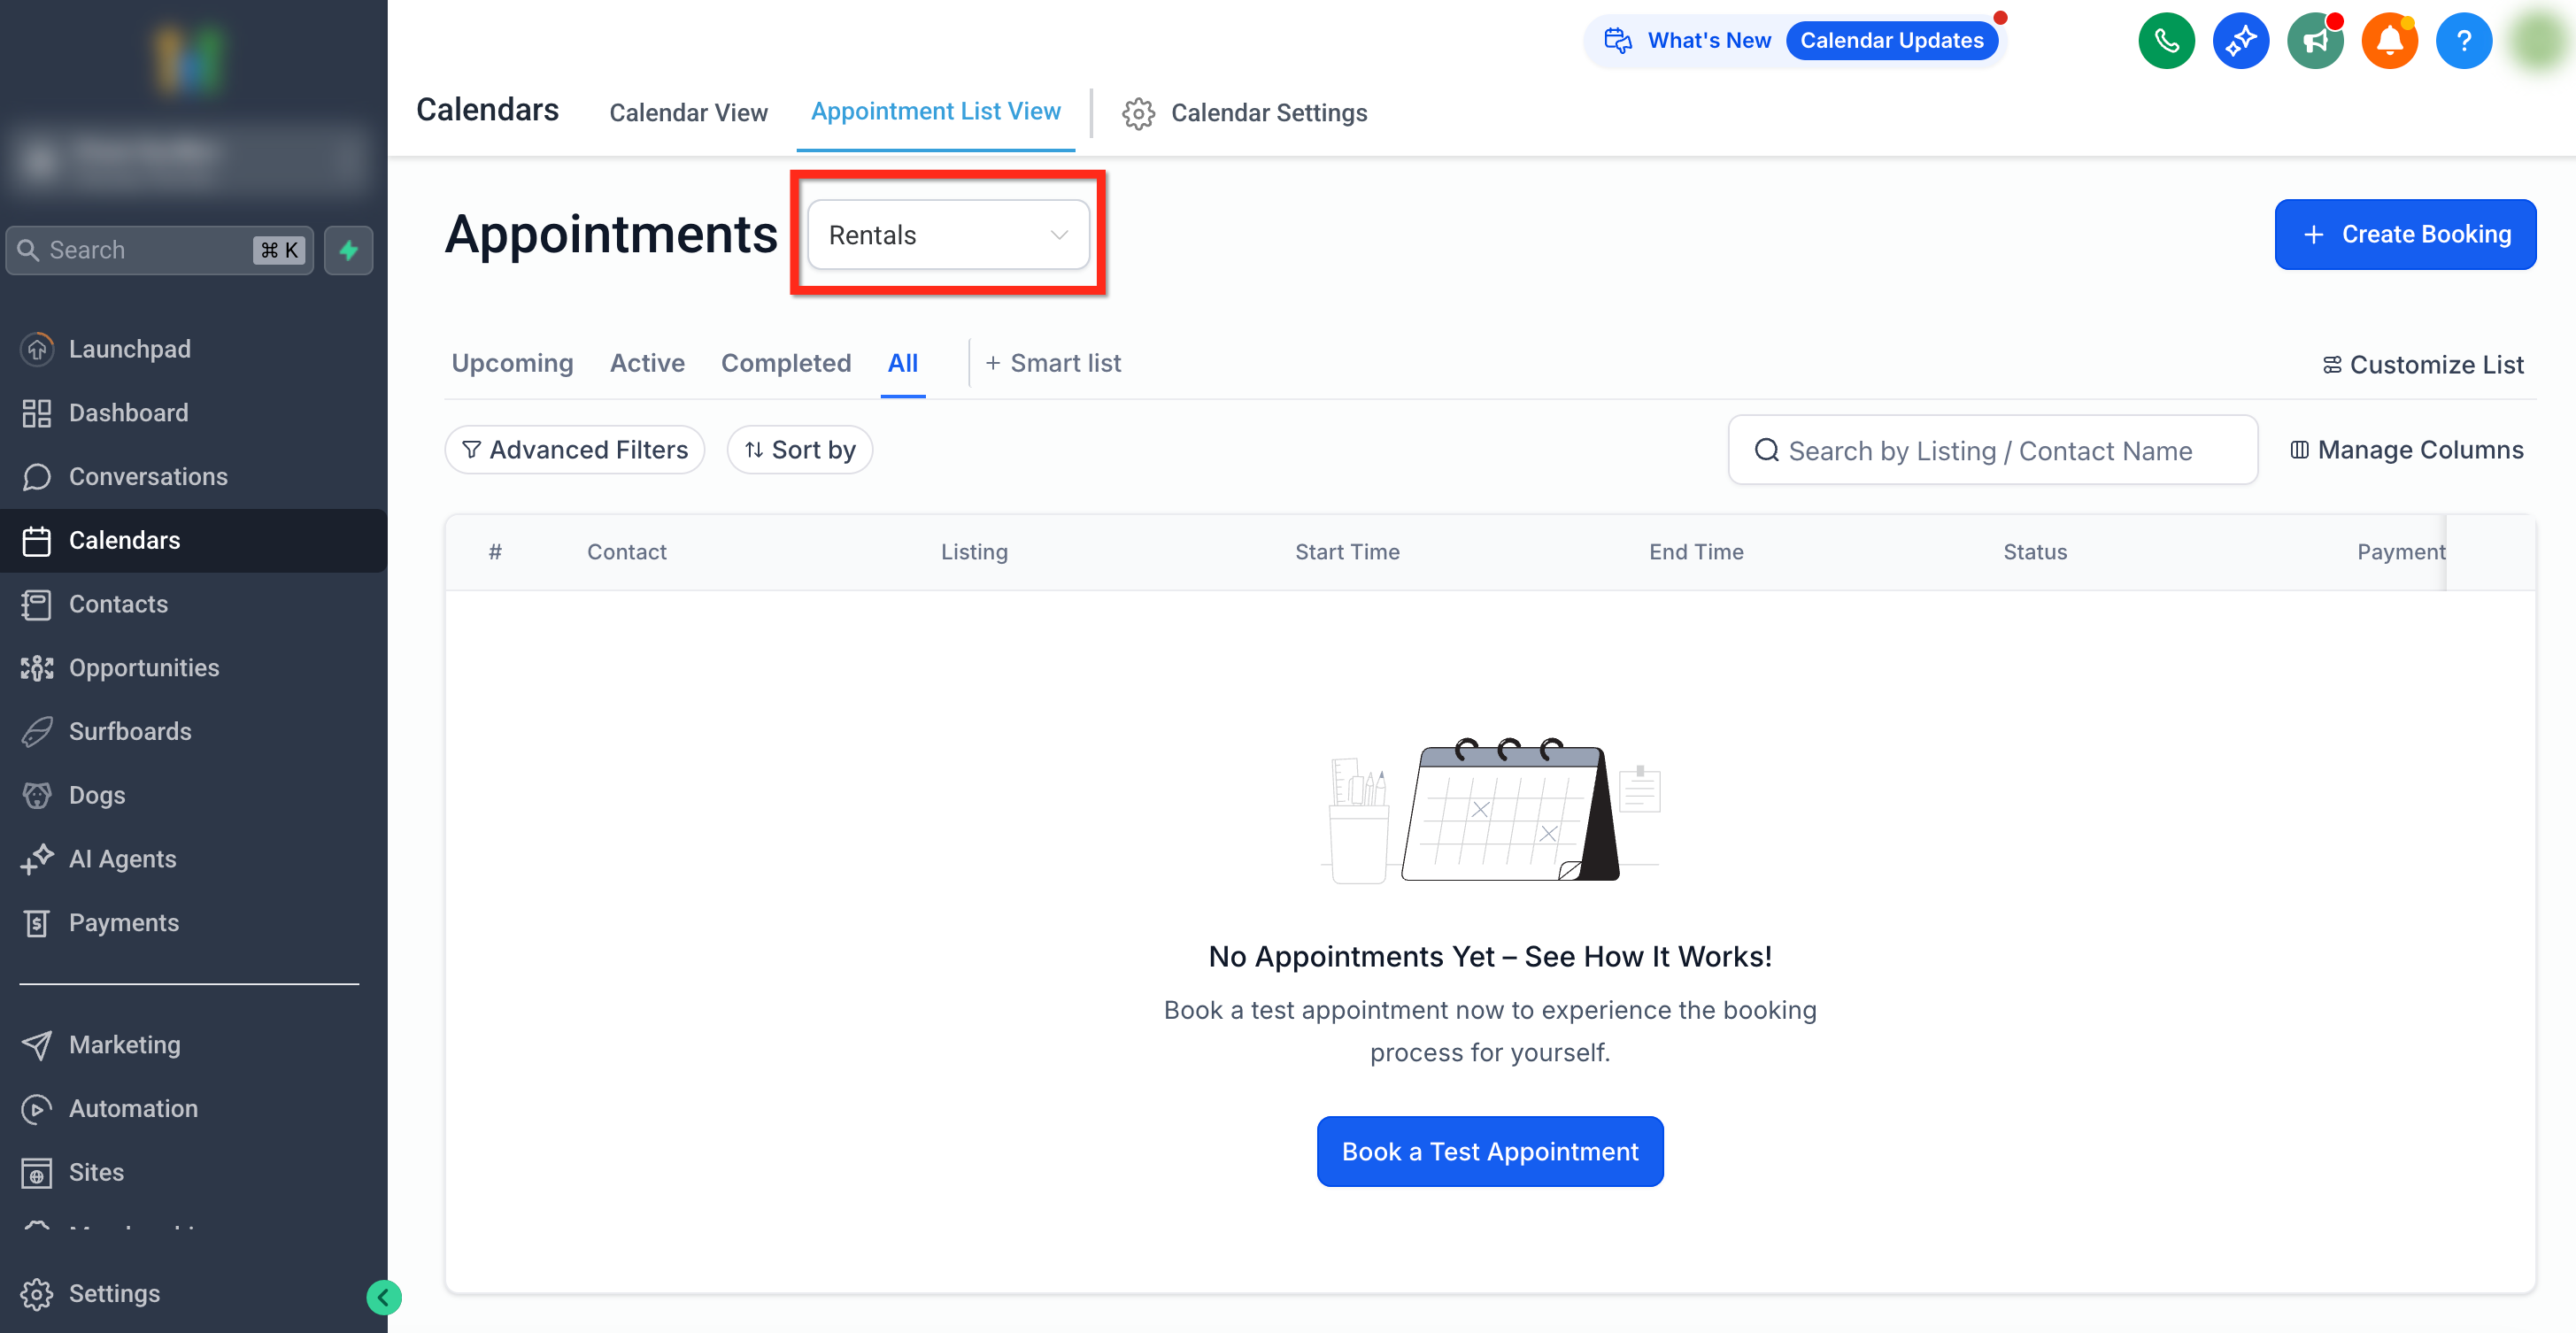
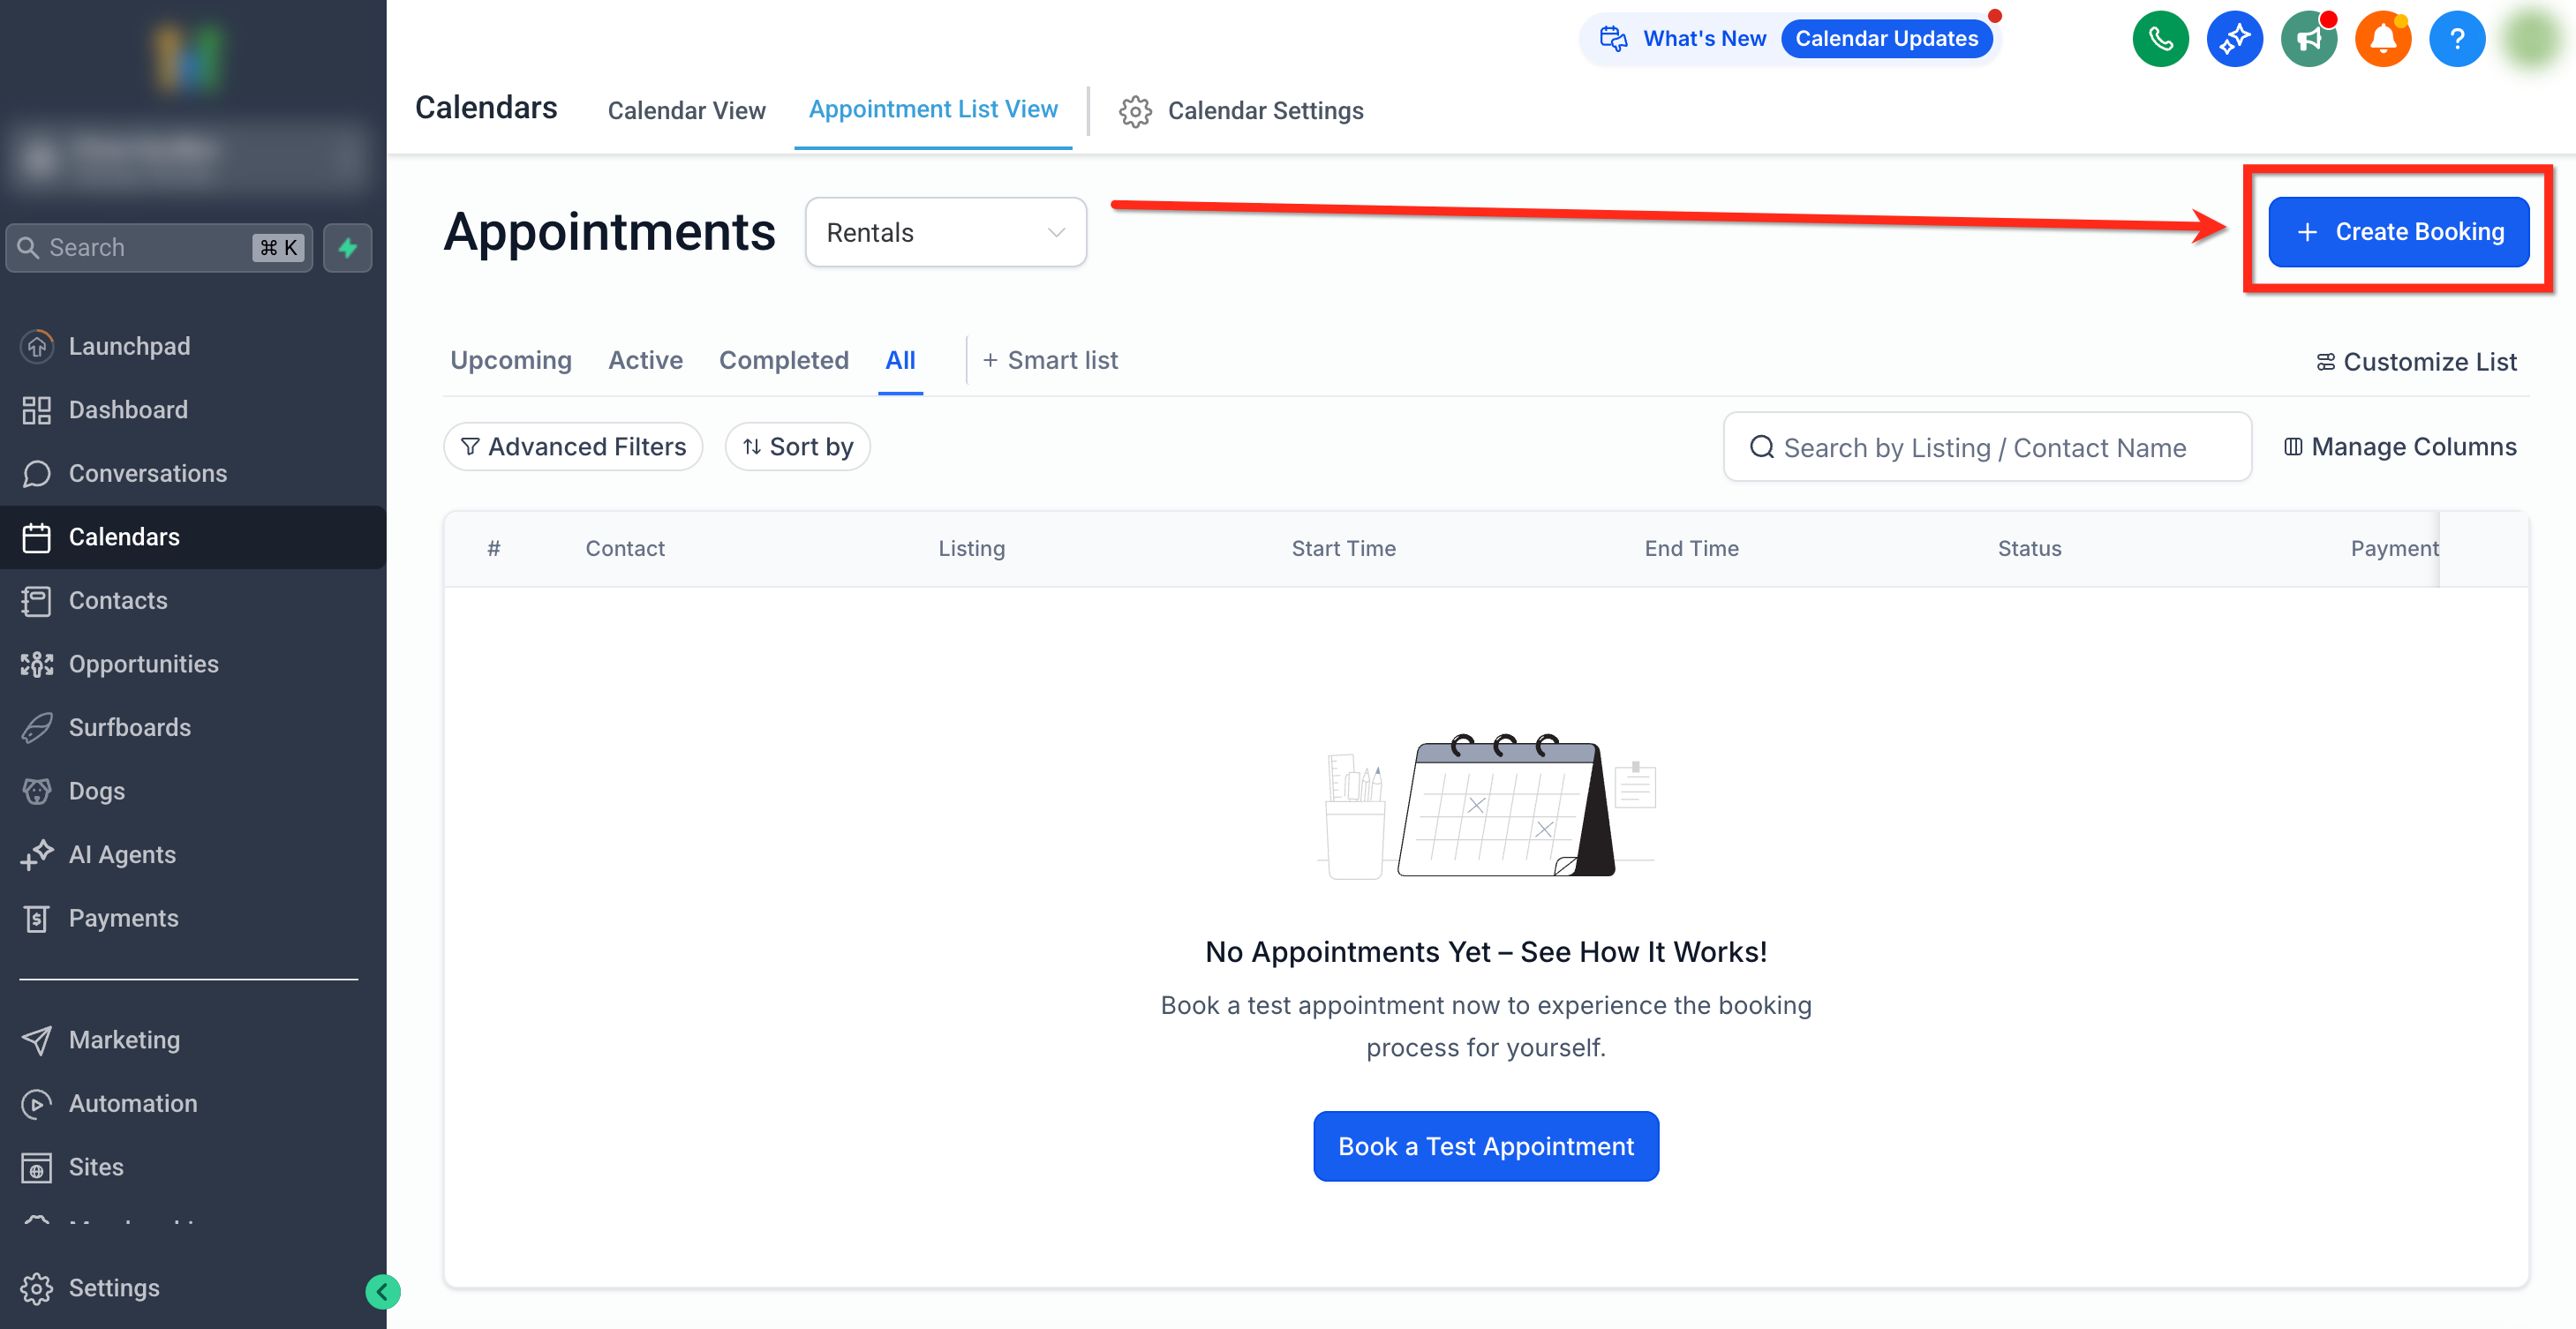
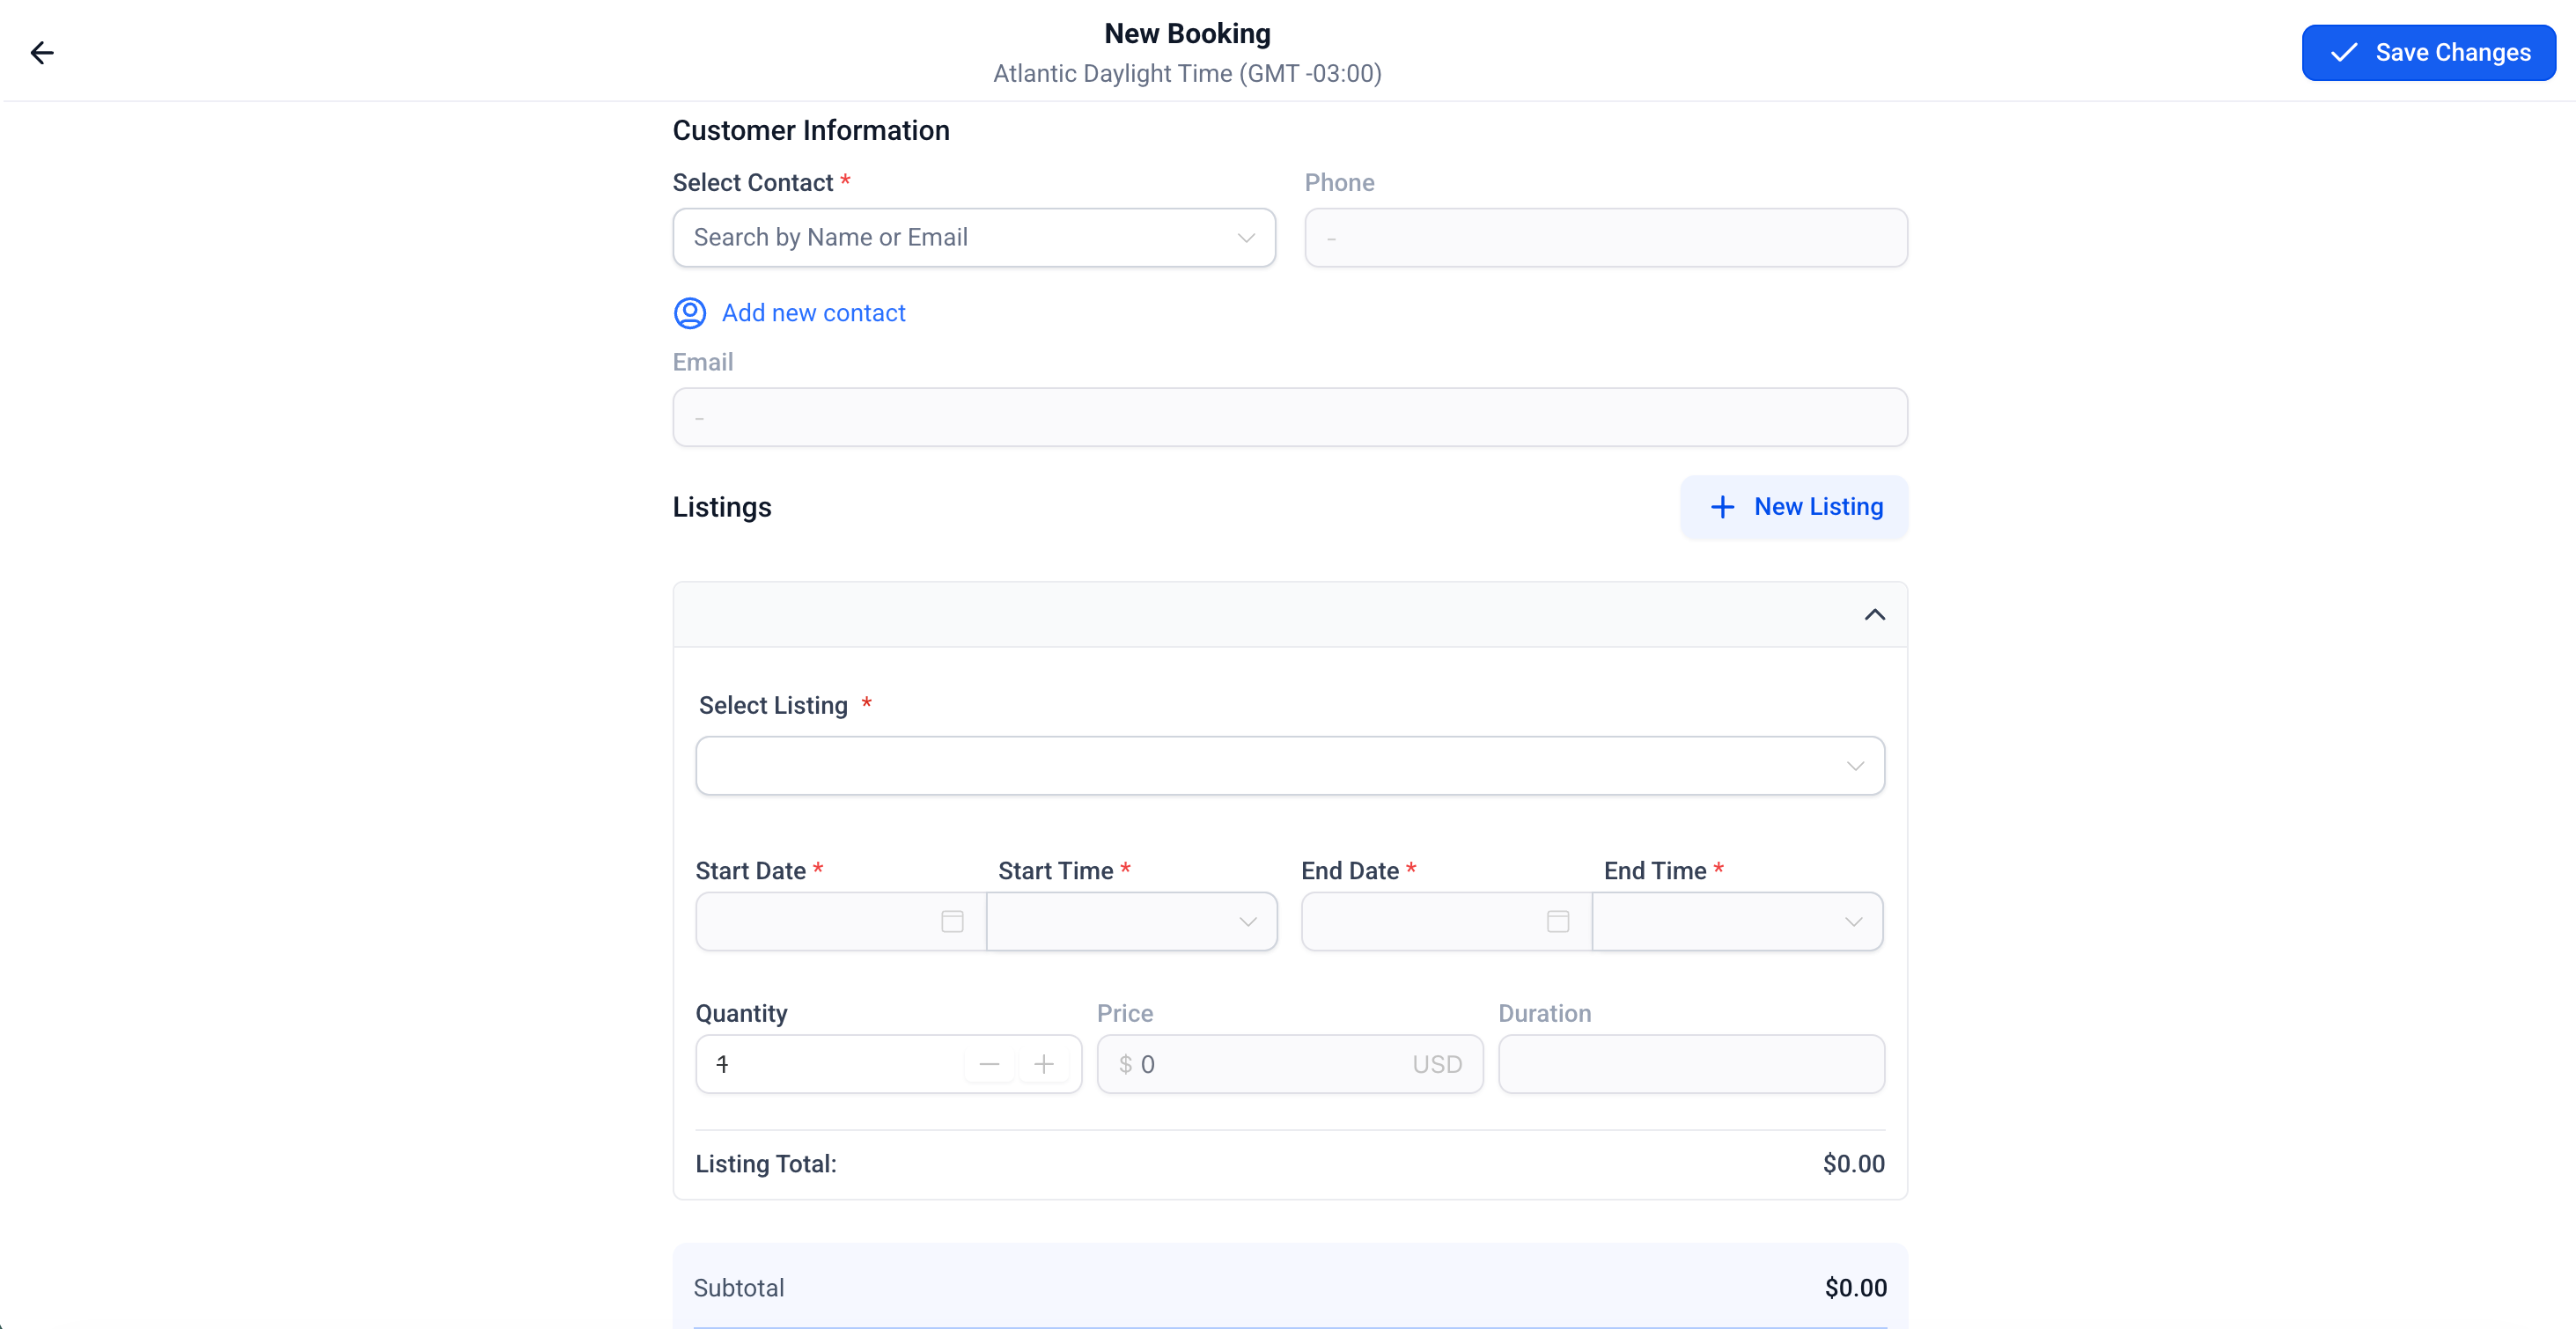
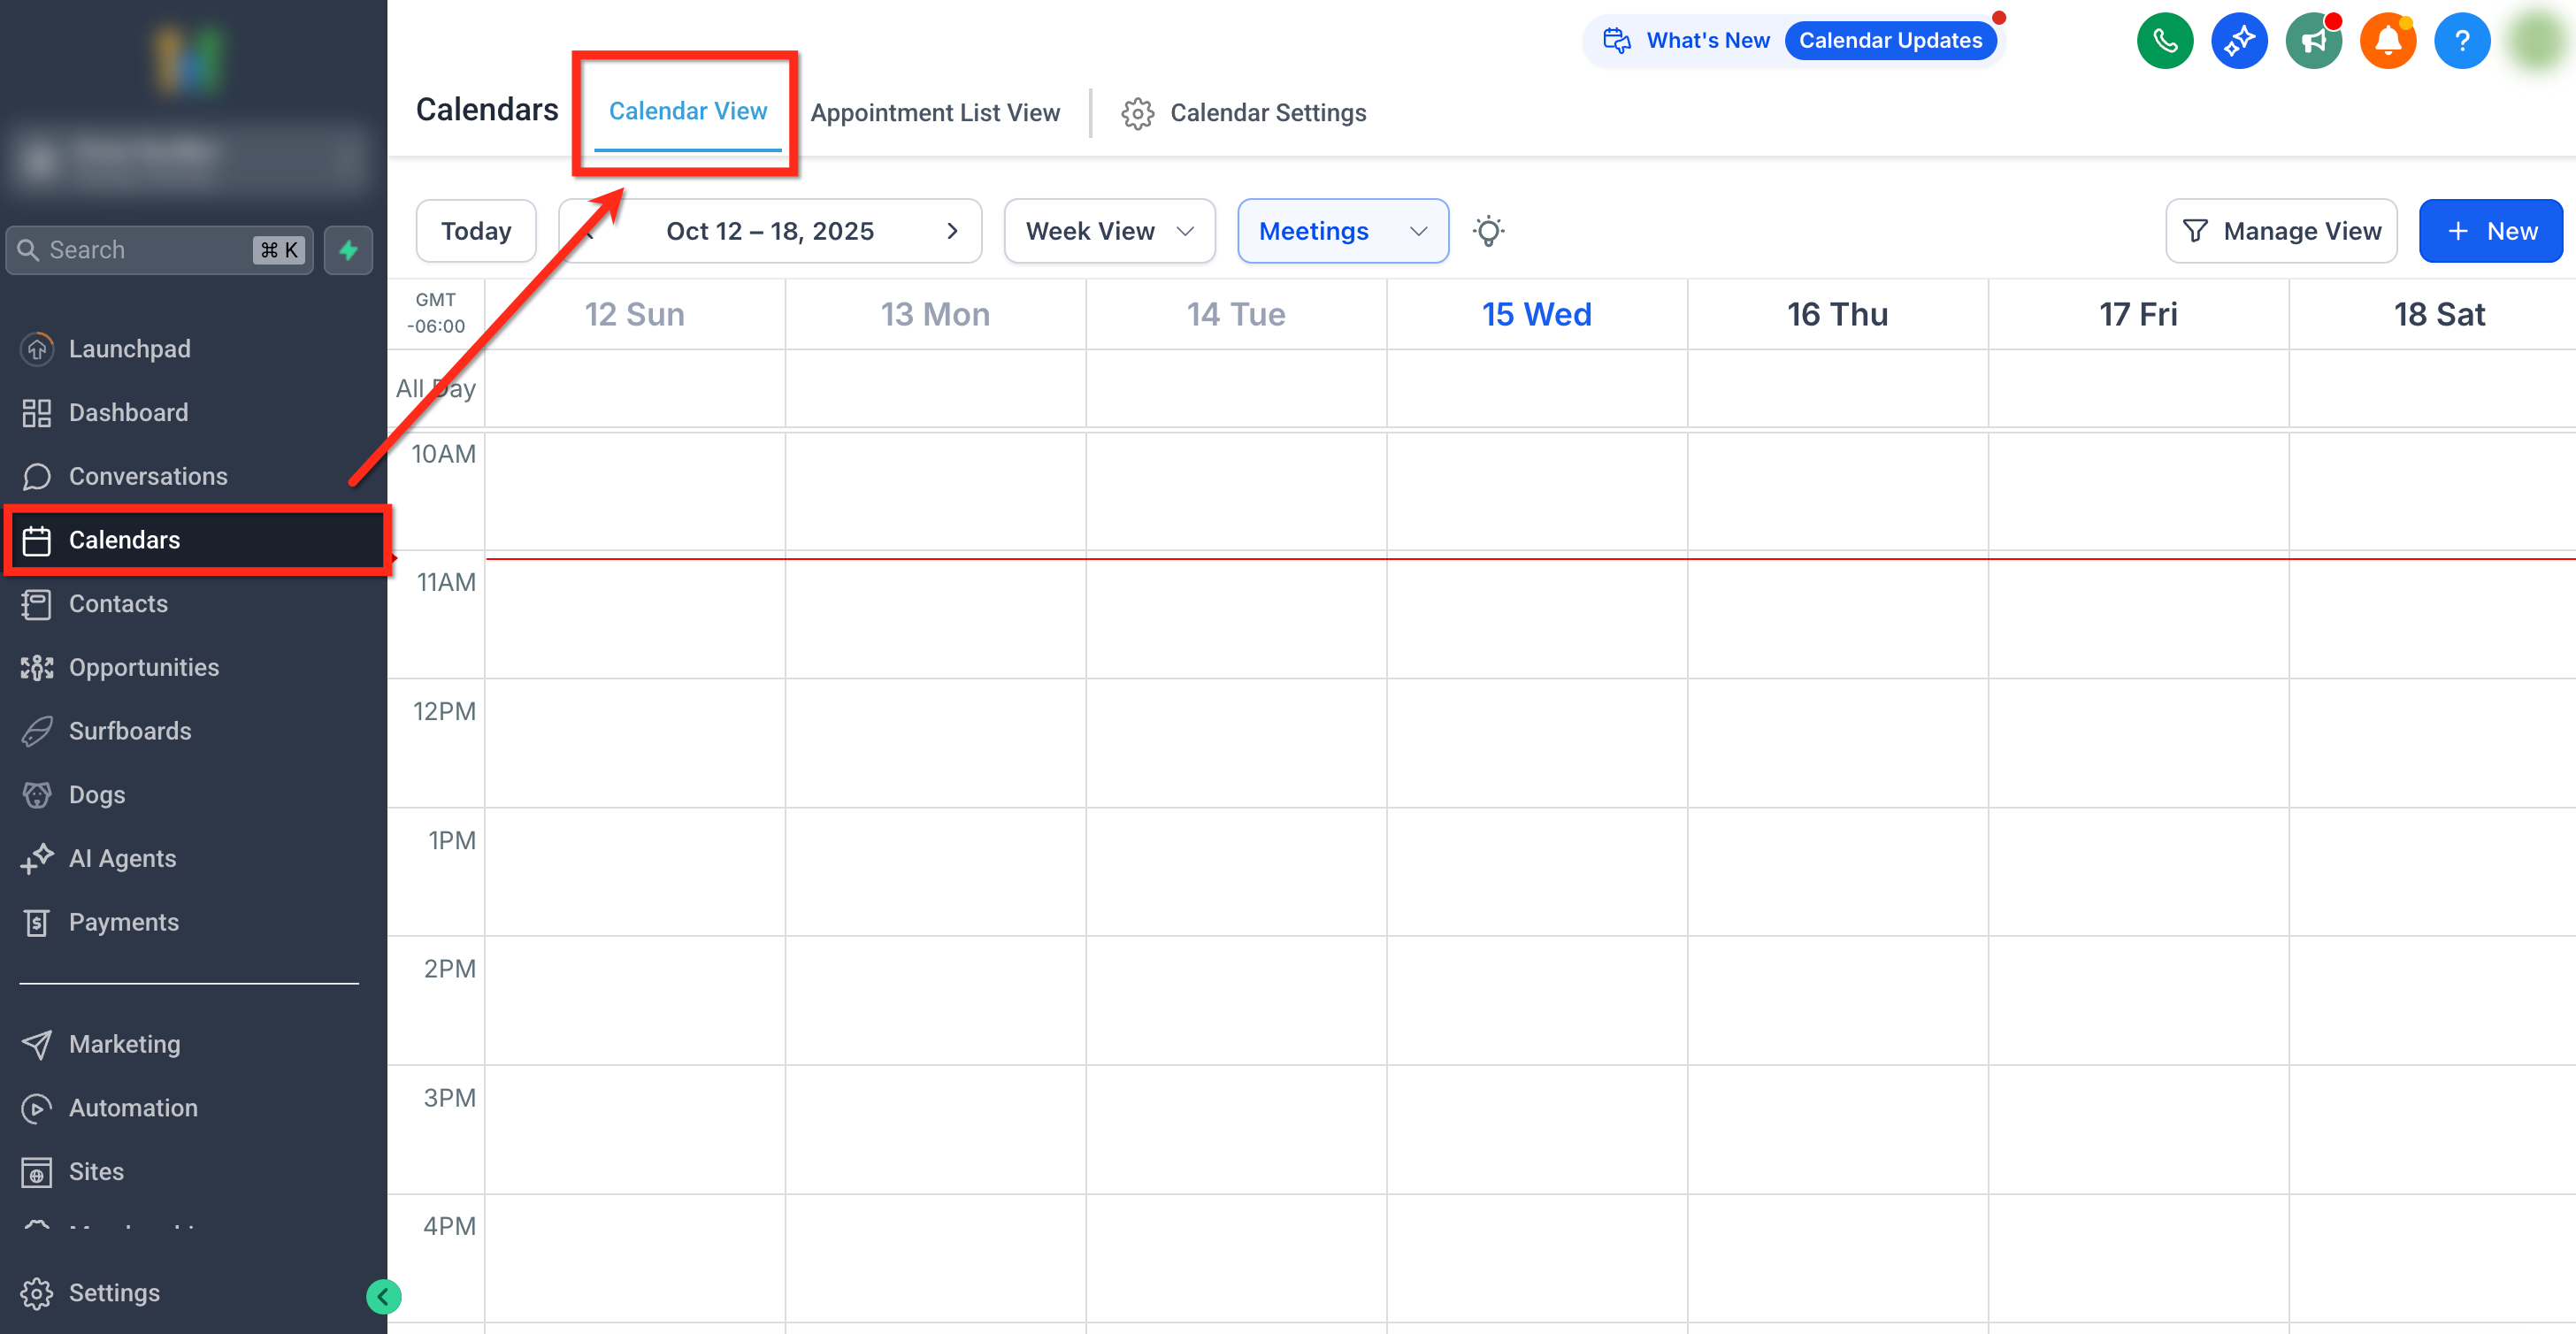
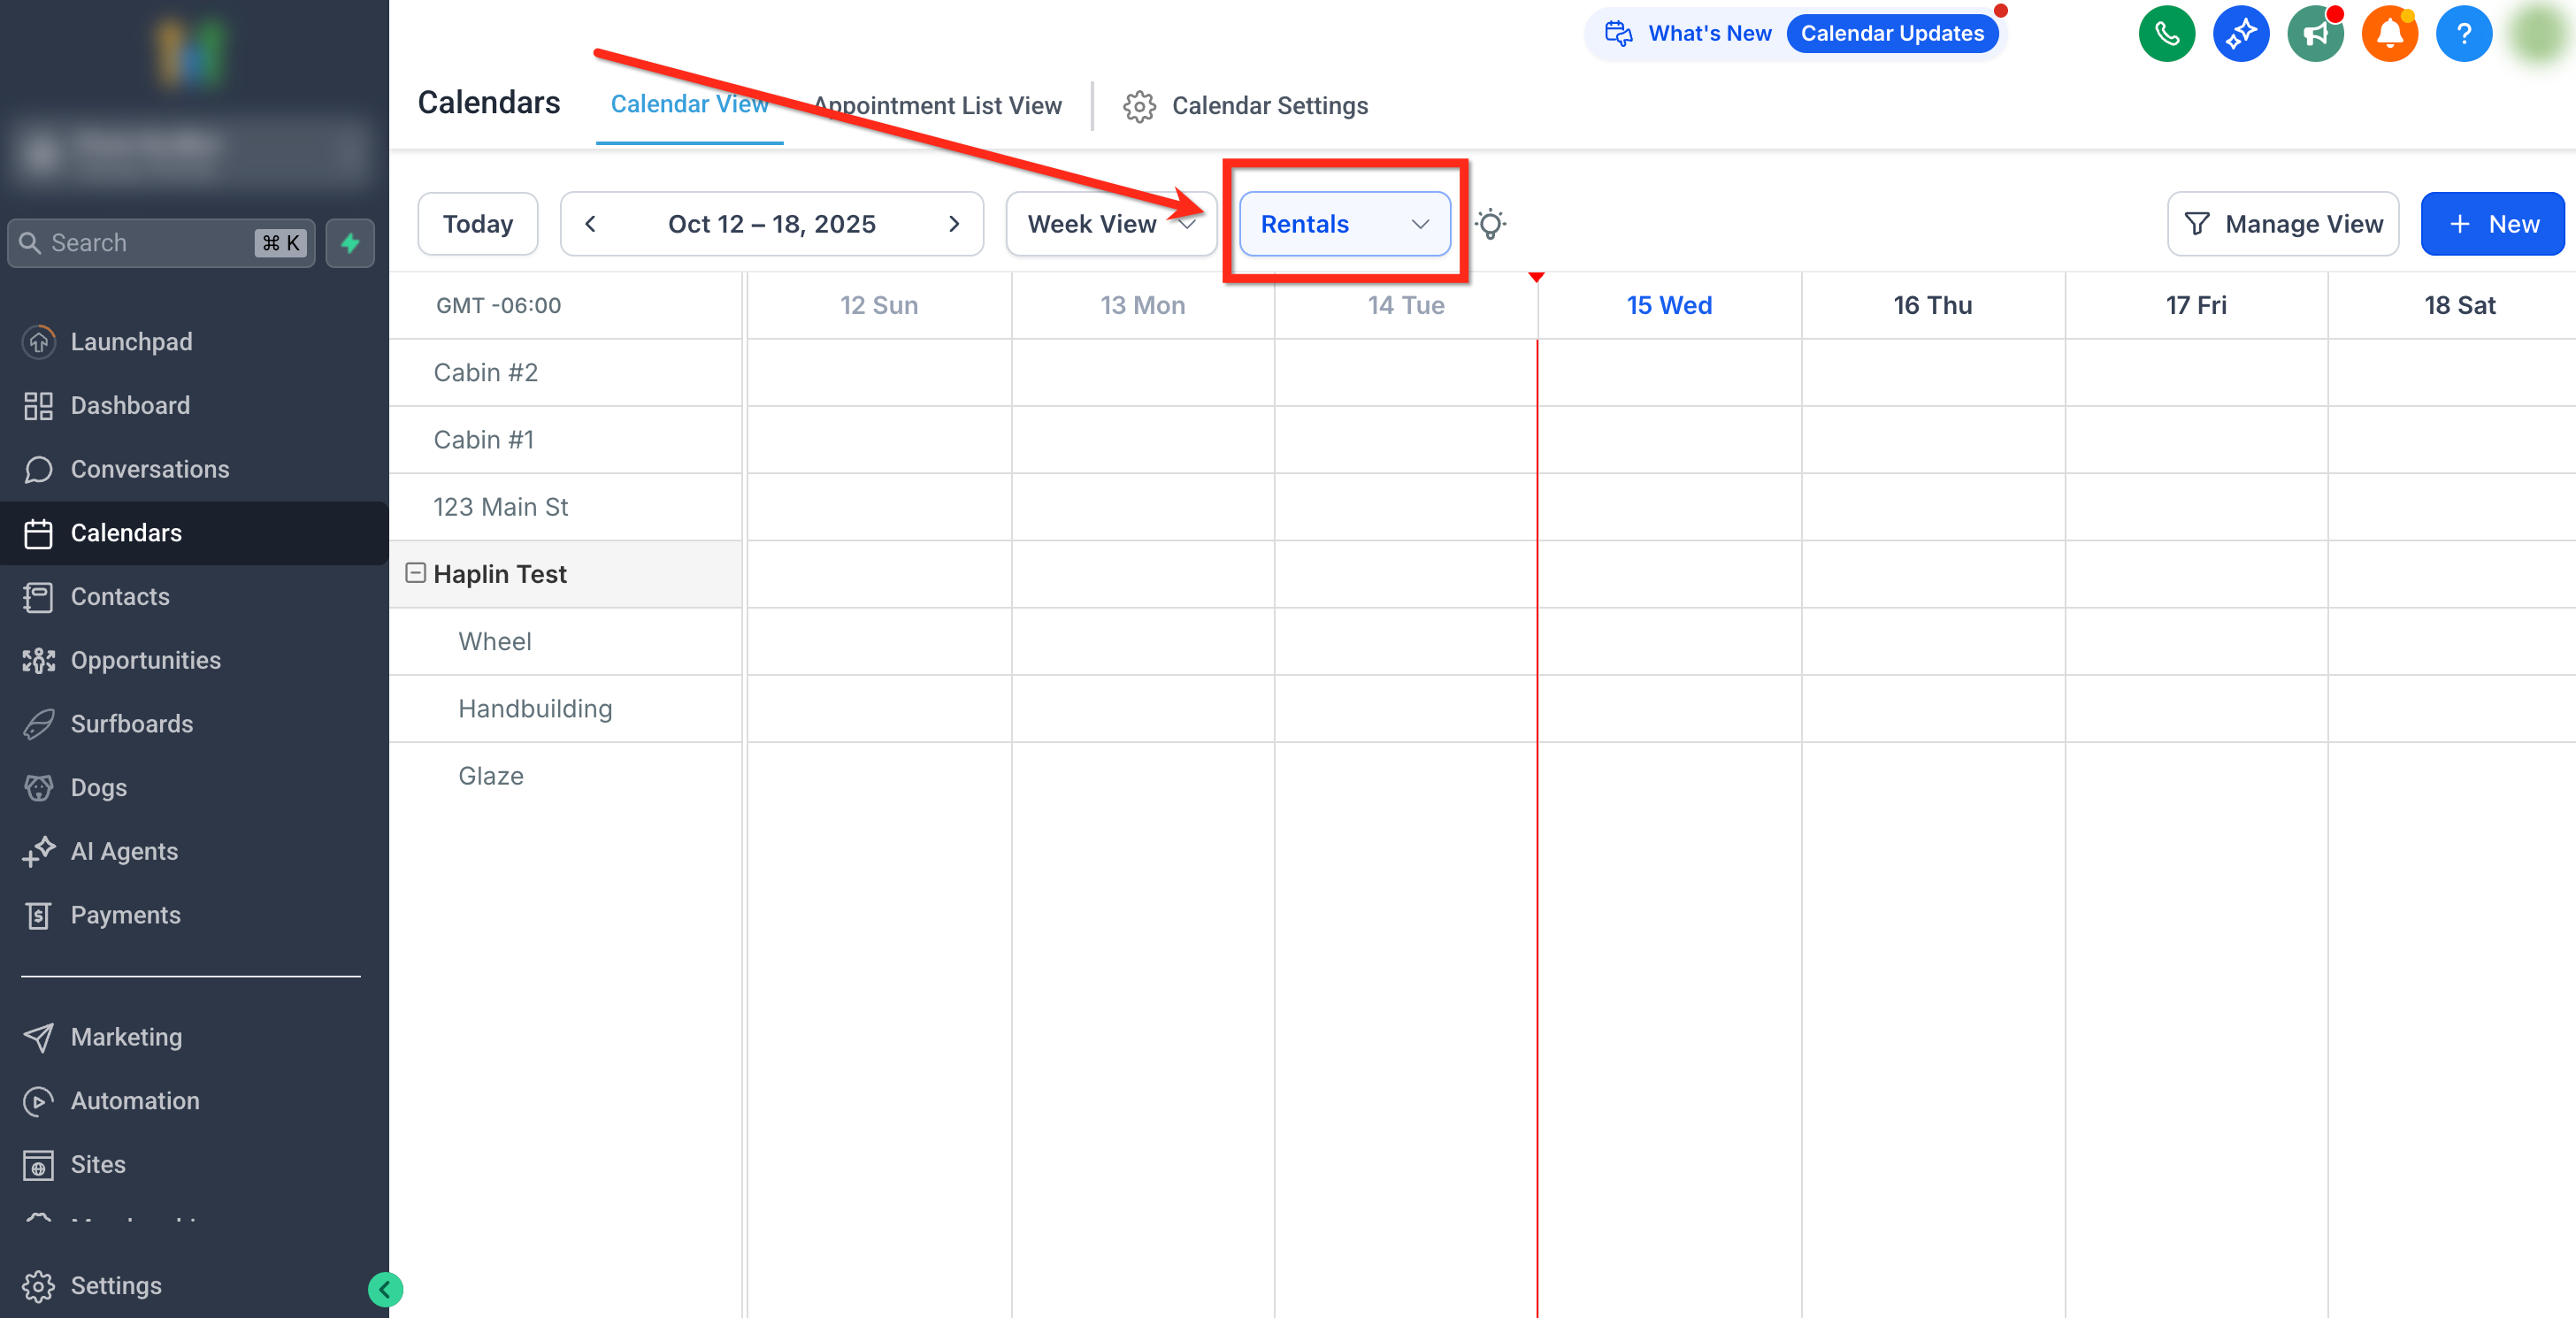
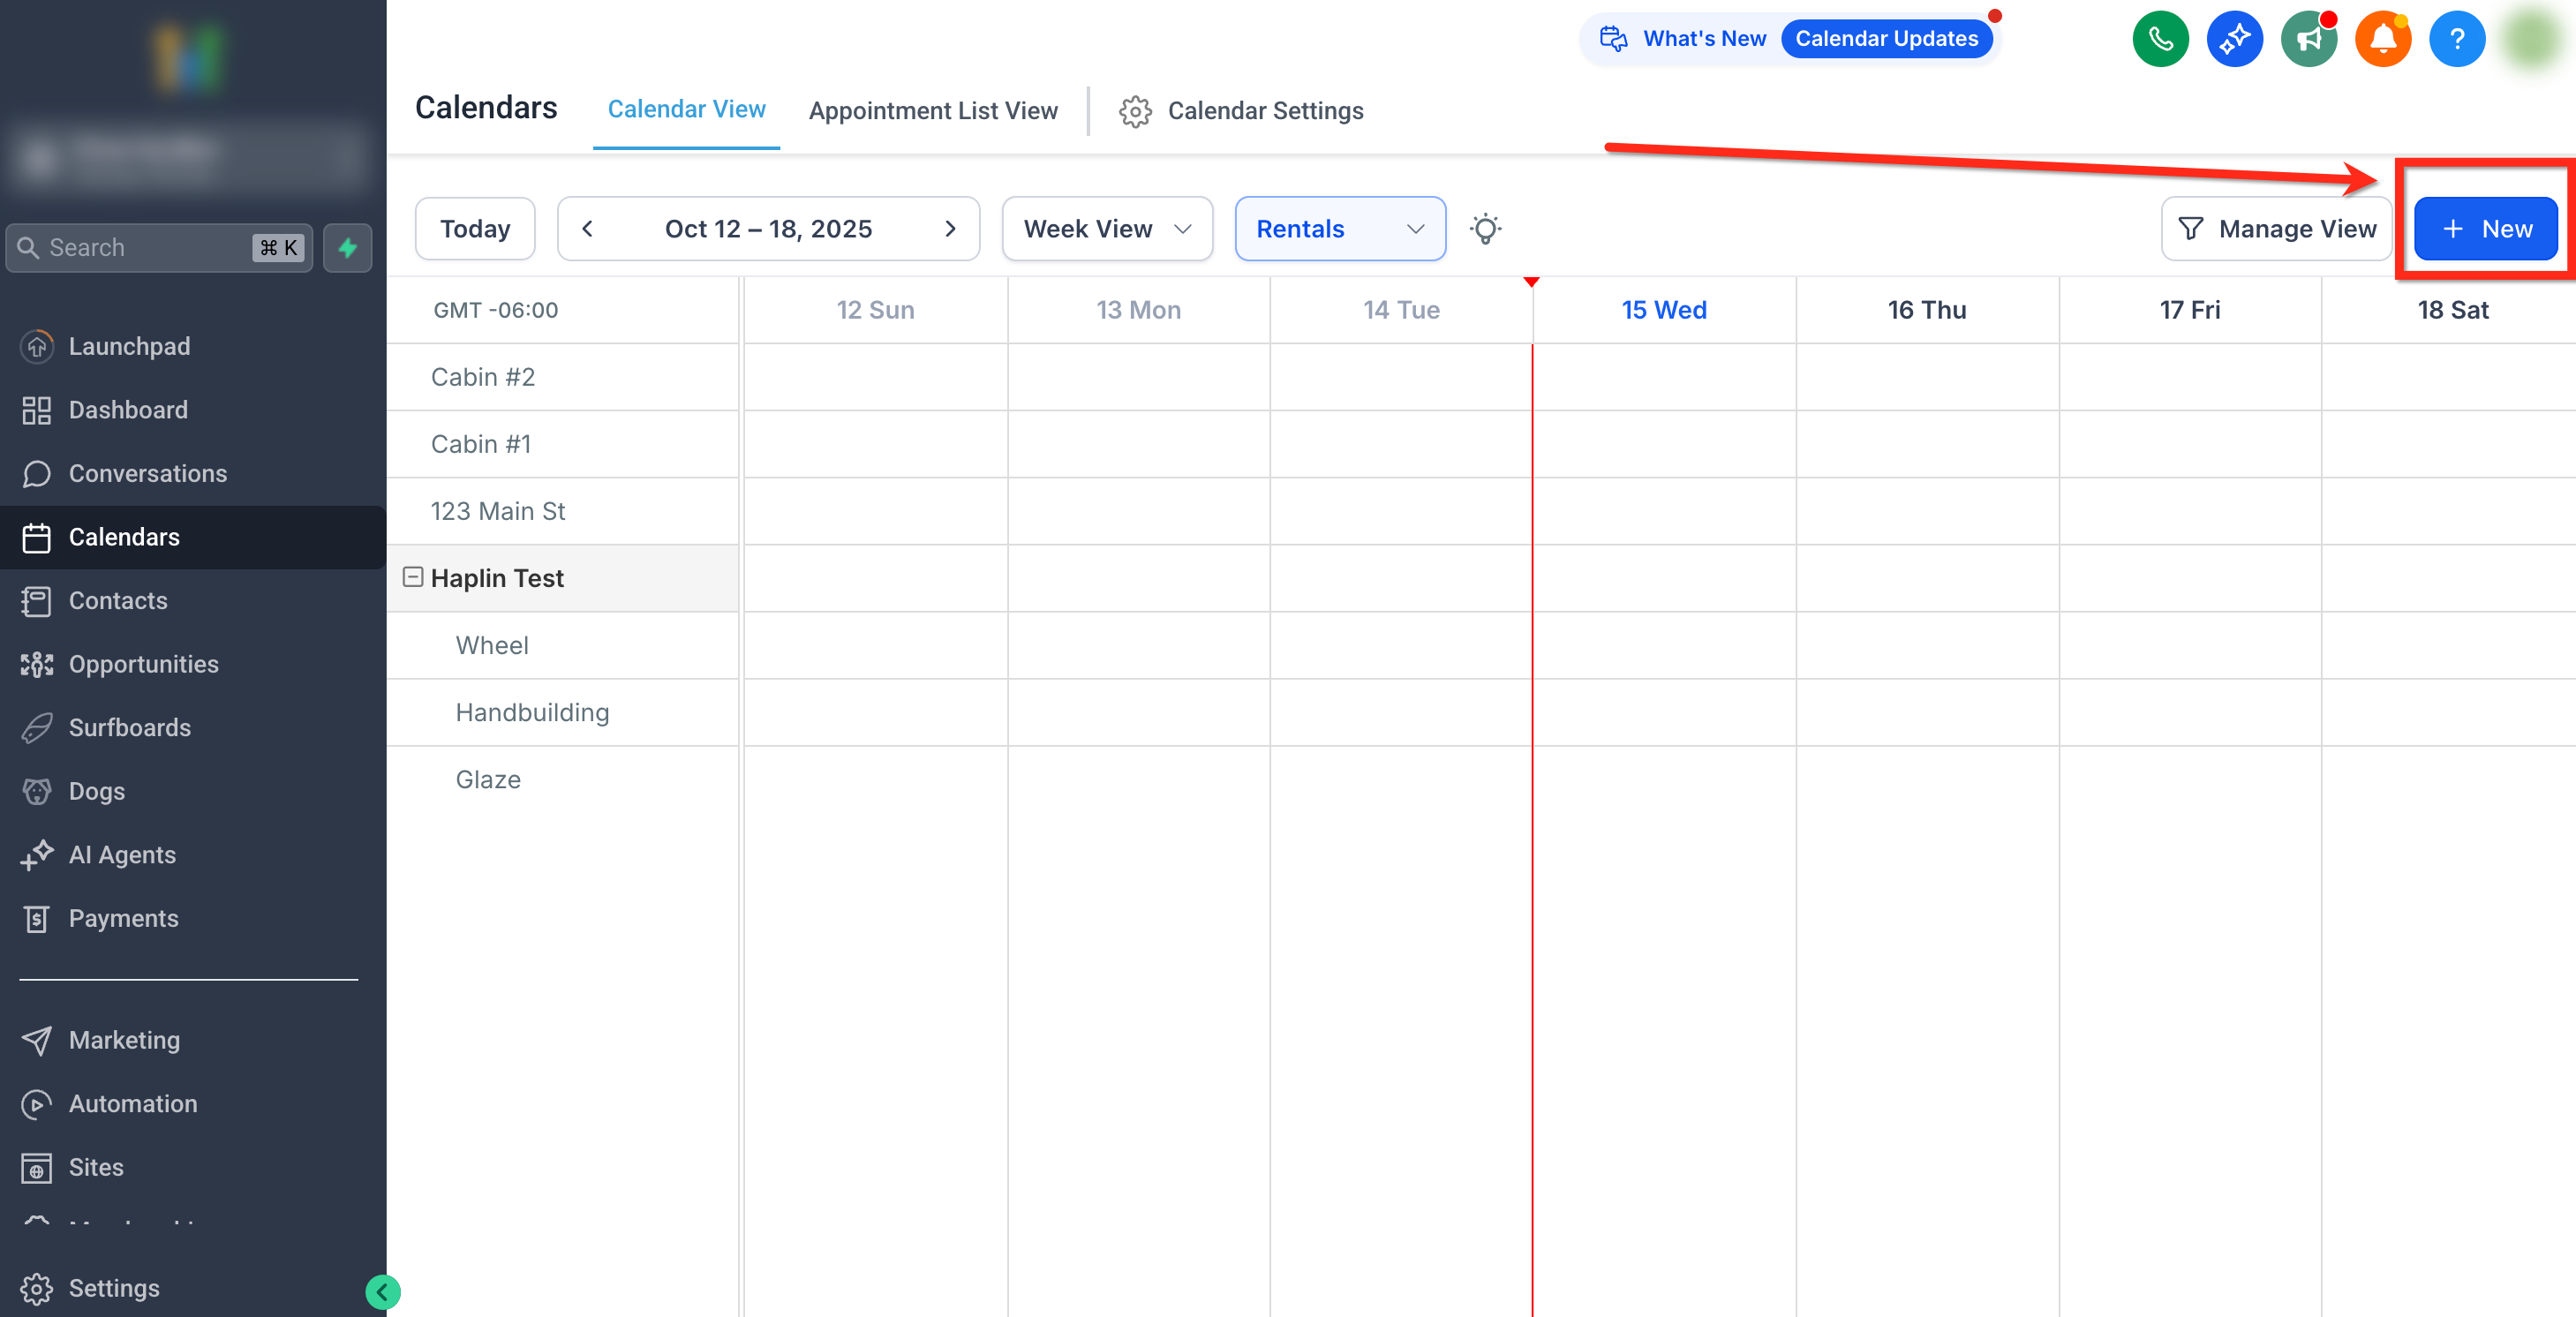
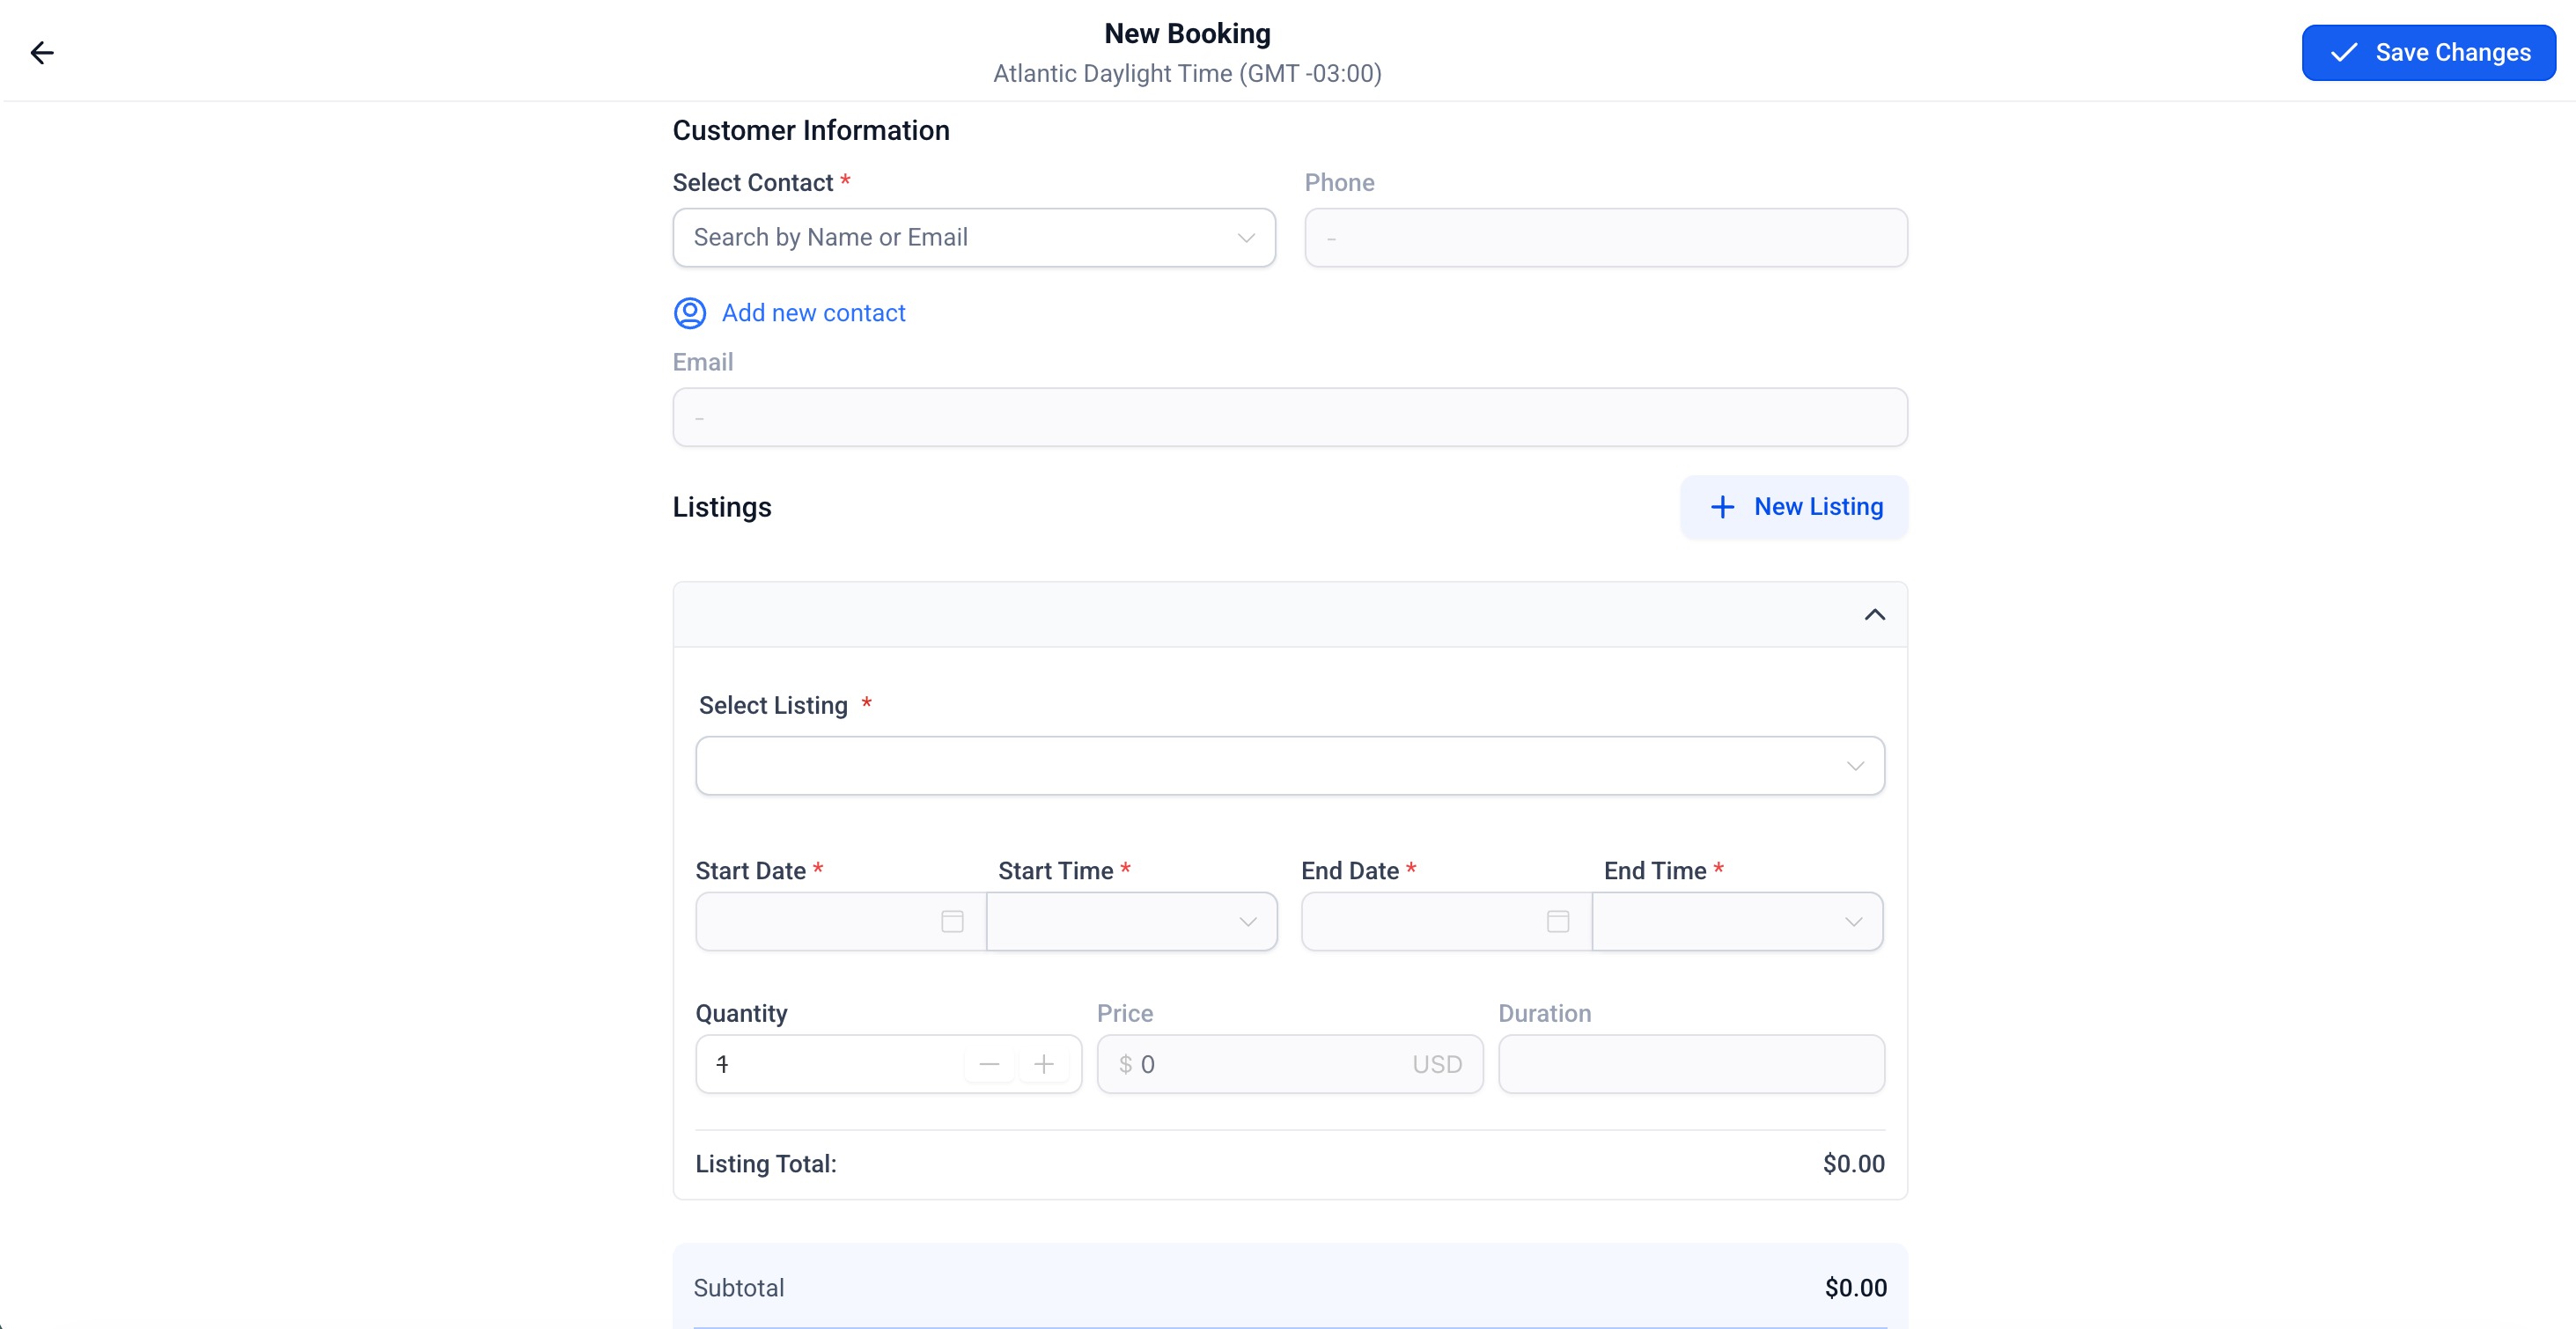
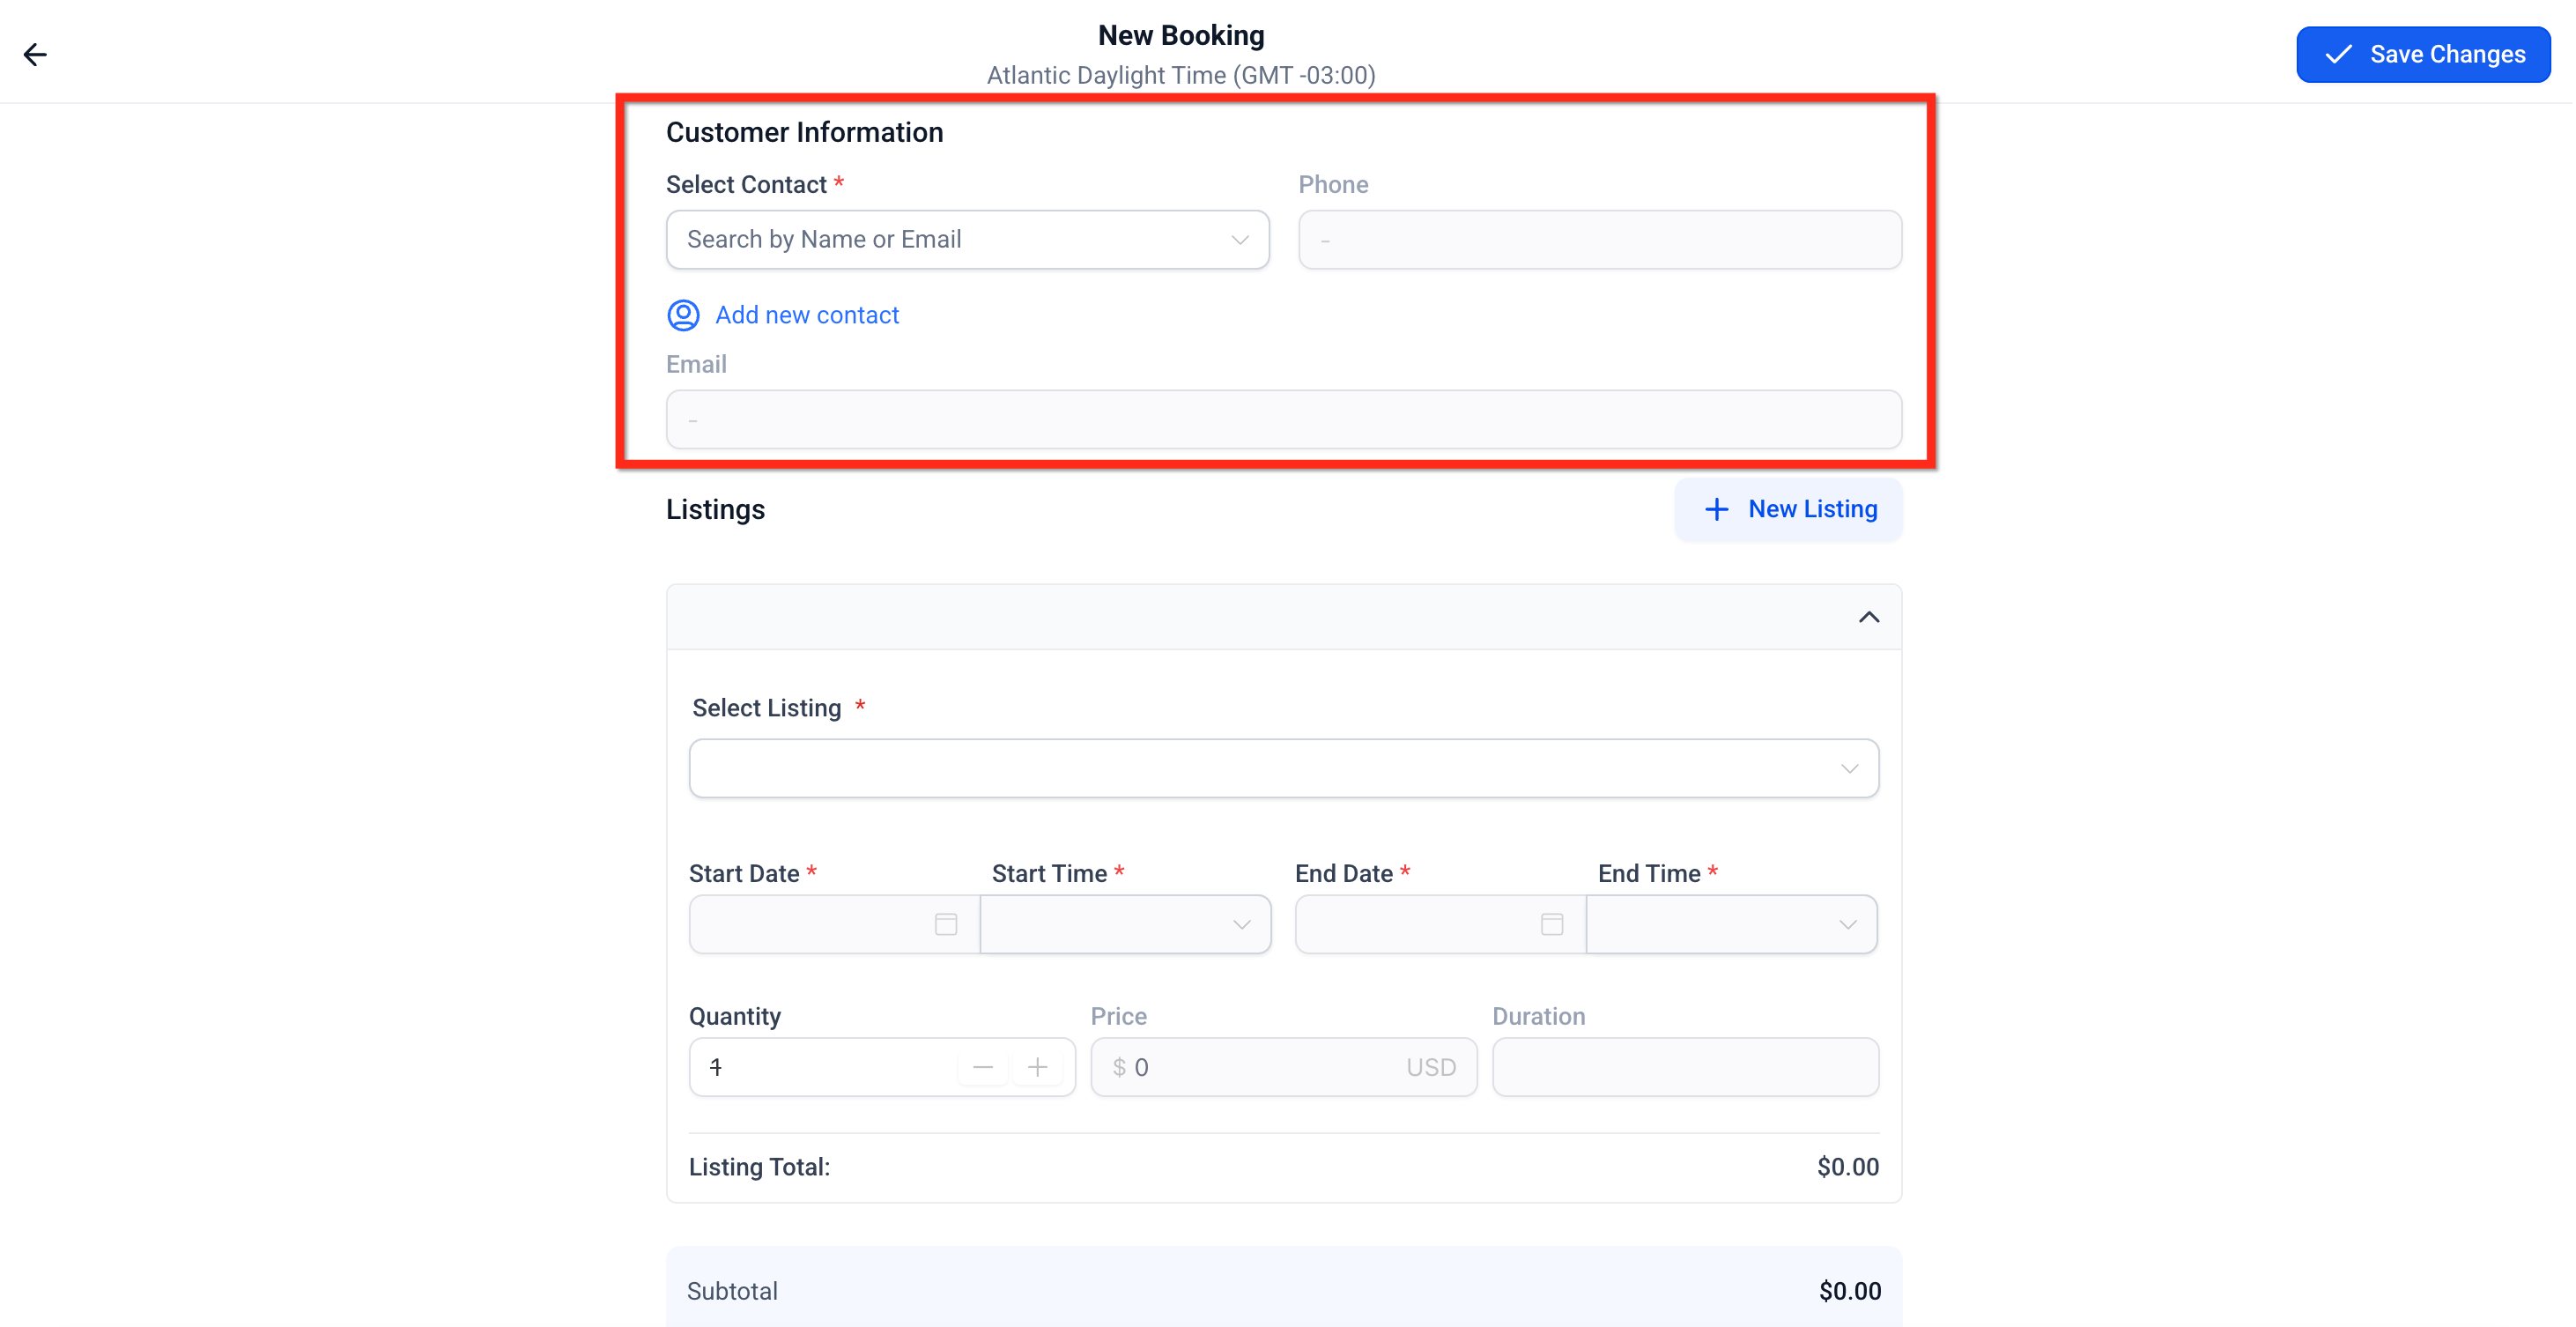
This article explains how to manually create a booking in Rentals. It walks through every field in the Create Booking form, how to add listings, customers, and payments, and highlights all special cases where in-app bookings override normal business or listing rules. * * * ## Overview of Creating a Booking The Create Booking flow allows admins to manually create bookings for customers directly from the Appointments or Calendar view. Admin-created bookings provide complete flexibility — enabling bookings outside configured business or listing constraints. - Create bookings outside business operating hours. - Set any start and end time, even if the time selector is disabled. - Create bookings for any duration, regardless of fixed durations defined on listings. - Bypass minimum and maximum booking durations, minimum scheduling notice, and maximum advance window. - Still respect pre-buffer and post-buffer time slots when checking availability. Example: If a listing’s default rental time is 9 AM–11 PM and the time selector is disabled, you can still create a booking from 7 AM–1 PM. Similarly, if fixed durations are 4 hours or 1 day, you can still book it for 2 hours or 2 days manually. This gives admins flexibility for exceptions while maintaining operational safety. * * * ## Key Benefits of Creating a Booking - Speed to Schedule: Create directly from Appointments or Calendar to handle requests quickly. - Flexible: Admins can set custom start/end even when listings use fixed durations or disabled time selectors. - Protection Against Conflicts: Buffers and inventory are always enforced to prevent overbooking. - Accurate Pricing & Deposits: Payment Summary reflects configured pricing rules and any security deposit so totals are clear before saving. - Multi‑Listing Support: Add multiple listings—each with its own times and quantities—in a single booking to streamline complex orders. - Immediate Team Visibility: Saved bookings appear right away in Appointments and Calendar for operational coordination. * * * ## How to Create a New Booking? There are two ways to create a booking: #### Option 1 — From the Appointments View 1. Navigate to Calendars → Appointment List View. !(https://assets.patientcopilot.ai/3d10984c487aa974.png) 2. Select Rentals from the dropdown.!(https://assets.patientcopilot.ai/b601e01808d9c04e.png) 3. Click + Create Booking in the top-right corner.!(https://assets.patientcopilot.ai/8544563c99d8b9cd.png) 4. The New Booking screen will open.!(https://assets.patientcopilot.ai/5dc4e3c844d0517e.png) #### Option 2 — From the Calendar View 1. Go to Calendars → Calendar View. !(https://assets.patientcopilot.ai/0a15d0ae9cdceefa.png) 2. Select Rentals from the dropdown.!(https://assets.patientcopilot.ai/2179ab3acbeaca20.png) 3. Click + New in the top-right corner of the calendar.!(https://assets.patientcopilot.ai/9c373096b8c49724.png) 4. The New Booking screen will appear.!(https://assets.patientcopilot.ai/2da811b9f340b814.jpg) * * * ## Sections of the Create Booking Form The booking form includes the following sections: 4. Internal Note Each section is detailed below. Tip: If you need to take a listing off the calendar (for example, maintenance or internal use), create a Blocked slot event. Blocked slots reduce availability like a booking, but they are not tied to a customer booking or order. Learn more: Blocked Slots for Rental Listings * * * ## Customer Information Enter or select the customer making the booking. - Select Contact – Search existing contacts or create a new one - If no record exists, click Add New Contact to create one instantly.
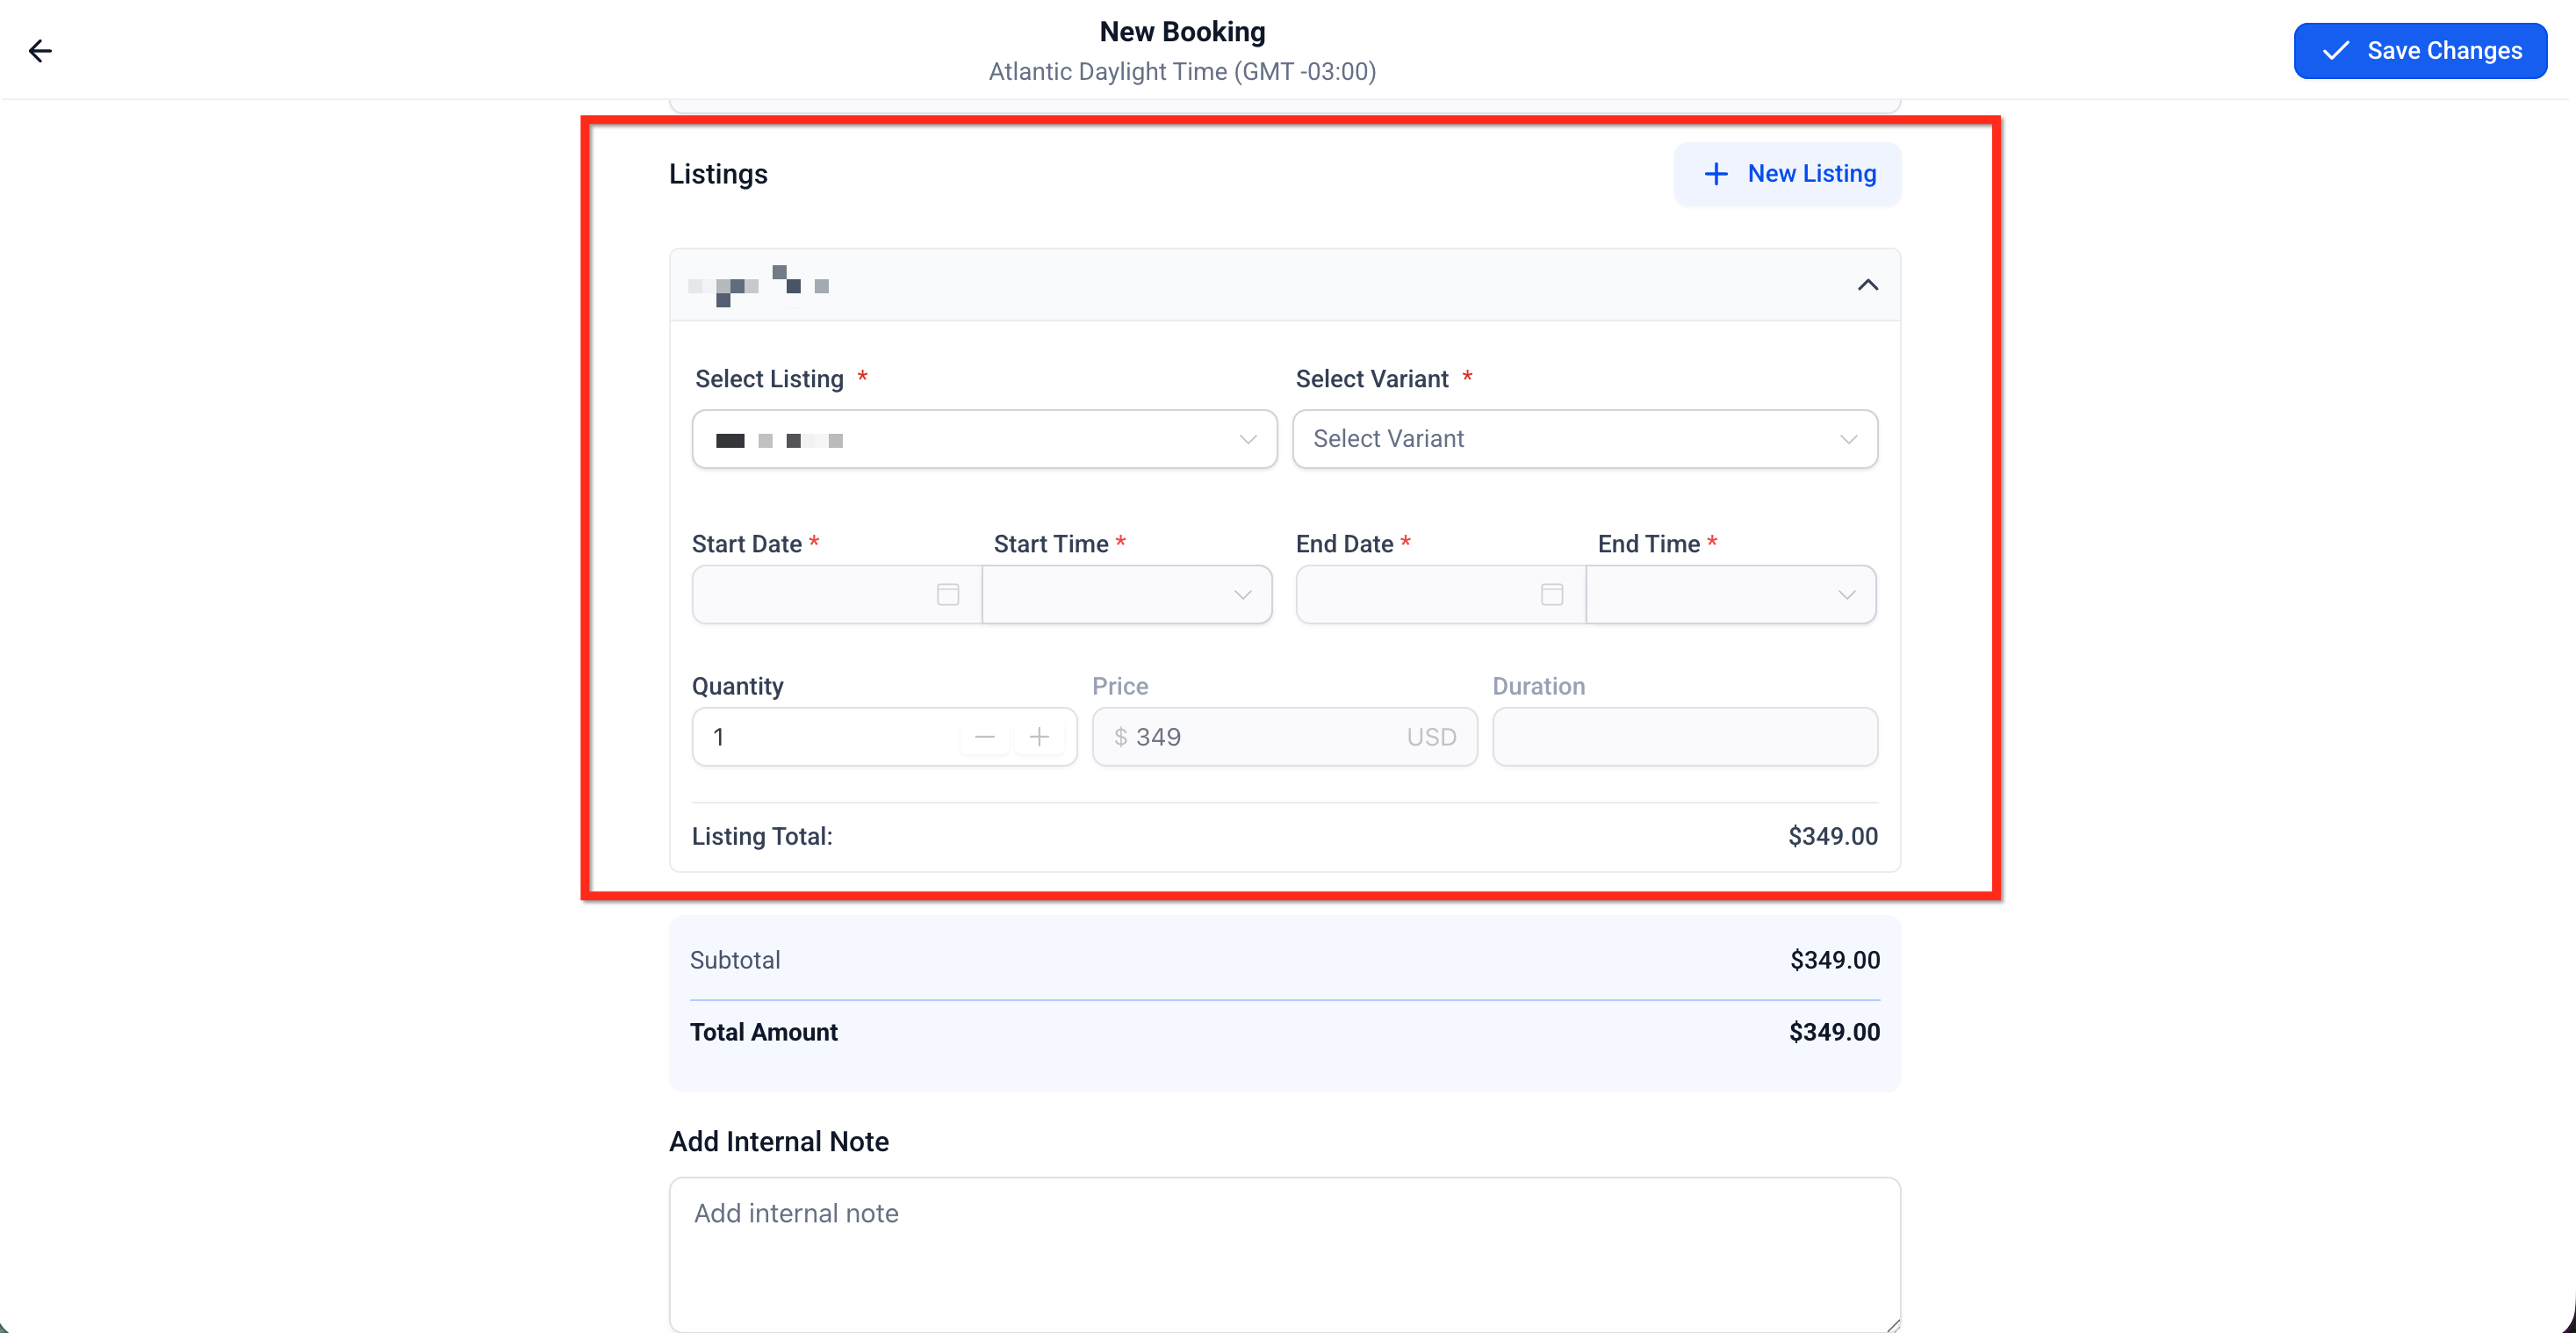
- Phone & Email– Automatically fetched from the selected contact. Tip: Always confirm contact details to ensure reminders and payment confirmations reach the right person.!(https://assets.patientcopilot.ai/c68413b8af7f1b2f.png) * * * ## Listings Section This is where you select the listing(s) being booked. #### Steps to Add a Listing: 1. Choose the Listing Name from the dropdown. 2. Select a Variant (if applicable). 3. Enter the Quantity – The number of units being booked. 4. Define Start and End Date/Time. - The time picker appears even if the listing’s time selector is disabled. - You can choose custom times and durations beyond fixed durations or rental hours. - While updating or adding new listings to the booking, inventory must be available for the time duration for it to be selectable. - The Duration auto-calculates based on your selection but can be manually adjusted.
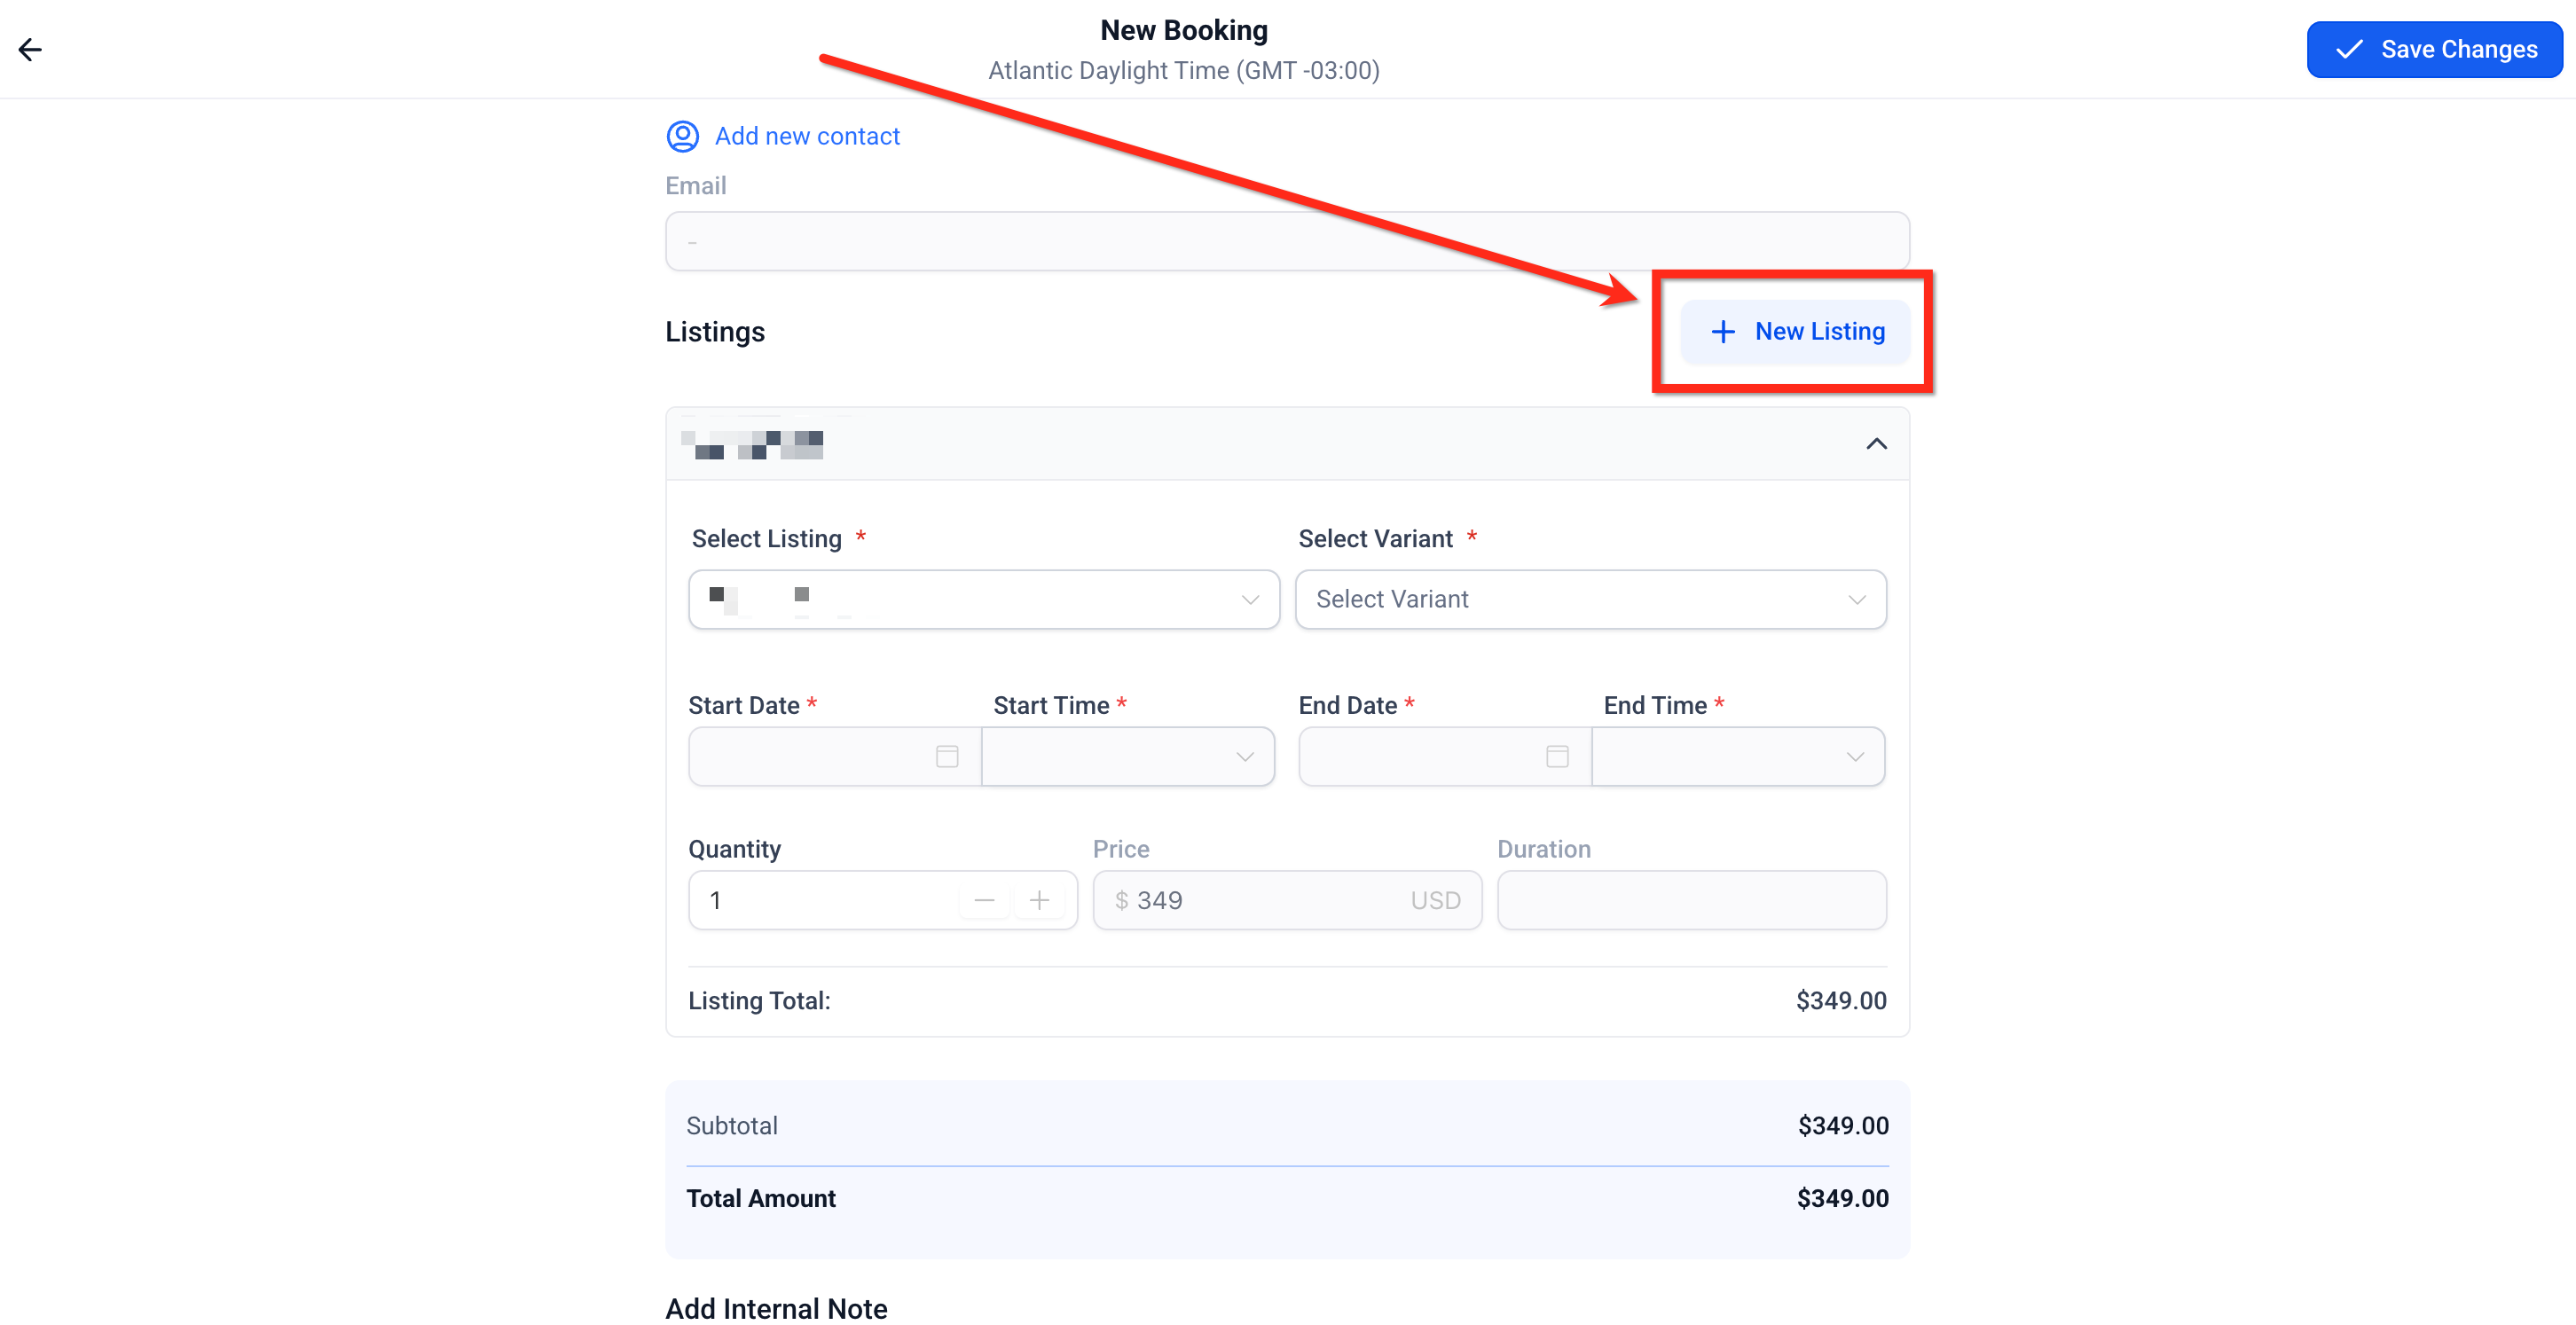
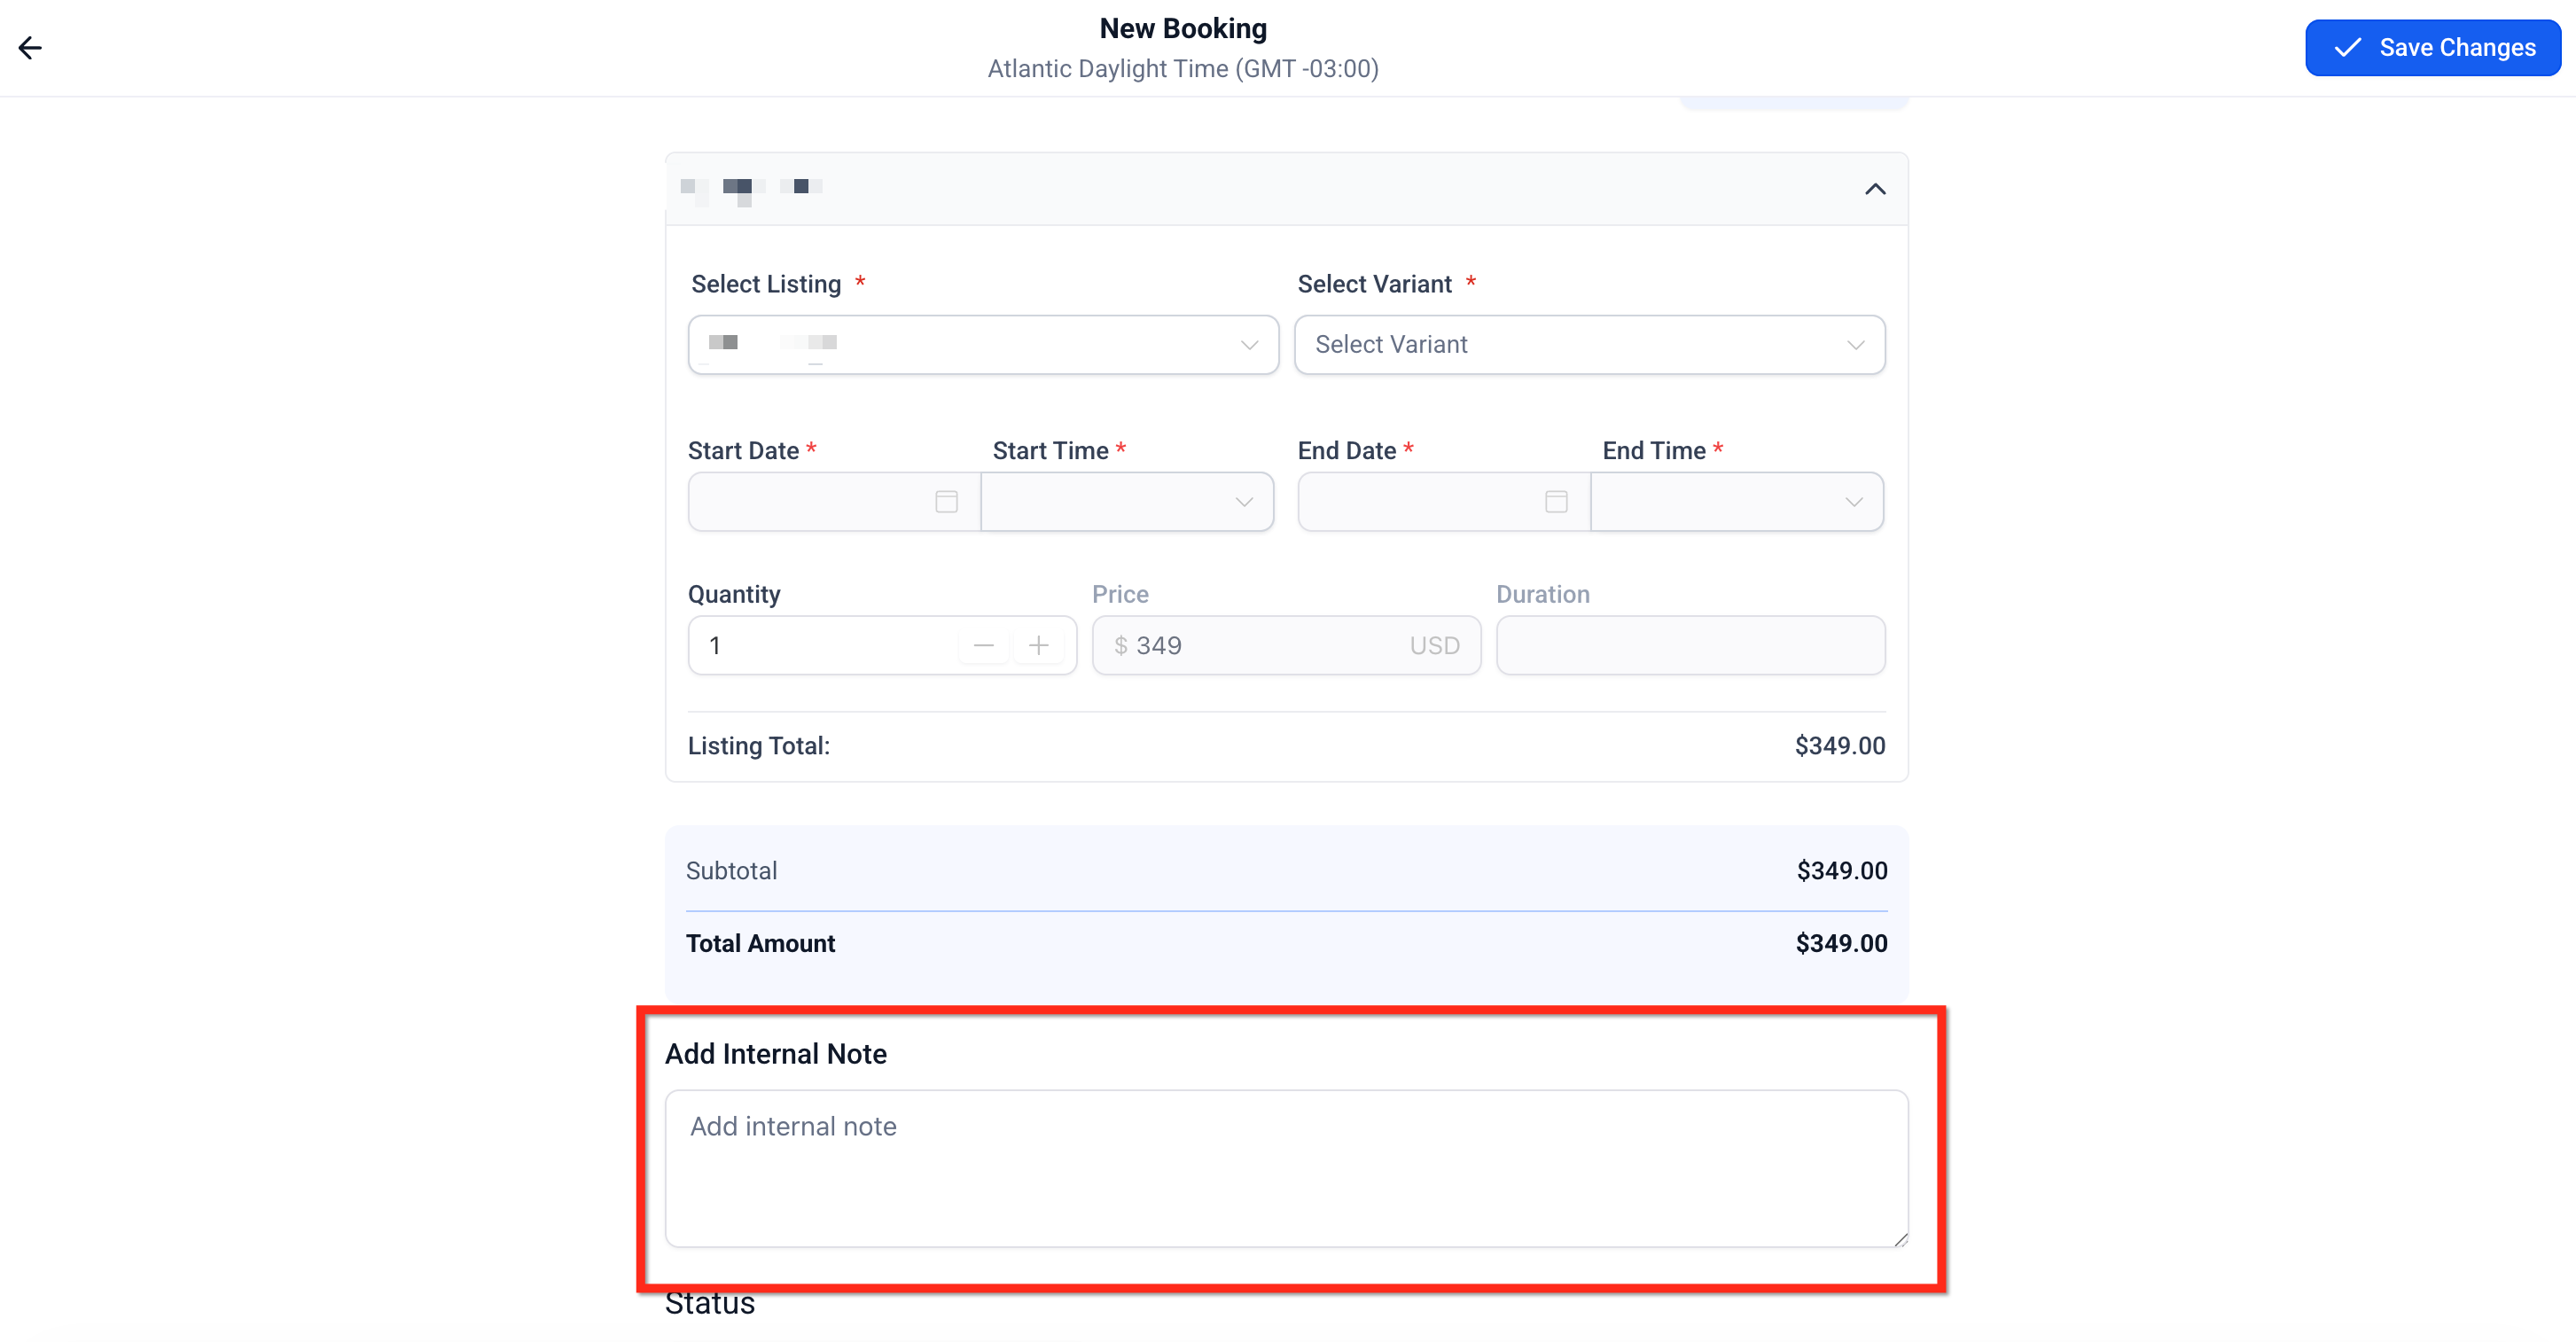
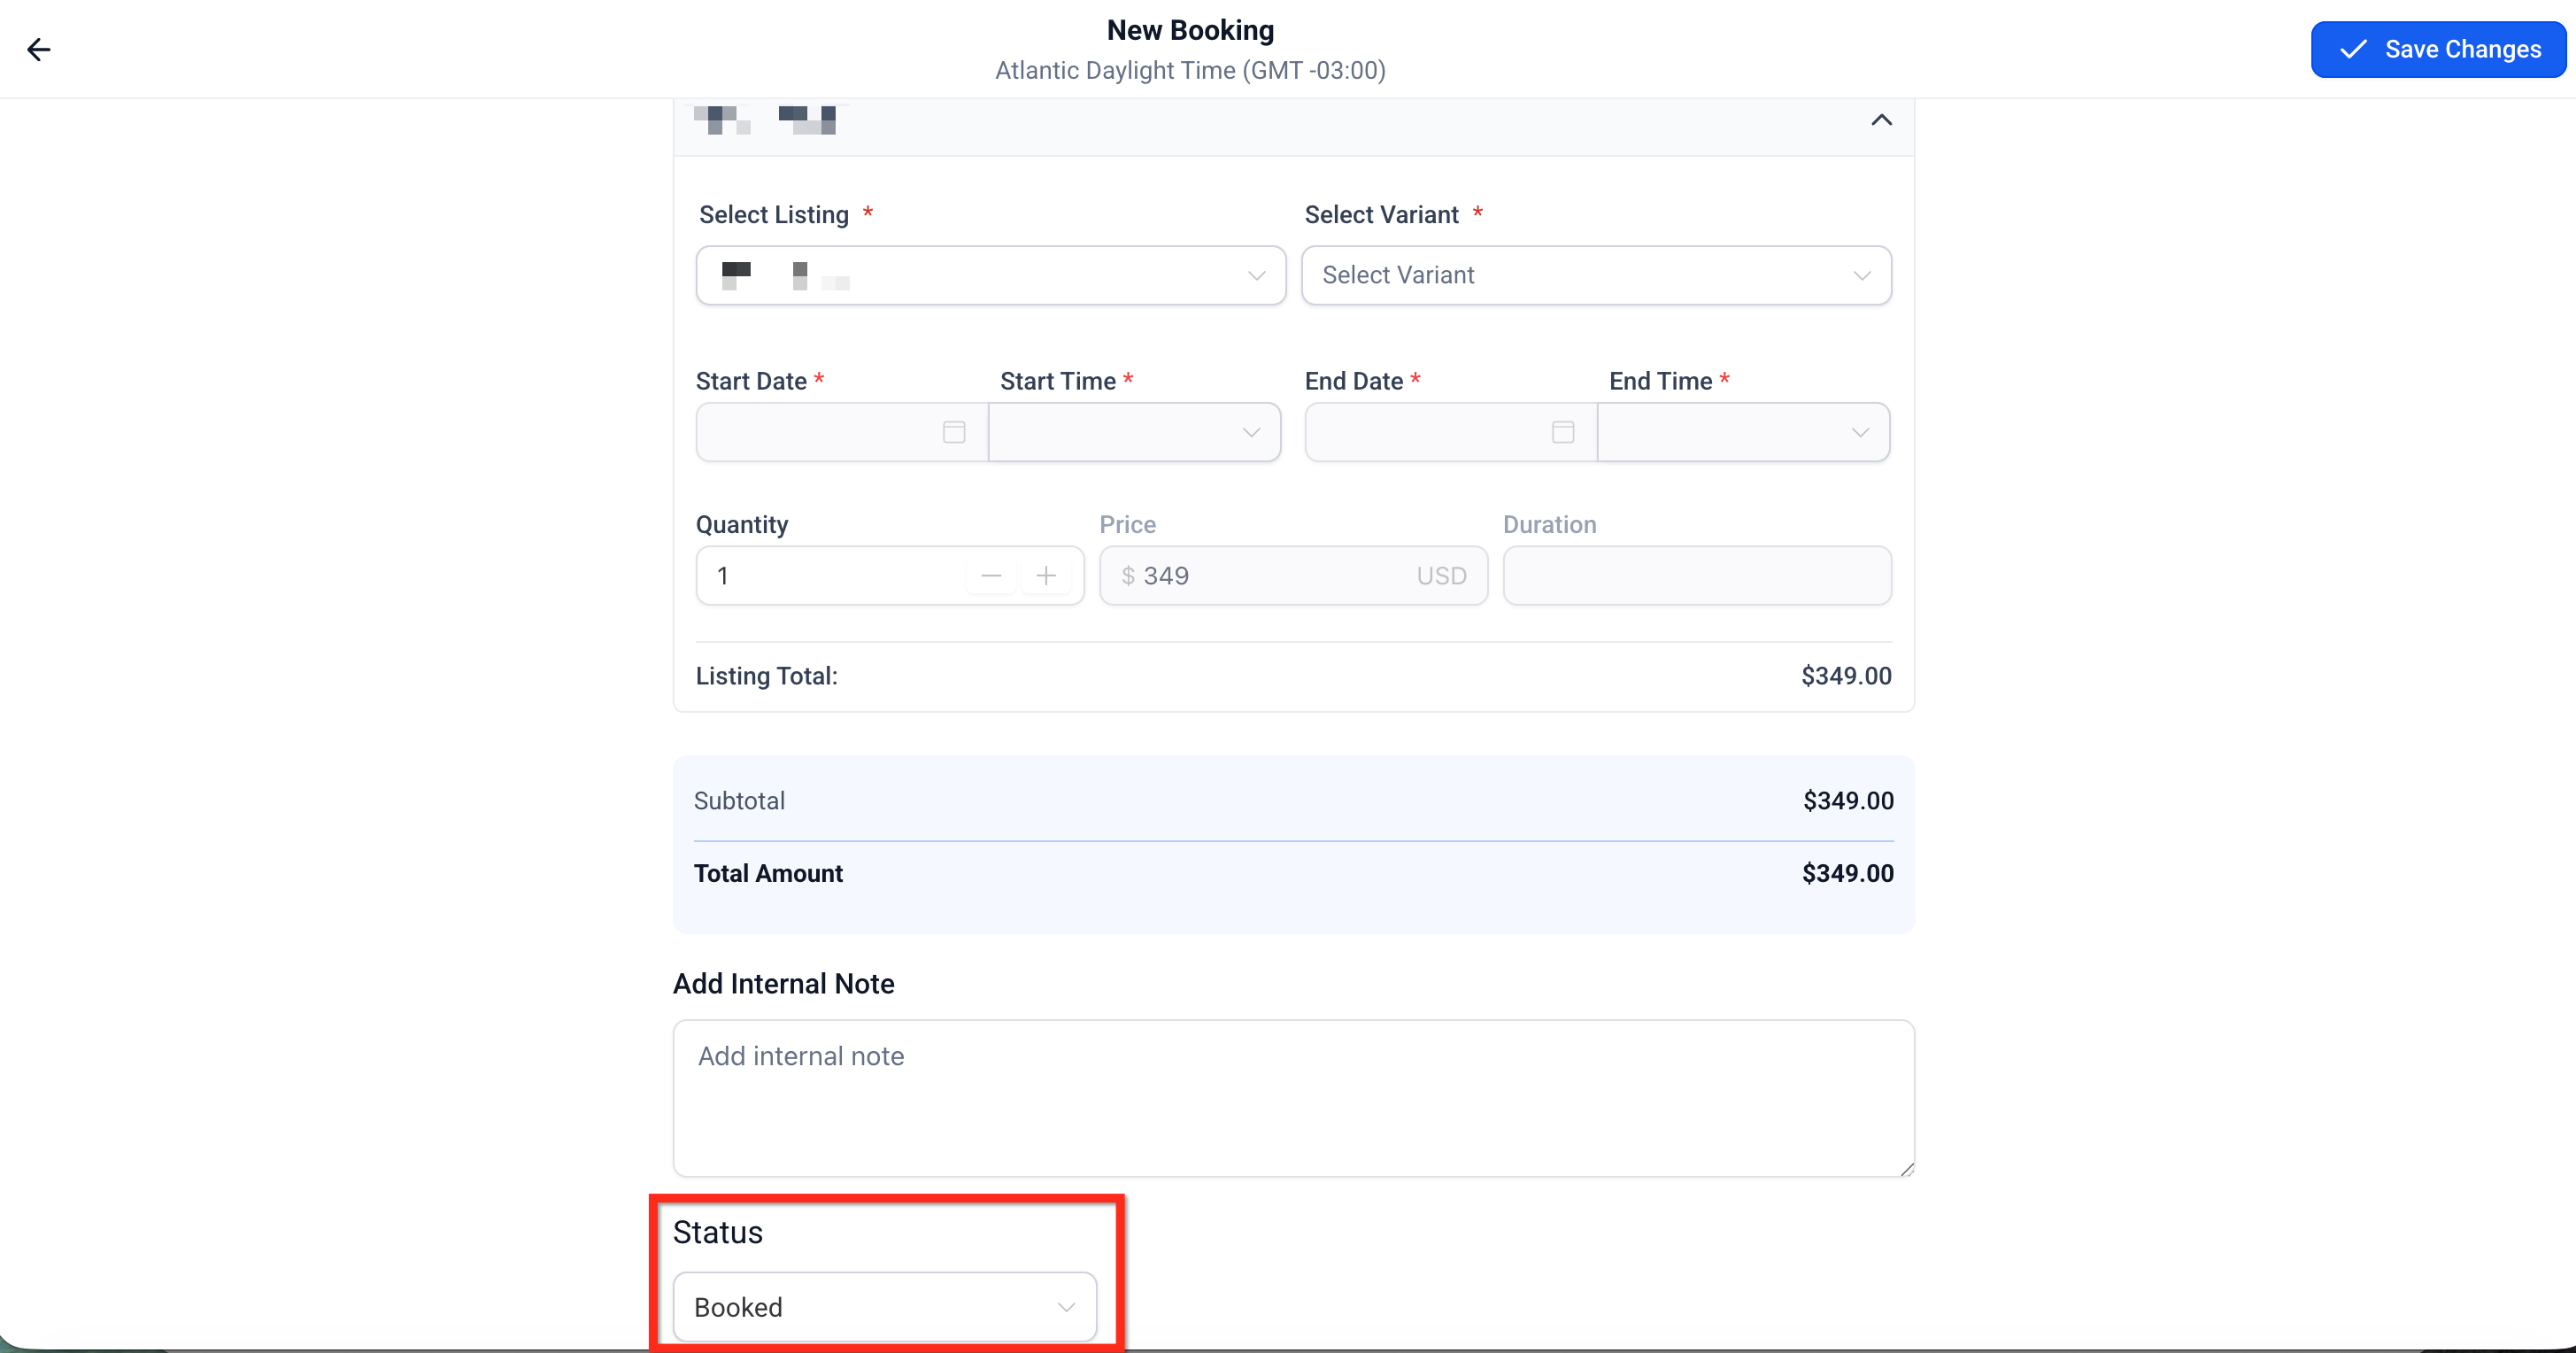
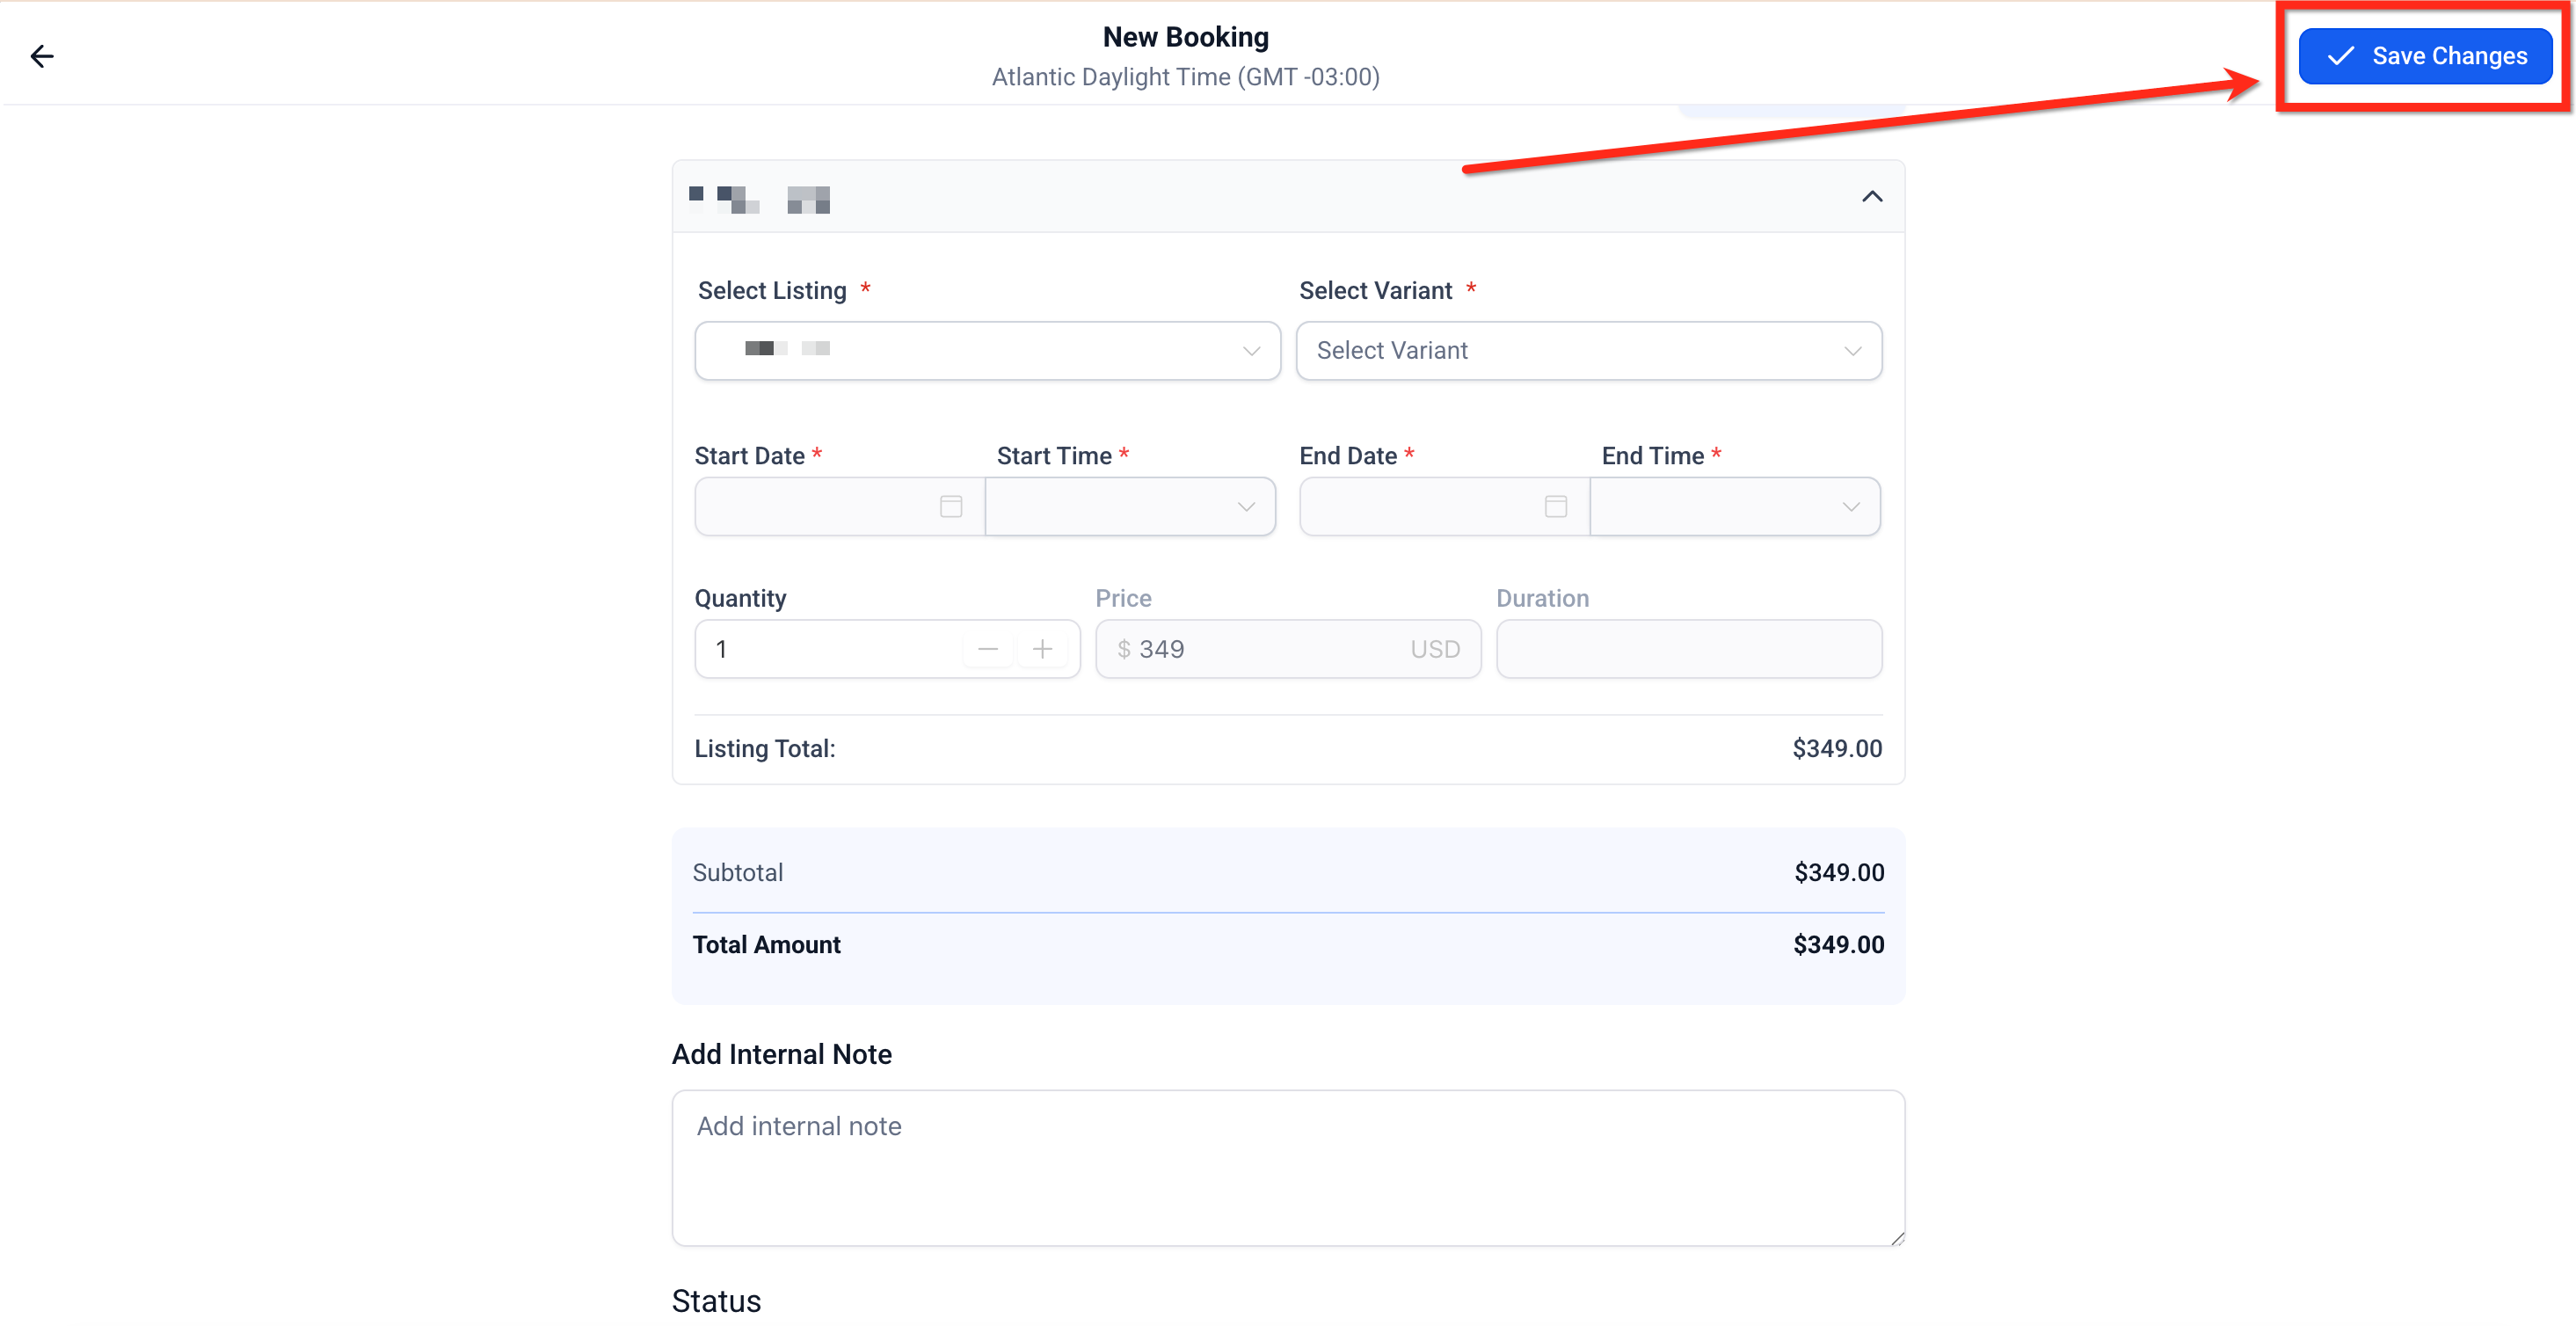
- The Listing Total updates automatically with pricing rules and discounts. 6. The Security Deposit updates automatically if applicable. Important: Manual bookings ignore minimum/maximum durations, scheduling notice, and booking windows, but respect buffer times so existing reservations aren’t overlapped.!(https://assets.patientcopilot.ai/9d55e307c7a494d8.png) #### Adding Multiple Listings: - Click + Add Listing again to include multiple items in a single booking. - Each listing can have unique start/end times and quantities. - The combined total updates in the final Payment Summary.!(https://assets.patientcopilot.ai/1079075eba88d495.png) * * * ## Payment Summary The payment summary consolidates all costs in the booking. - Rental Subtotal – The combined value of all listings. - Security Deposit – Total security deposit applicable for the booking. This can be a part of the total amount to be collected upfront or an intimation of what can be charged incase of damages/violation of terms later (incase security deposit mode is set to card on file). - To****tal Amount - Final amount to be collected including any security deposit(s) and other charges as applicable. - Due Today – Remaining amount to be collected. Note: Incase security deposit is set to Card on File, the Total Amount in the payment summary excludes the amount for Security Deposit, however; it can be collected later and is not considered as an amount due until charged explicitly. * * * ## Internal Notes Use this section to add contextual notes or record operational details. - Add Internal Note: Add instructions, customer requests, or internal reminders.!(https://assets.patientcopilot.ai/ec4776ea4d252d80.png) * * * ## Set Booking Status Before saving, you can choose the initial status for the booking: - Unconfirmed – The booking is recorded but not yet confirmed; useful for tentative rentals. - Booked – The booking is confirmed immediately This flexibility helps admins manage provisional holds or manually confirmed bookings.!(https://assets.patientcopilot.ai/c04cfc98bfd9f21a.png) * * * ## Save and Confirm Once all fields are complete: 1. Review customer and listing details. 3. The booking appears in the Appointments List View !(https://assets.patientcopilot.ai/4bf39f786f5d886a.png) * * * ## Frequently Asked Questions Q: Can I create a booking without taking payment right now? Yes. Save without payment, then open Edit Booking later to collect full balance or deposit. Q: Why isn’t the deposit appearing in Payment Summary? Check Global Settings to ensure deposits are enabled and that the variant’s deposit isn’t set. Q: What happens if my time overlaps a buffer or inventory isn’t available? You’ll see an error or disabled save. Adjust times to respect buffers or reduce booking to available inventory. Q: How are multi‑listing bookings priced and shown? Each listing becomes a separate row with its own pricing and payment state; the booking may show Partially Paid until all rows are paid. * * * ## Related Articles - Understanding Listings & Categories