How to Use Knowledge Base Triggers in Conversation AI
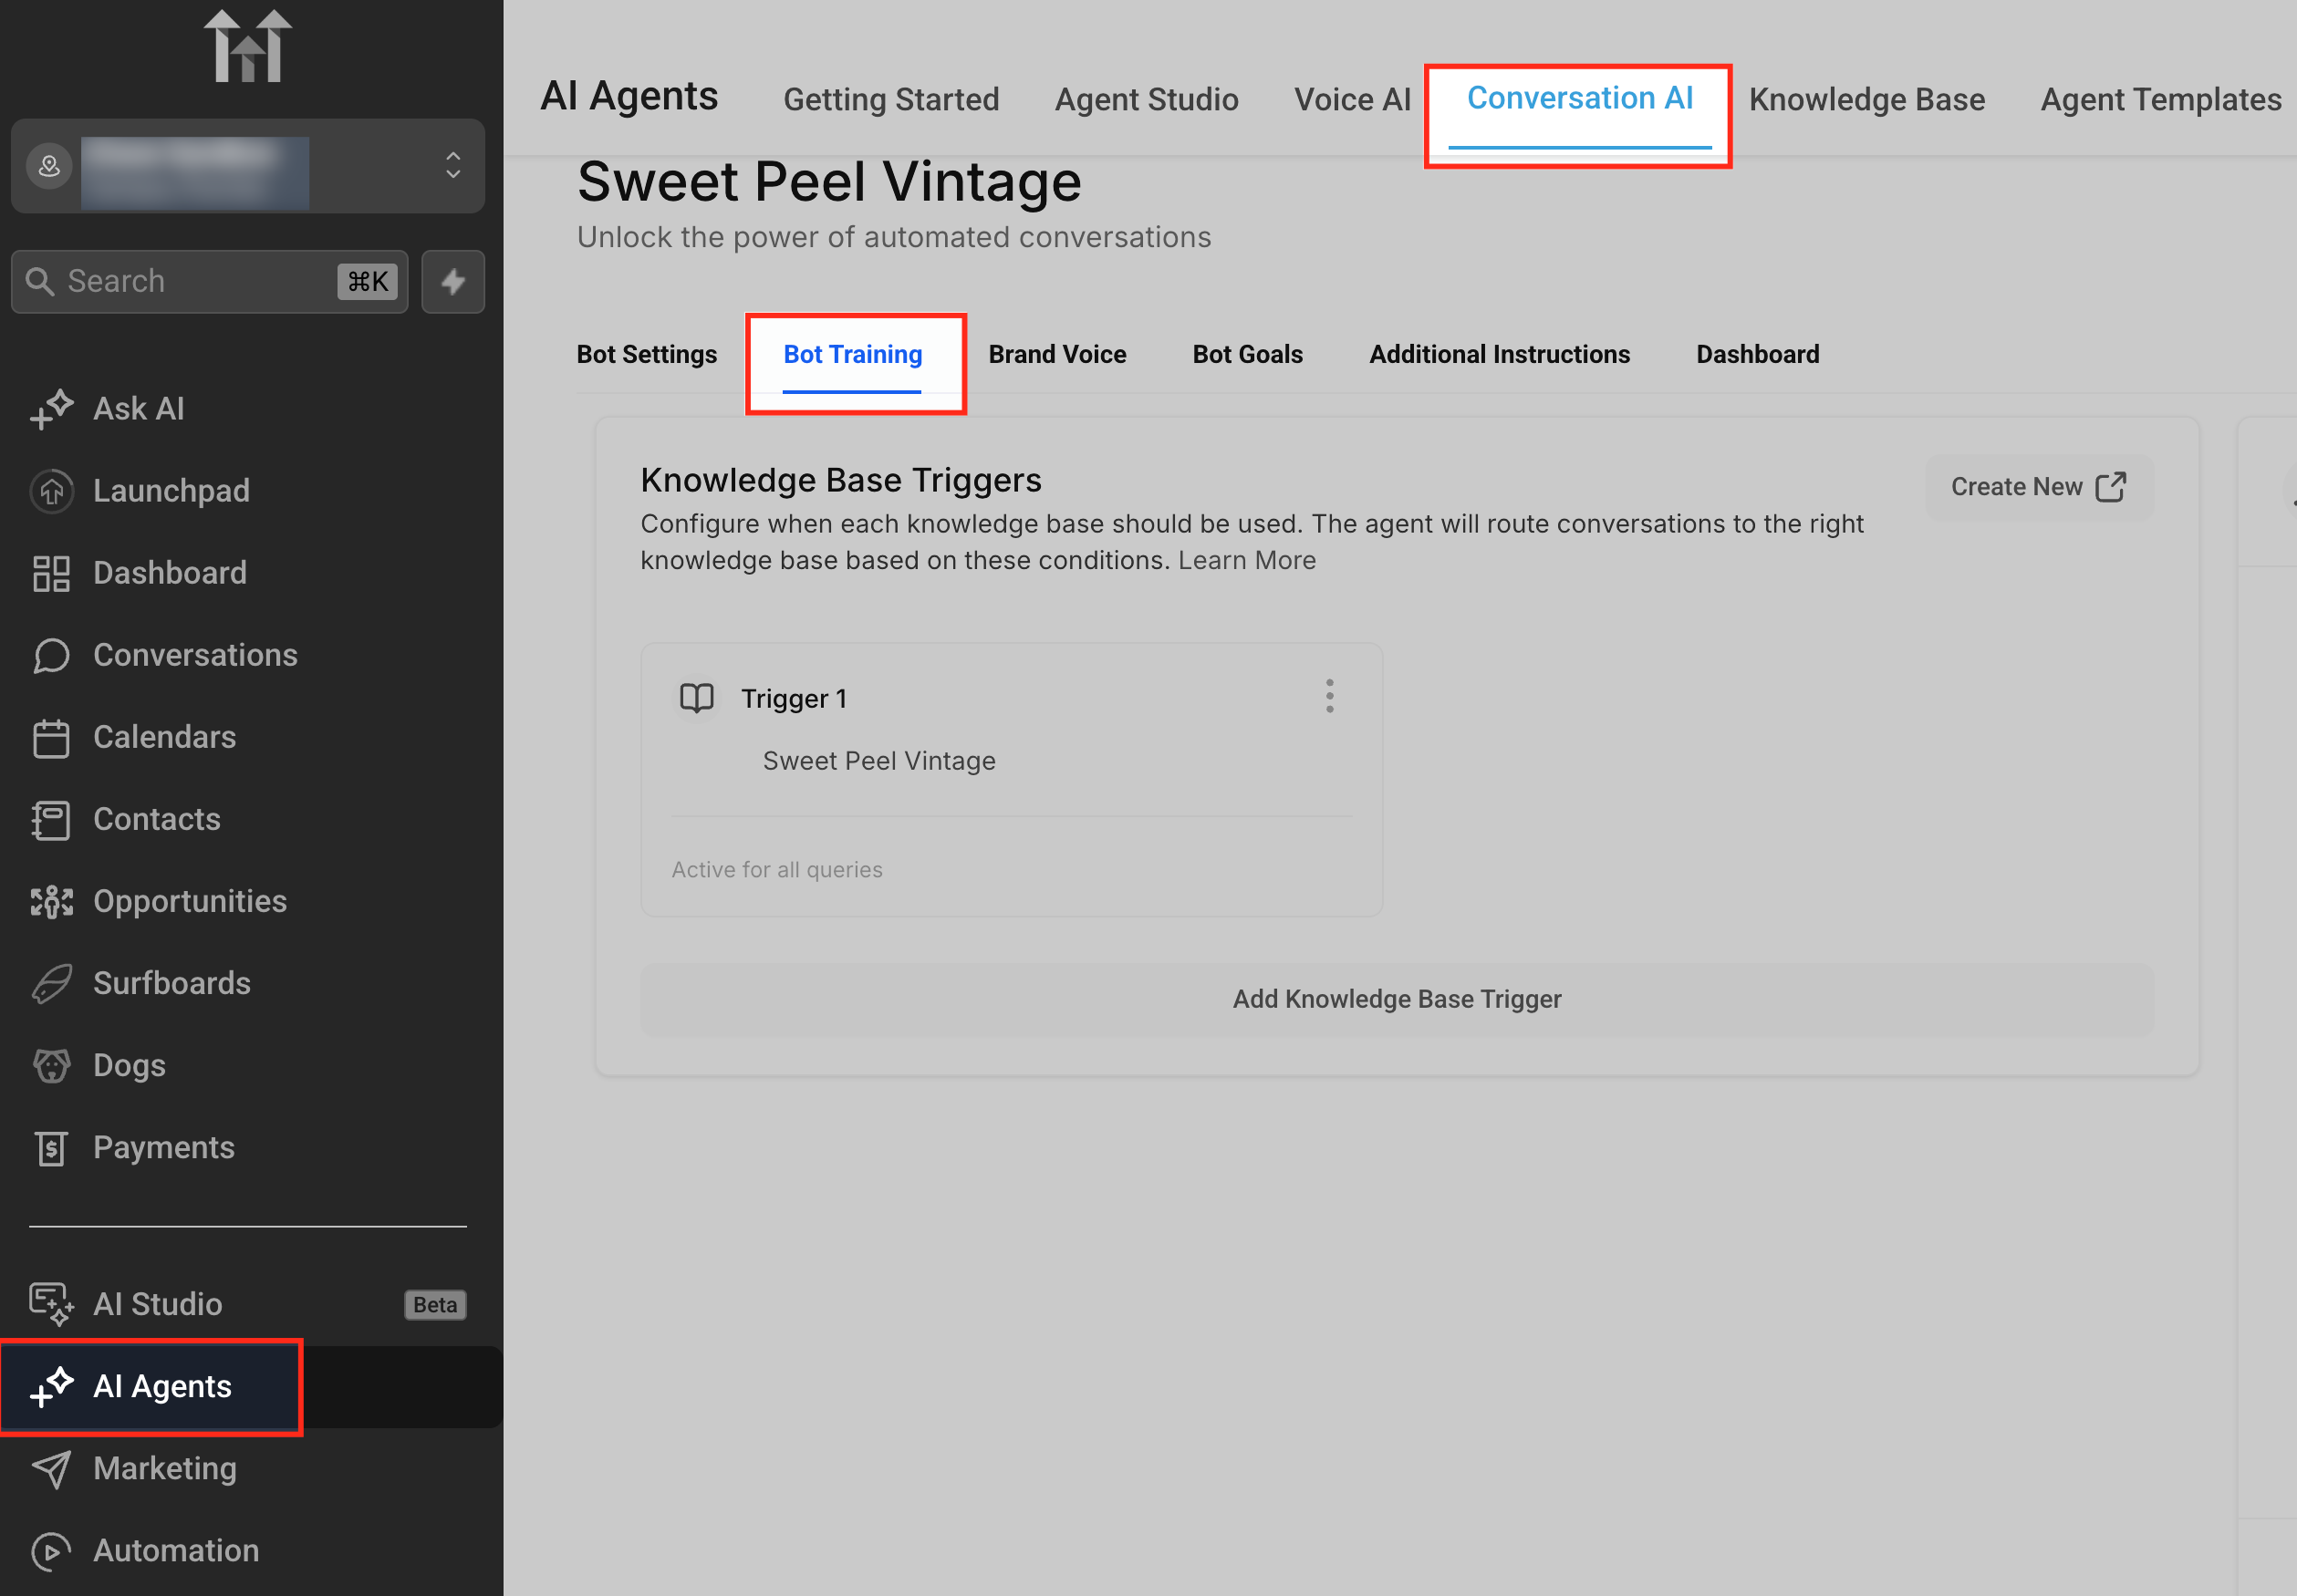
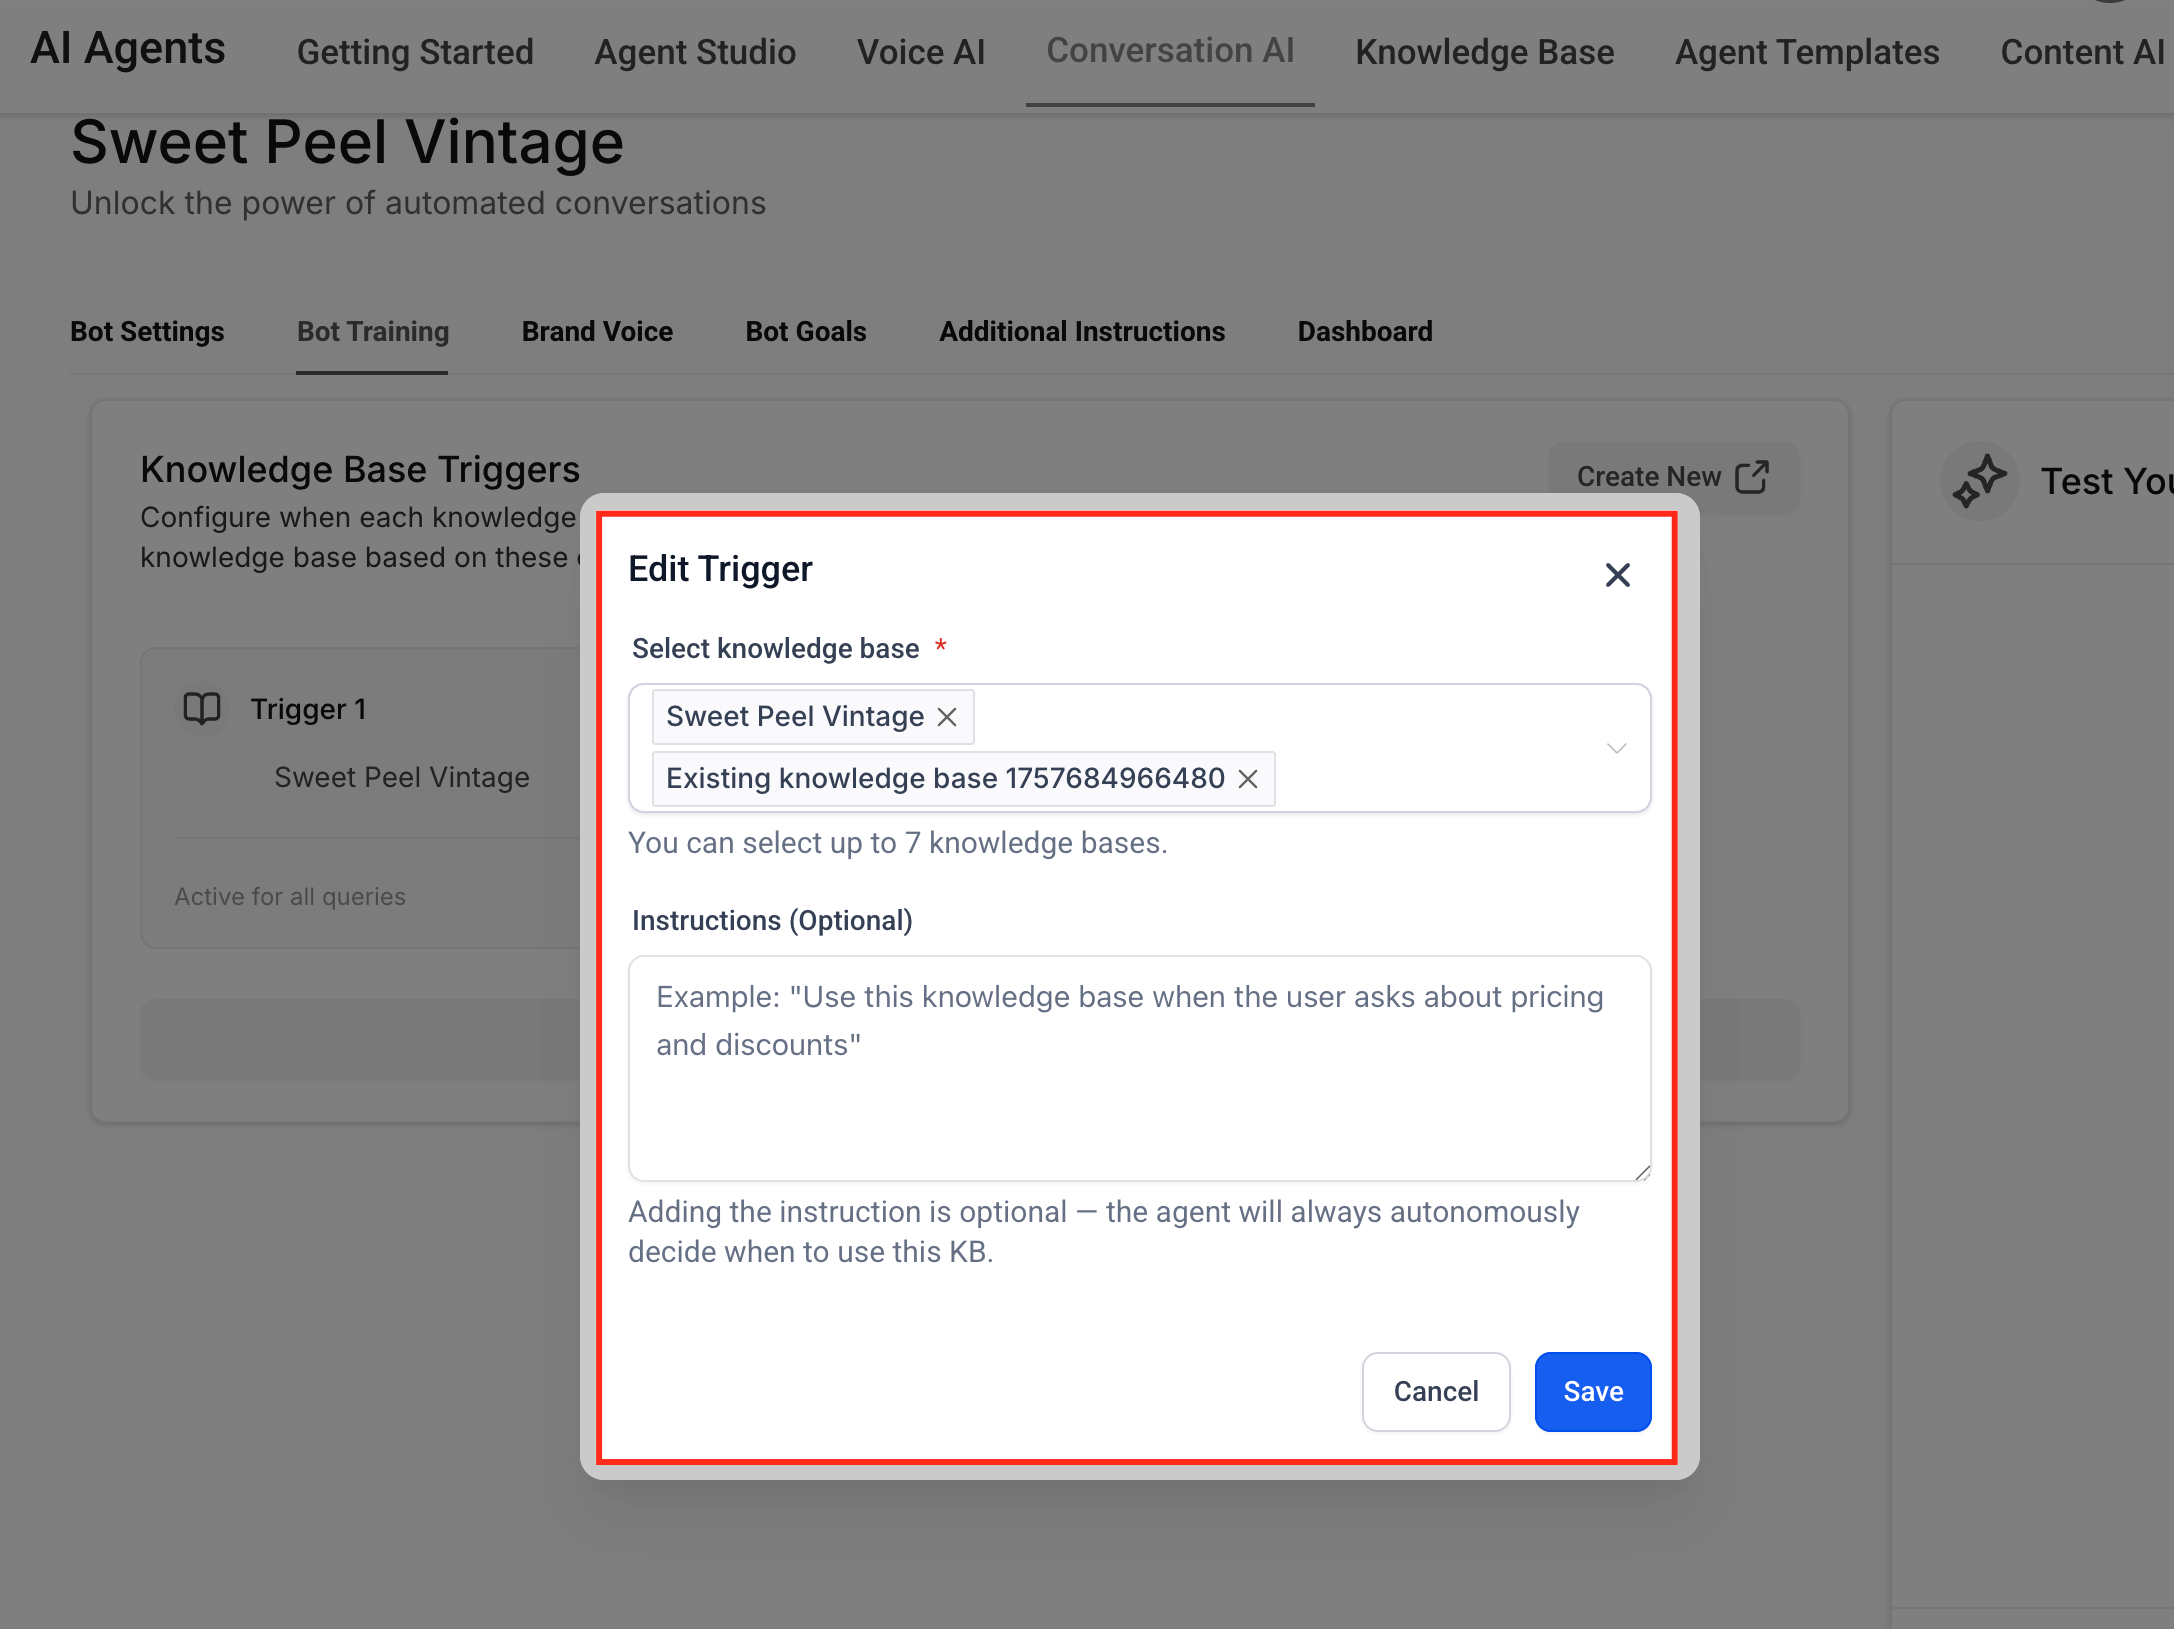
This guide explains how to use Knowledge Base Triggers in Conversation AI to control when specific content is used during conversations. You’ll learn how Always-On and Smart Triggers work, how to structure your Knowledge Bases, and how to define effective trigger conditions. By the end, you’ll be able to configure, test, and optimize triggers to deliver more relevant responses and improve sales and support outcomes. * * * ## What is Knowledge Base Triggers? Knowledge Base Triggers allow you to control when Conversation AI uses specific Knowledge Base content during a conversation. Instead of relying only on the AI’s judgment, you can define trigger conditions that activate at key moments ensuring the most relevant content appears exactly when it’s needed. Each Conversation AI agent includes: - 1 Always-On trigger for general knowledge - Up to 3 Smart Triggers that activate based on conditions This creates a hybrid system where your defined logic handles critical moments, while the AI continues to respond naturally across the conversation. * * * ## Key Benefits of Smart Knowledge Base Triggers & Instructions - Drive more conversions: Surface offers, case studies, or pricing at the right moment - Improve response accuracy: Ensure critical content is used when required - Reduce missed opportunities: Automatically respond to buying signals - Gain more control: Guide how AI behaves in high-impact scenarios - Scale content usage: Attach multiple Knowledge Bases per trigger for better organization * * * ## Always-On Trigger The Always-On trigger contains foundational information that should be available in every conversation. This acts as your agent’s baseline knowledge. - Brand messaging and positioning - General offers and pricing ranges - Business hours and contact details - Common FAQs and policies If no Smart Trigger conditions are met, the Always-On trigger continues to power responses. * * * ## Smart Triggers Smart Triggers activate when specific conditions are met in a conversation, allowing the AI to respond with targeted content. Each agent supports up to 3 Smart Triggers, in addition to the Always-On trigger. ### Example use cases: Real Estate - Condition: After budget, location, and preferences are shared - Action: Show relevant property listings High-Ticket Sales - Condition: When objections or hesitation are expressed - Action: Share relevant case studies * * * ### Best practices for writing trigger conditions: - Use clear, natural language - Focus on specific moments (e.g., qualification complete, objection raised) - Avoid overlapping conditions - Attach only relevant Knowledge Bases to each trigger * * * ## Knowledge Base Limits and Structure for Triggers - Up to 4 triggers total (1 Always-On + 3 Smart Triggers) - Up to 7 Knowledge Bases per trigger ### Structuring your Knowledge Base: Create separate Knowledge Bases for: - General FAQs - Product or service information - Case studies and testimonials - Policies and compliance - Onboarding or implementation guides Attach: - Broad content → Always-On trigger - Specific content → Smart Triggers This improves accuracy and makes maintenance easier. * * * ## Best Practices for Structuring Triggers - Design triggers around distinct conversation stages - Keep each trigger focused on a single purpose - Avoid adding too many Knowledge Bases to one trigger - Test and refine regularly - Use clear naming conventions for triggers * * * ## How To Setup Smart Knowledge Base Triggers & Instructions ### Step 1: Open Bot Training - Go to AI Agents → Conversation AI - Select your agent - Open the Bot Training tab!(https://assets.patientcopilot.ai/848ed36d0de993e9.png) ### Step 2: Configure Always-On Trigger - Ensure general Knowledge Bases are attached - Remove highly specific content - Save changes!(https://assets.patientcopilot.ai/411756cd1cc4742a.png) ### Step 3: Create a Smart Trigger - Click Add Trigger - Name the trigger clearly - Write the condition in plain English!(https://assets.patientcopilot.ai/9b09dac1e4288417.gif)!(https://assets.patientcopilot.ai/3901ff1fefdcd102.png) ### Step 4: Attach Knowledge Bases - Select relevant Knowledge Bases (up to 7) - Keep them focused on the trigger purpose - Save ### Step 5: Test in Preview - Simulate real conversations - Check if triggers fire at the right time - Verify which Knowledge Base is used - Adjust conditions as needed ### Step 6: Add Additional Triggers - Create up to 3 Smart Triggers - Cover different stages like: - Qualification - Objections - Pricing - Booking * * * ## Frequently Asked Questions Q: Do I need to configure Smart Triggers? No. Without triggers, the AI continues working as usual. Q: What happens if no trigger fires? The Always-On trigger handles the response. Q: How many Knowledge Bases can I use? Up to 7 per trigger. Q: Who can configure triggers? Users with Conversation AI training permissions. Q: How do I write effective conditions? Use clear, natural language focused on a specific moment. Q: Do Smart Triggers work with Voice AI or workflows? They are designed specifically for Conversation AI behavior. * * * ### Related Articles - Conversation AI - New Knowledge Sources & Quality Upgrades - Knowledge Base - Document & Rich-Text Support - Add Tables to Knowledge Base for AI Employees in Patient Copilot - Auto Refresh for Knowledge Base Trained Links - Knowledge Base Integration for Voice AI Agents - Managing Granular Permissions for Conversation AI Agents
!(https://assets.patientcopilot.ai/3901ff1fefdcd102.png)