
Getting Started - Setup Social Planner
Ready to simplify your social media management? Great! With the Social Planner, you’ll easily schedule and manage your posts, ensuring your brand maintains a consistent presence across popular platforms like Facebook, Instagram, and beyond. Let’s get started!
Setup and Connect social accounts (required to publish)
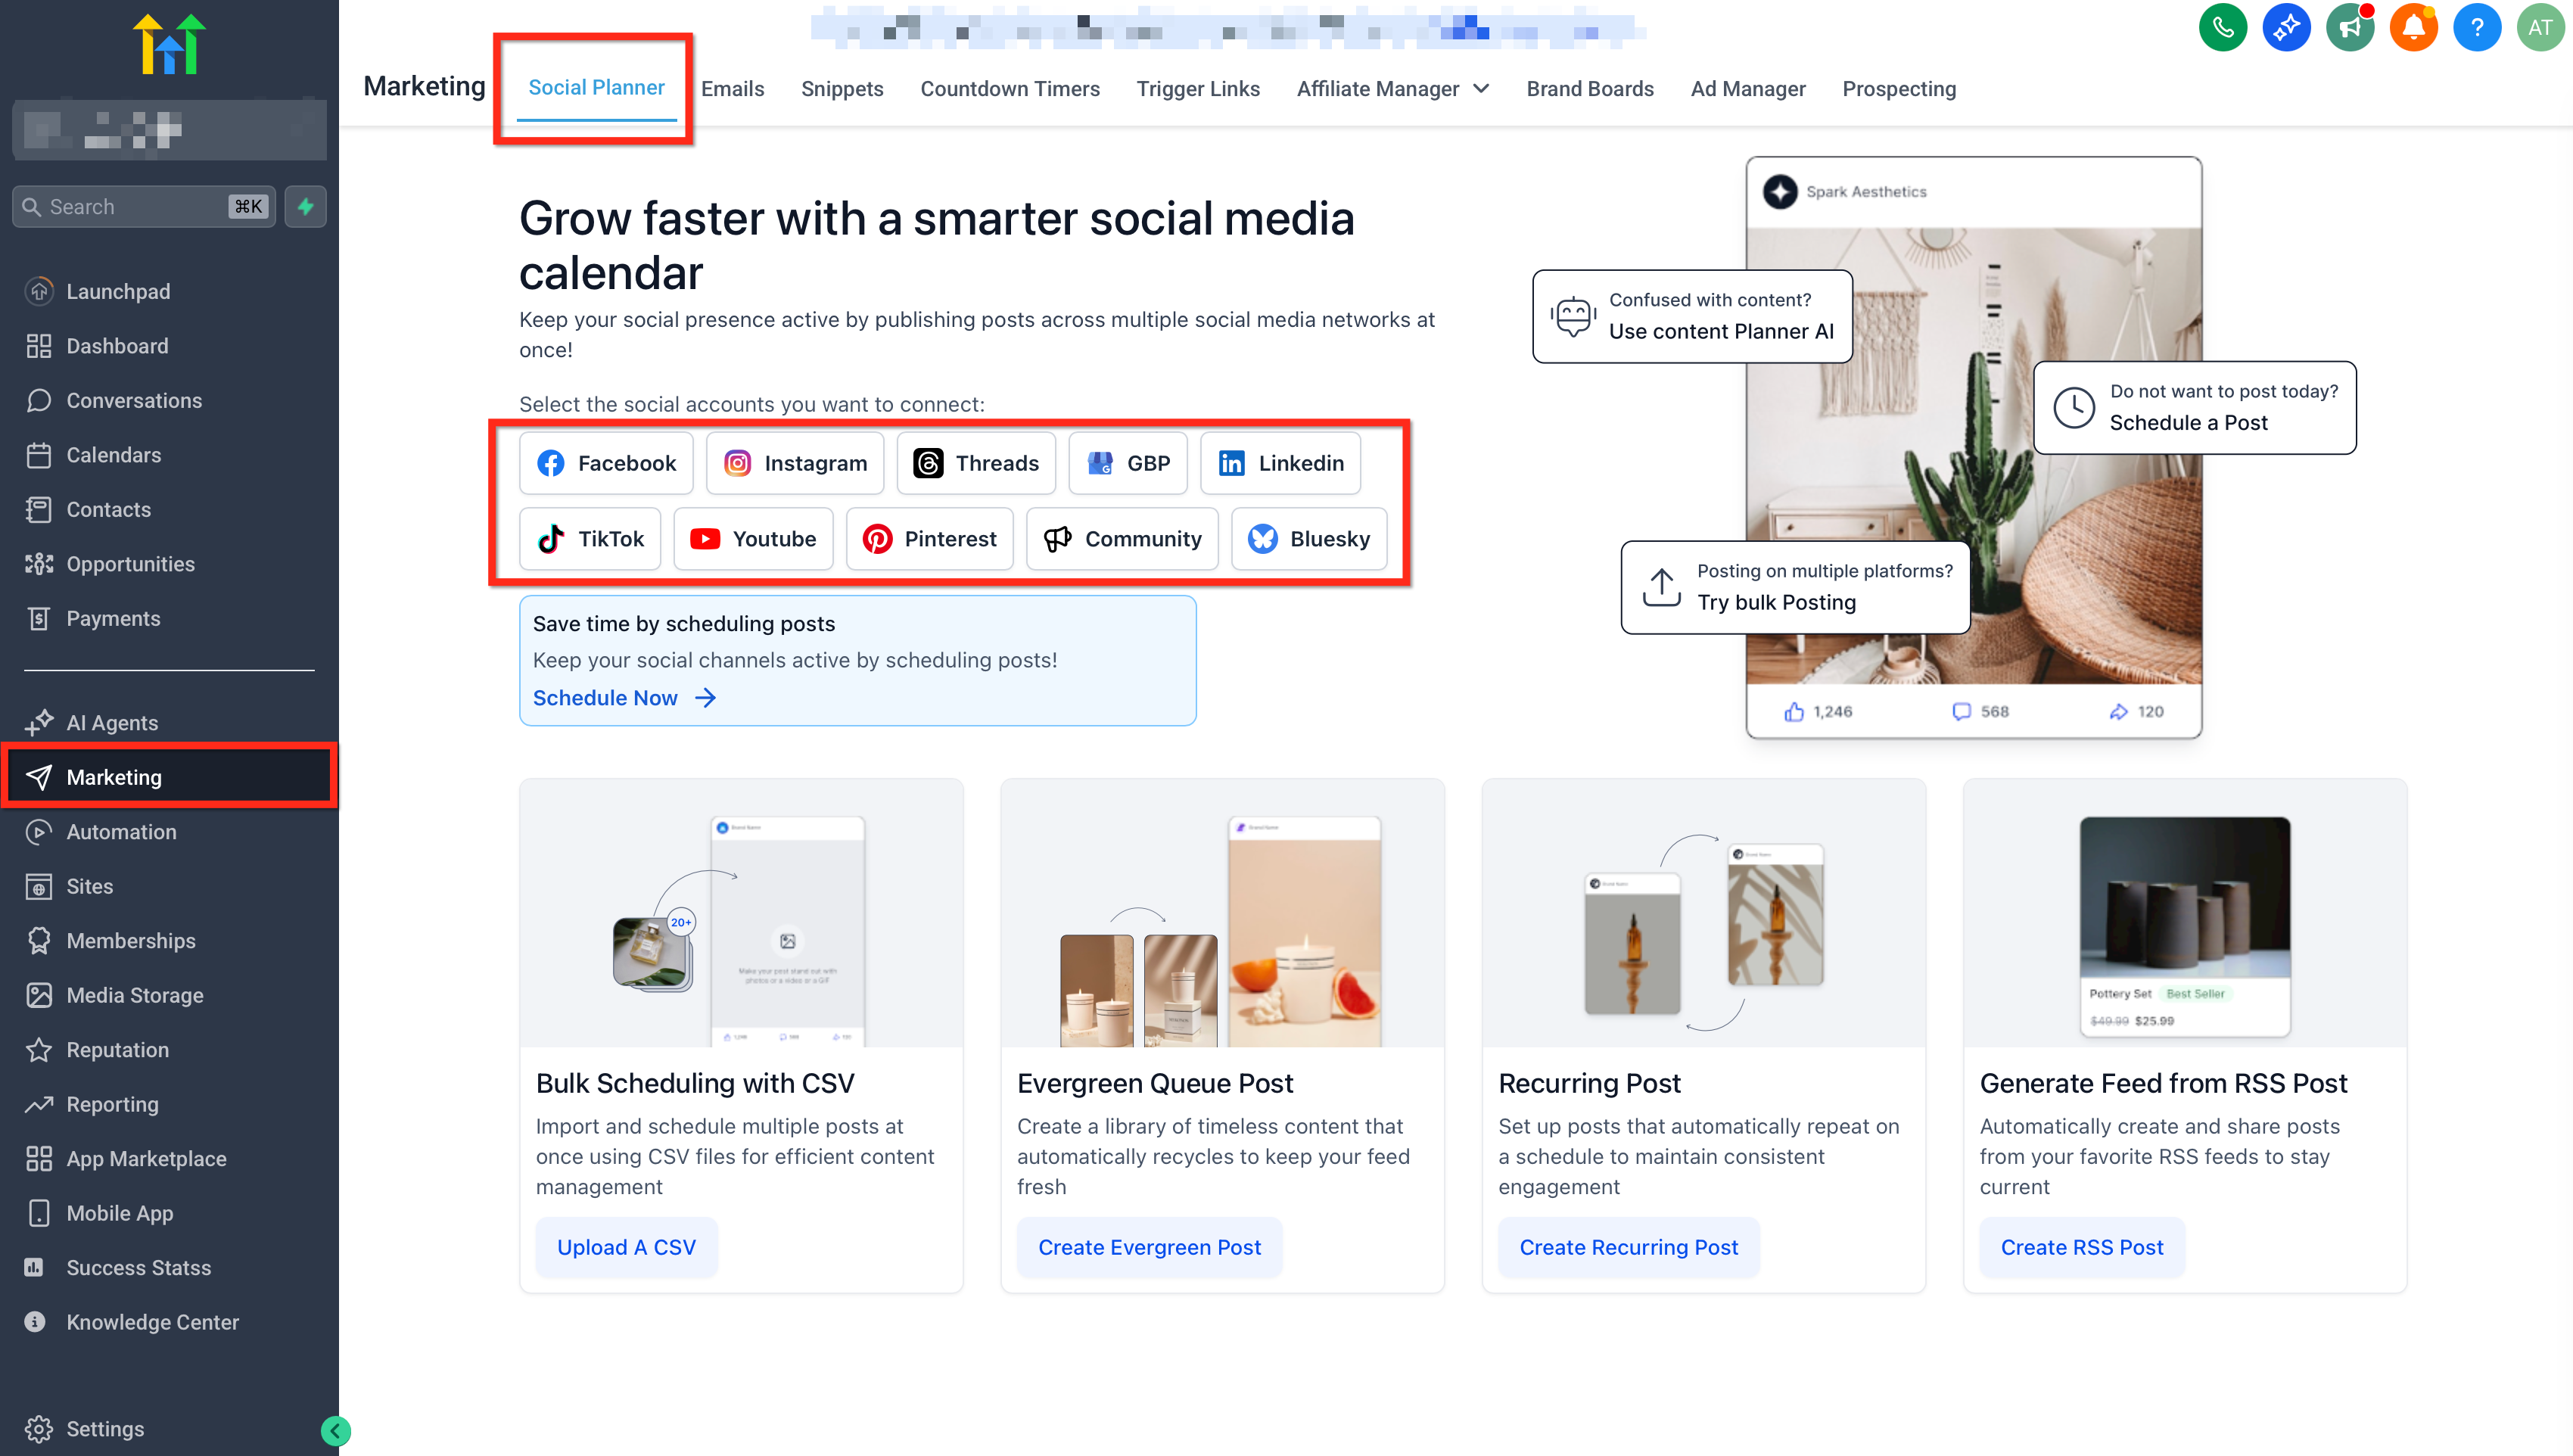
Let’s get your accounts connected so you can start posting with ease. Here’s how: 1. Choose the social account you want to connect by clicking its button. We’ll use Facebook as an example.
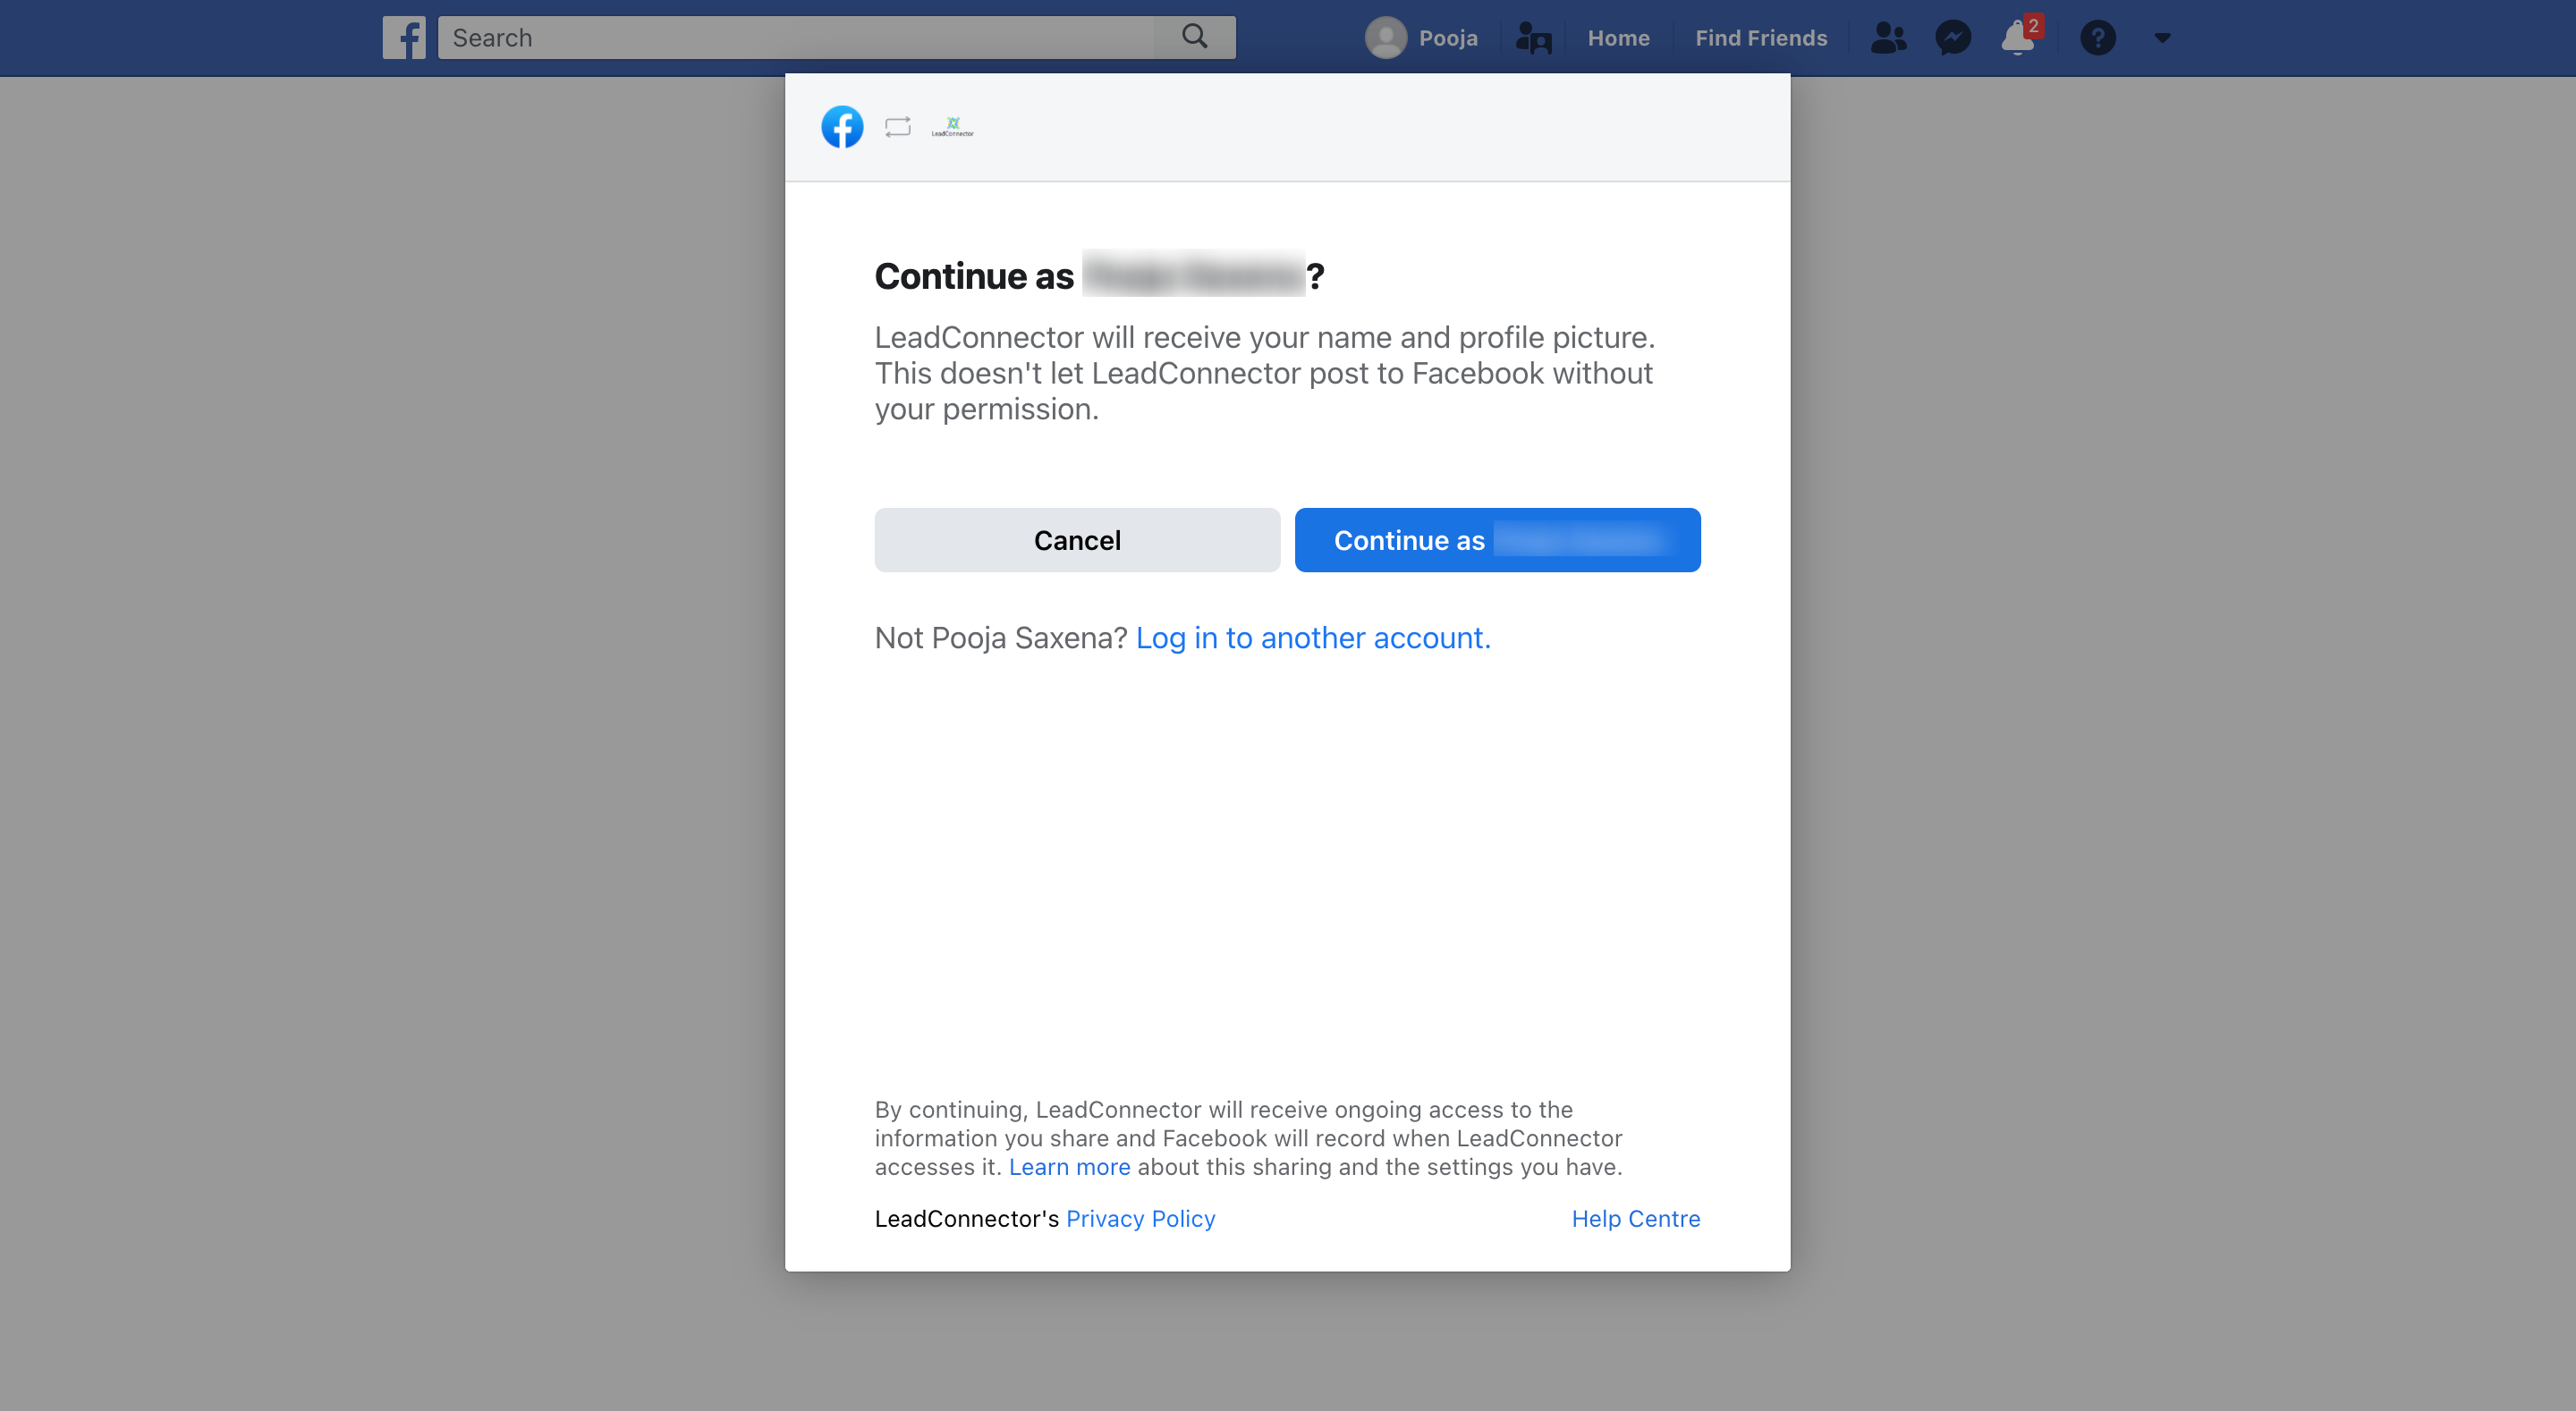
- Log in to your Facebook account.
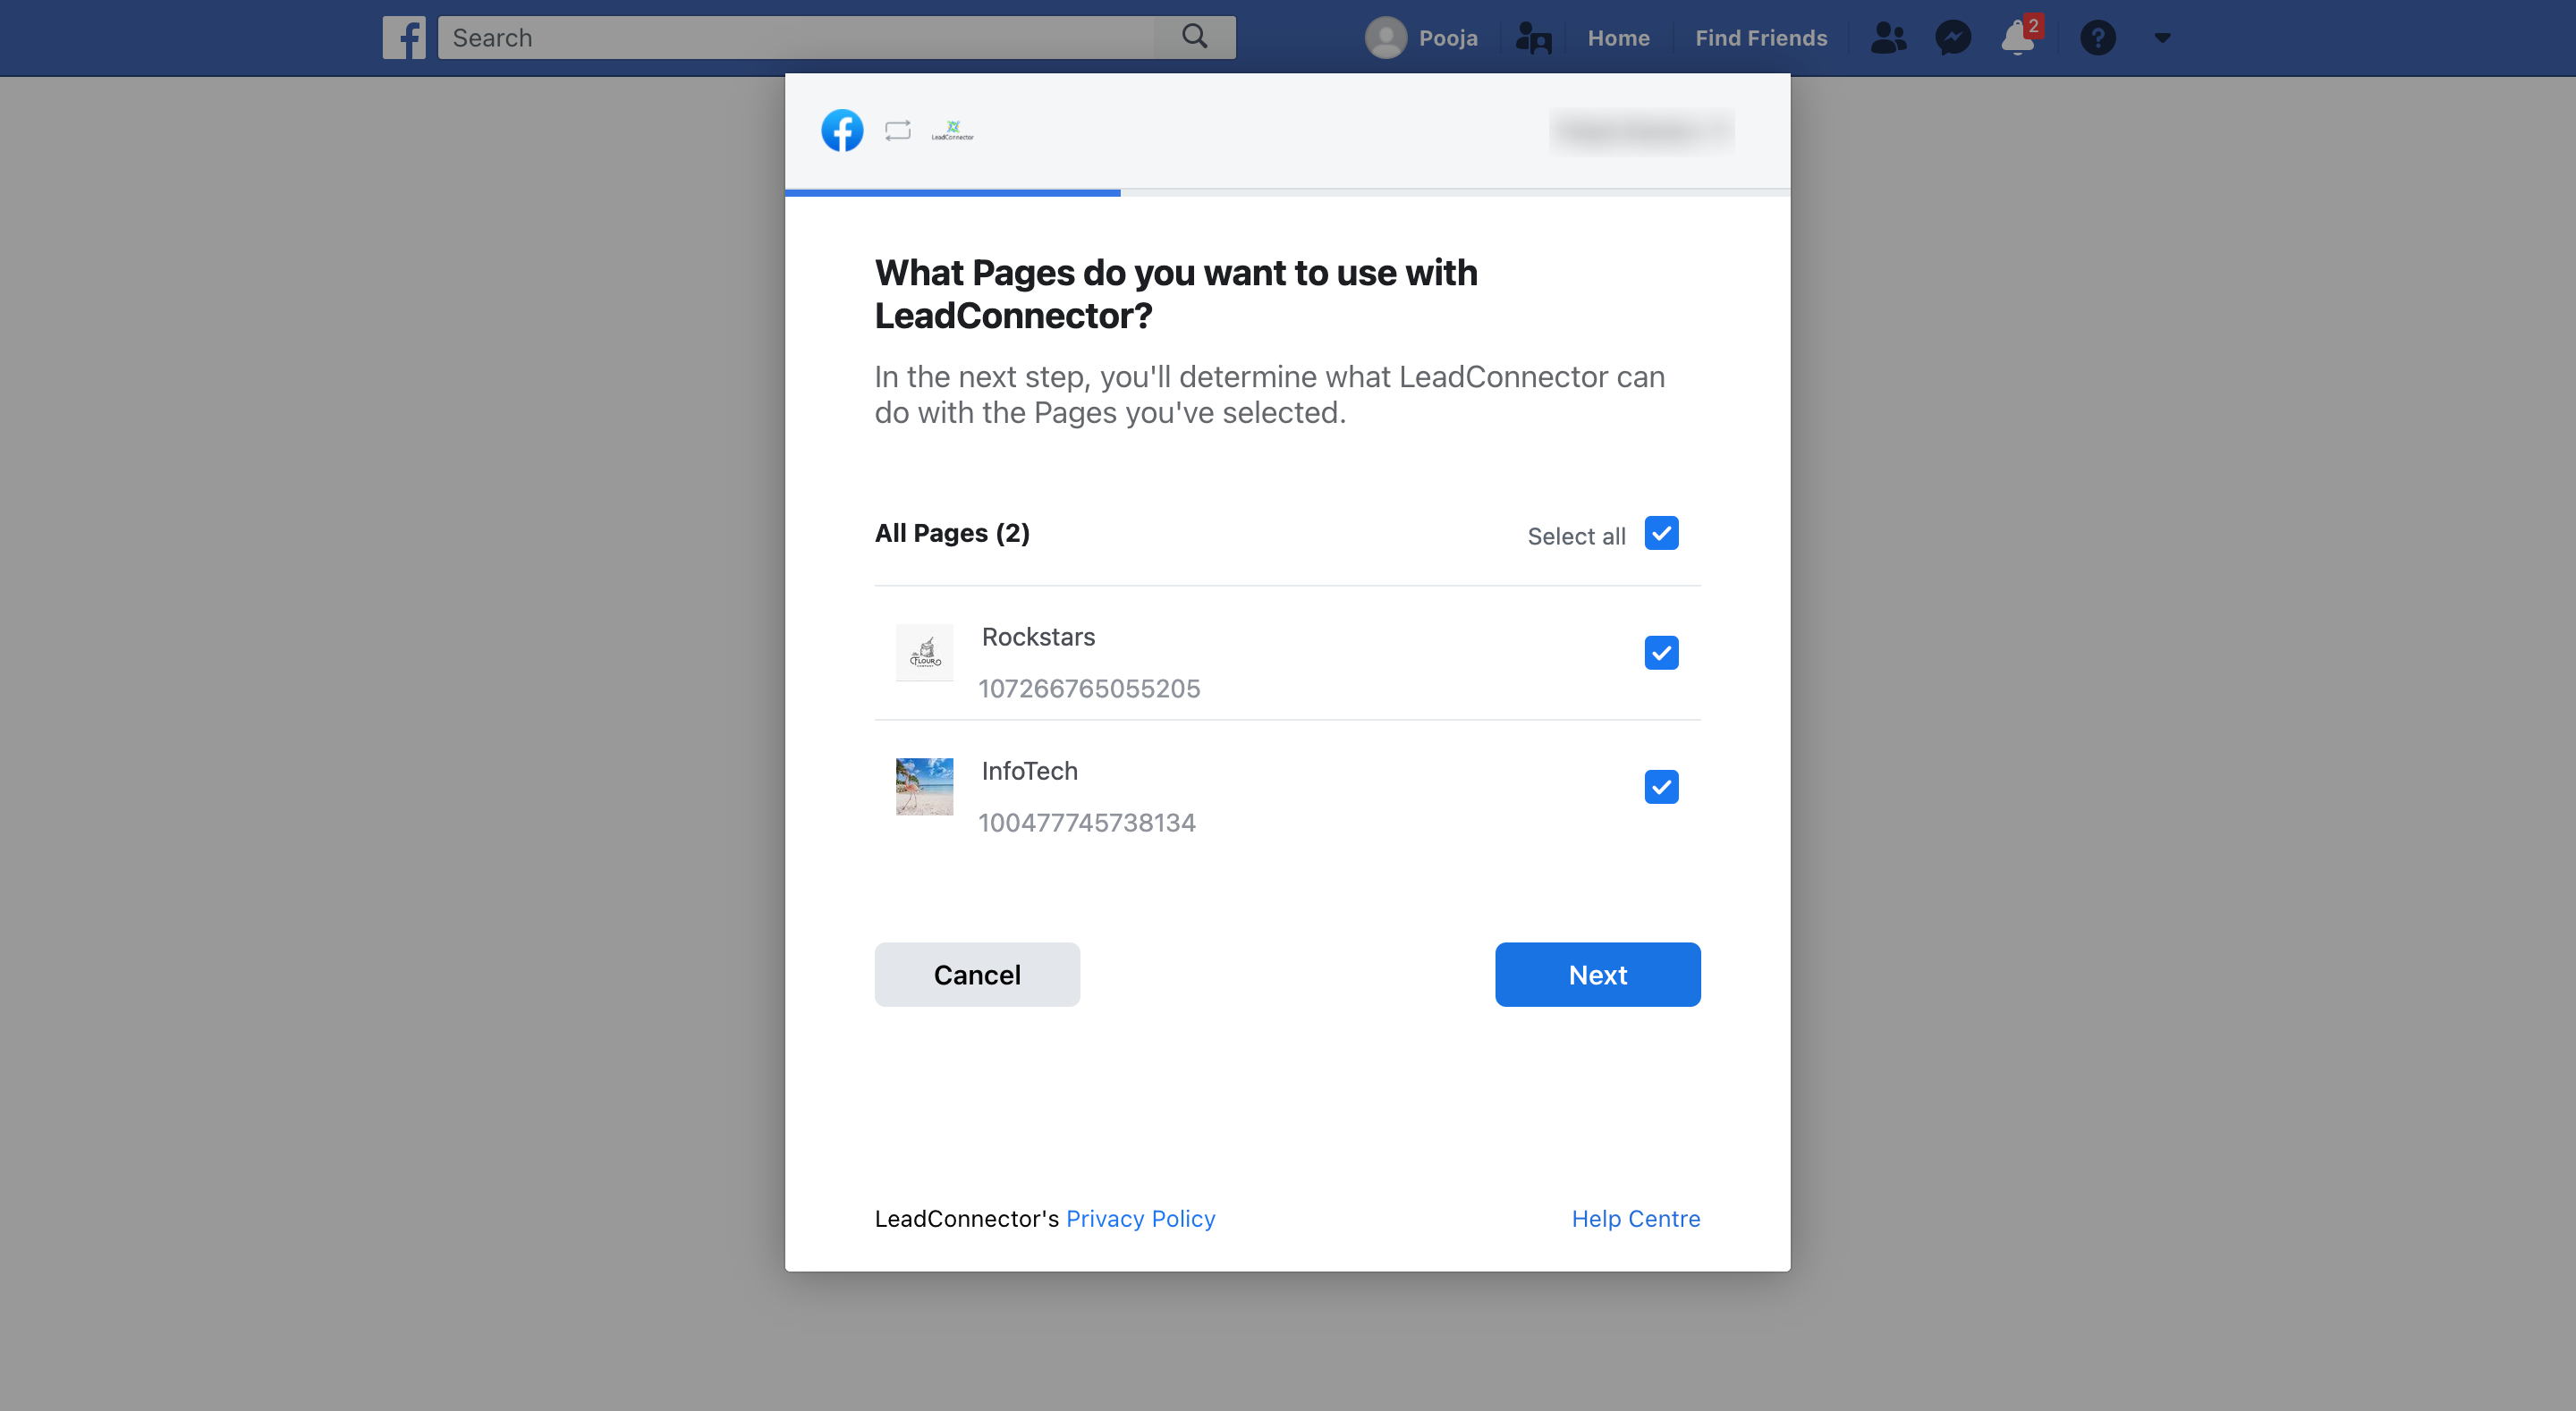
- Choose at least one Facebook page you’d like to manage.
- Verify your connection.
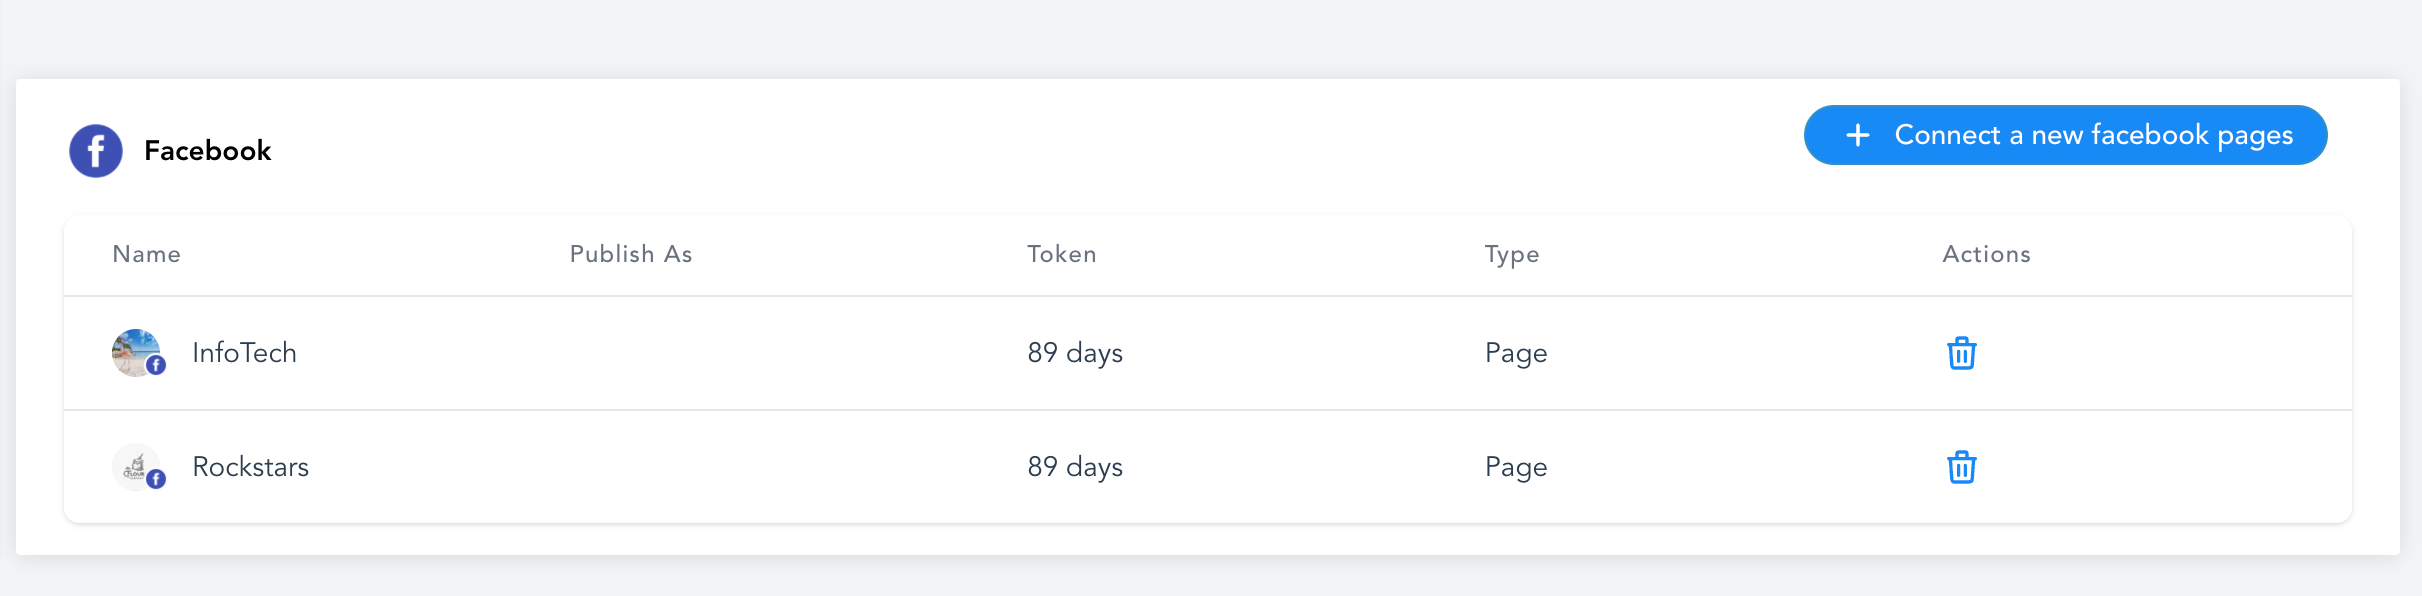
Now that you’re connected, let’s create some engaging posts!
Creating Posts Using Templates
Templates make your life easy. Quickly customize pre-made designs for impactful posts. Here’s the scoop: 1. Navigate to Marketing > Social Planner > New Post > Social Planner Templates.
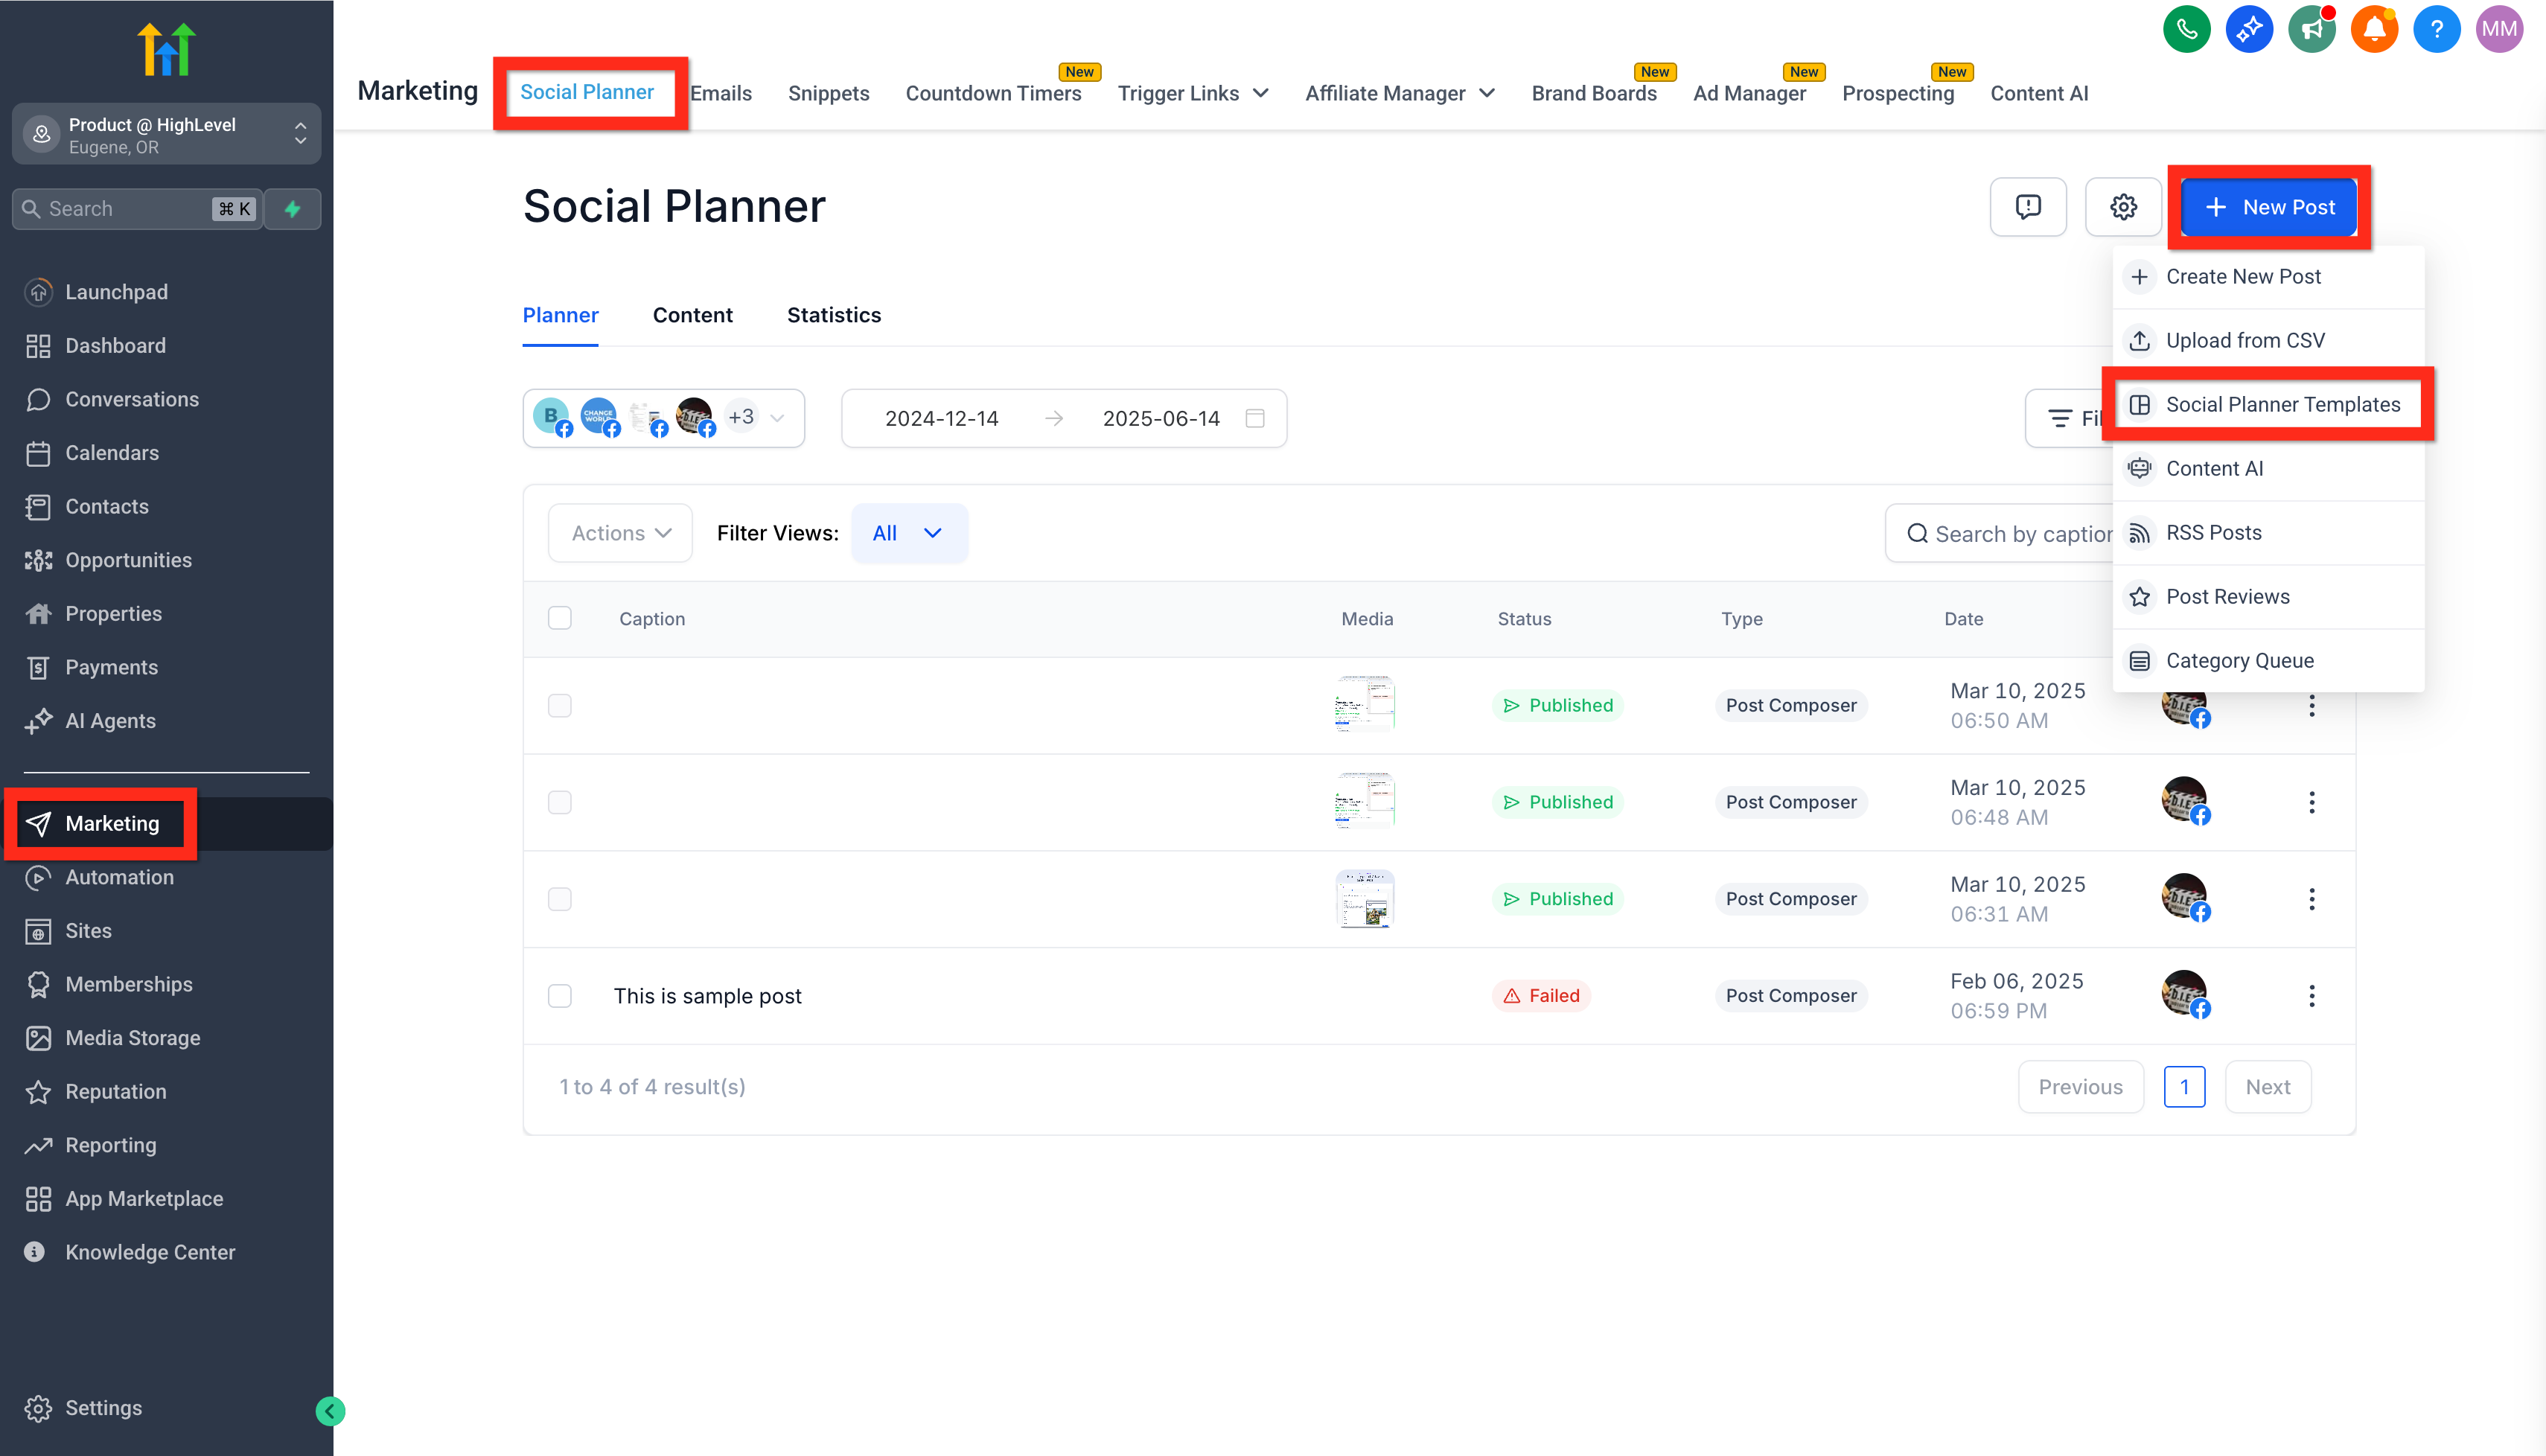
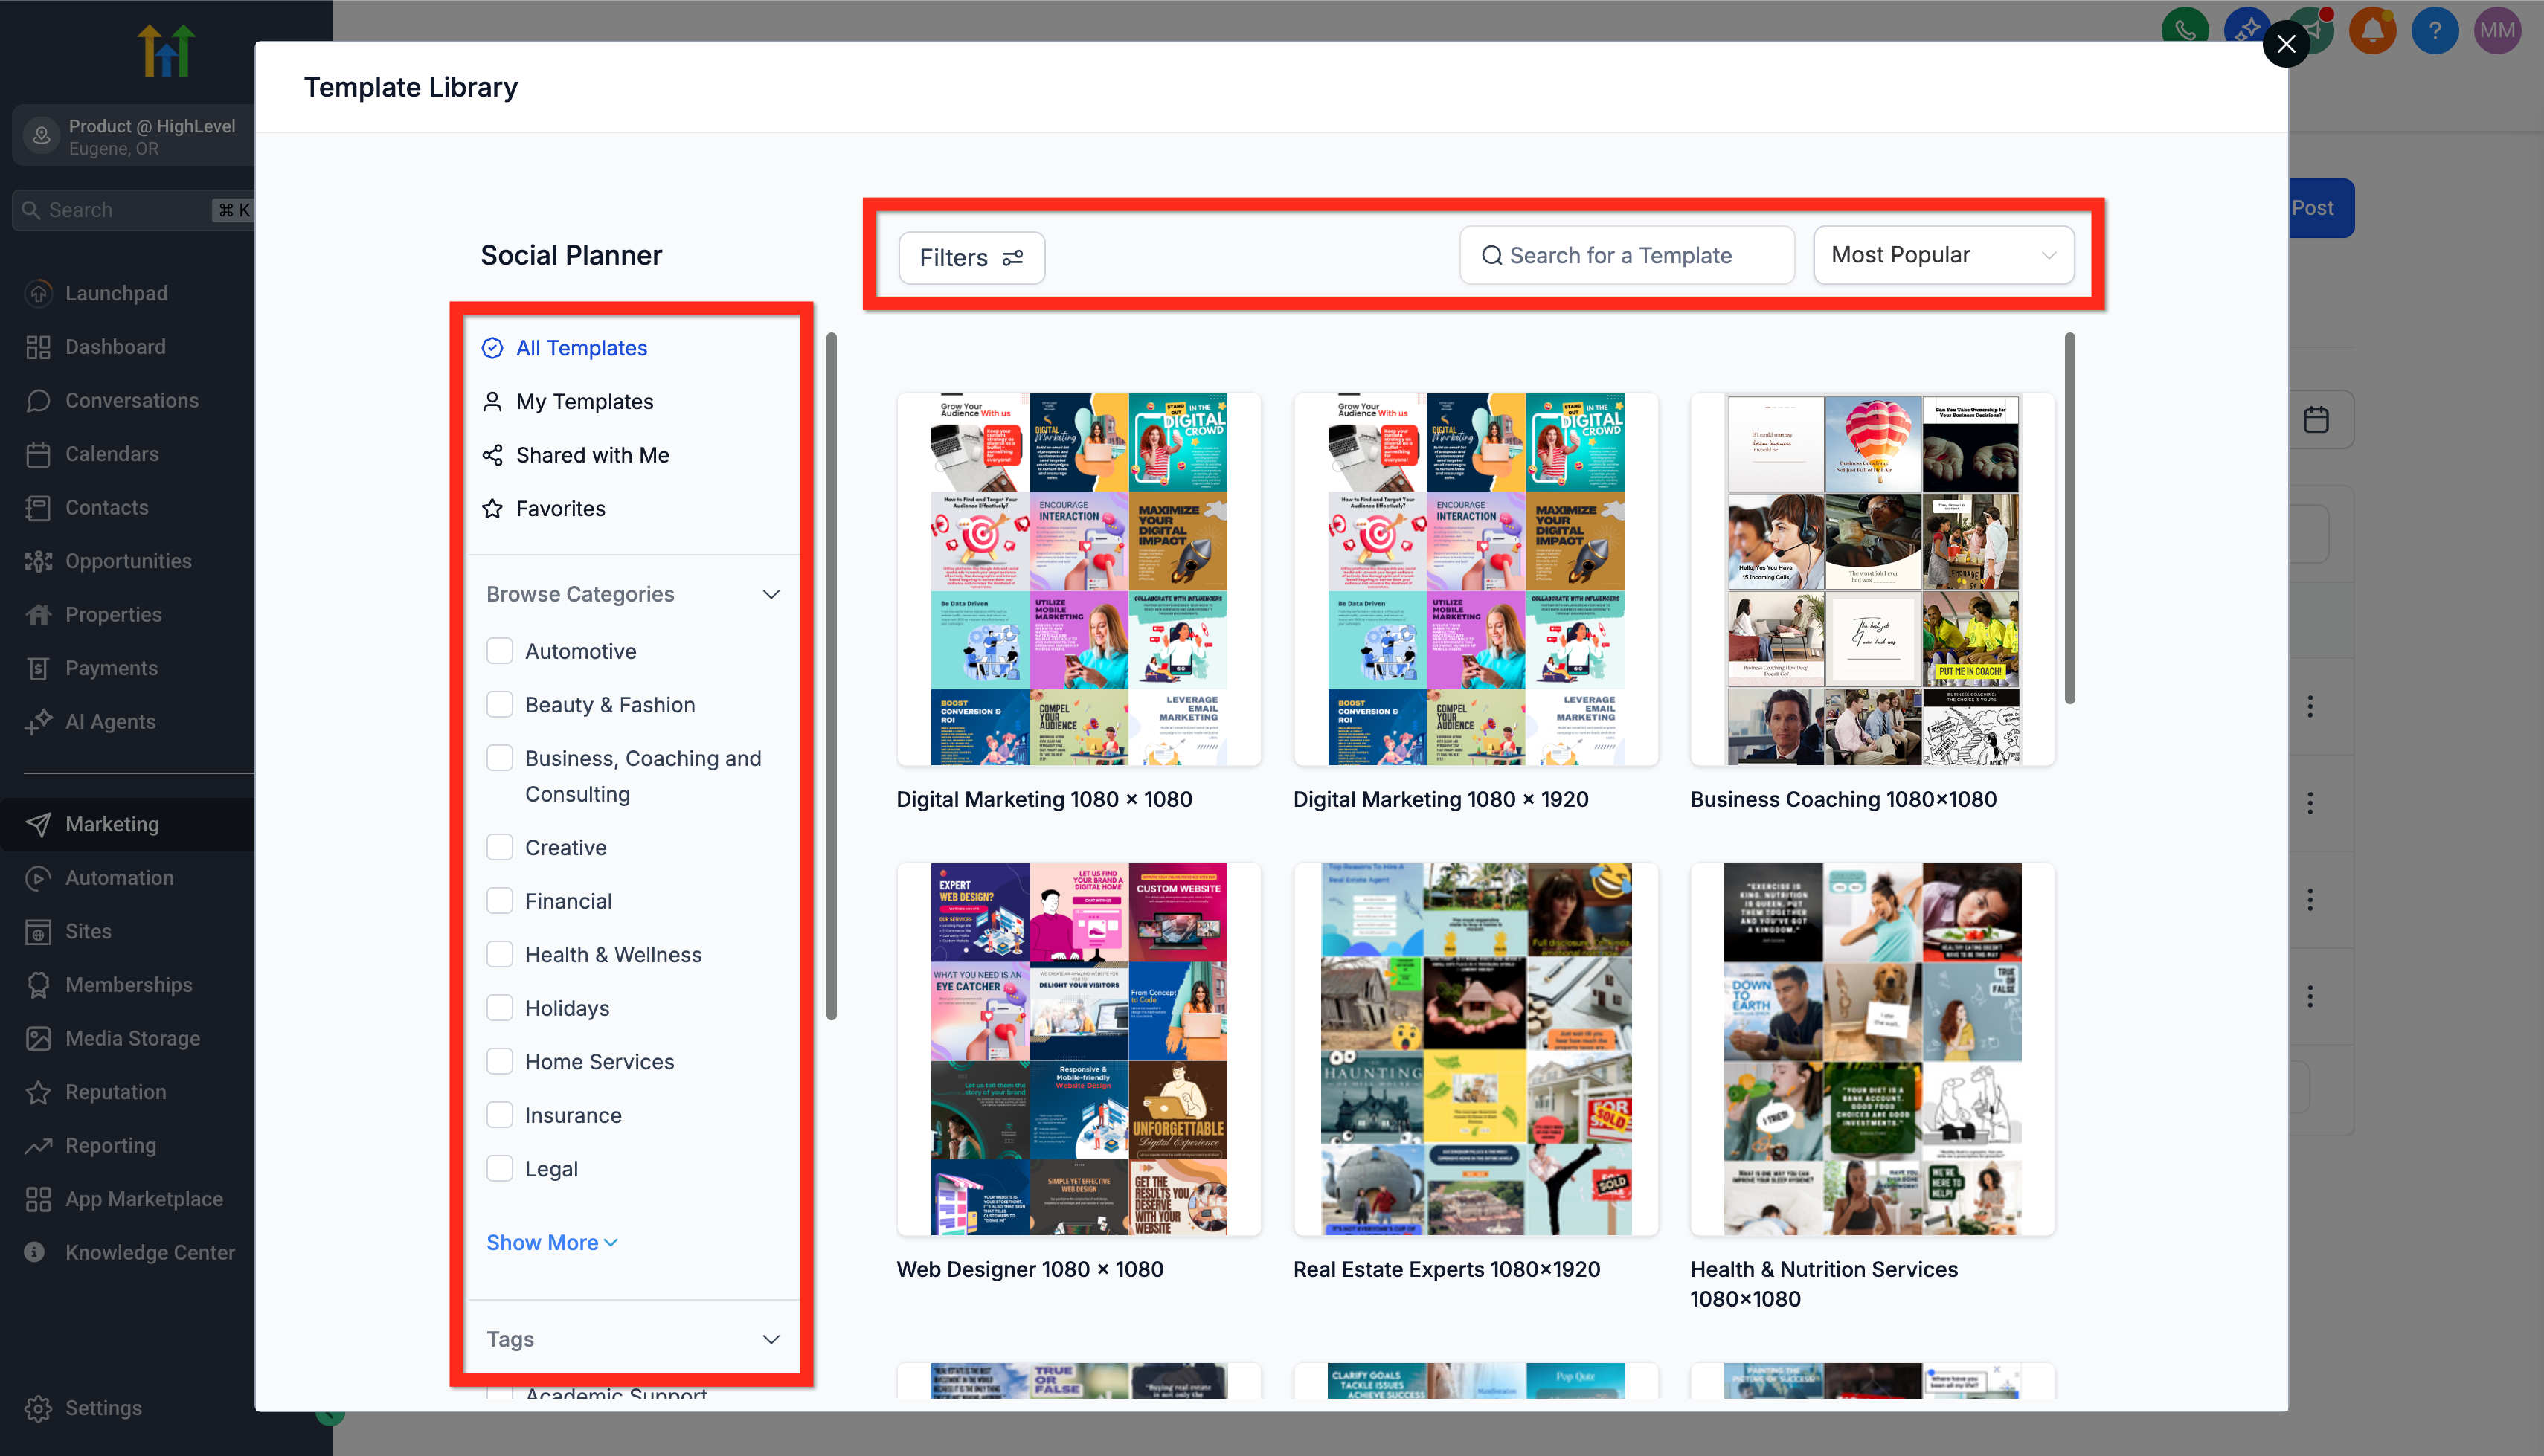
- Search, browse, and filter available templates.
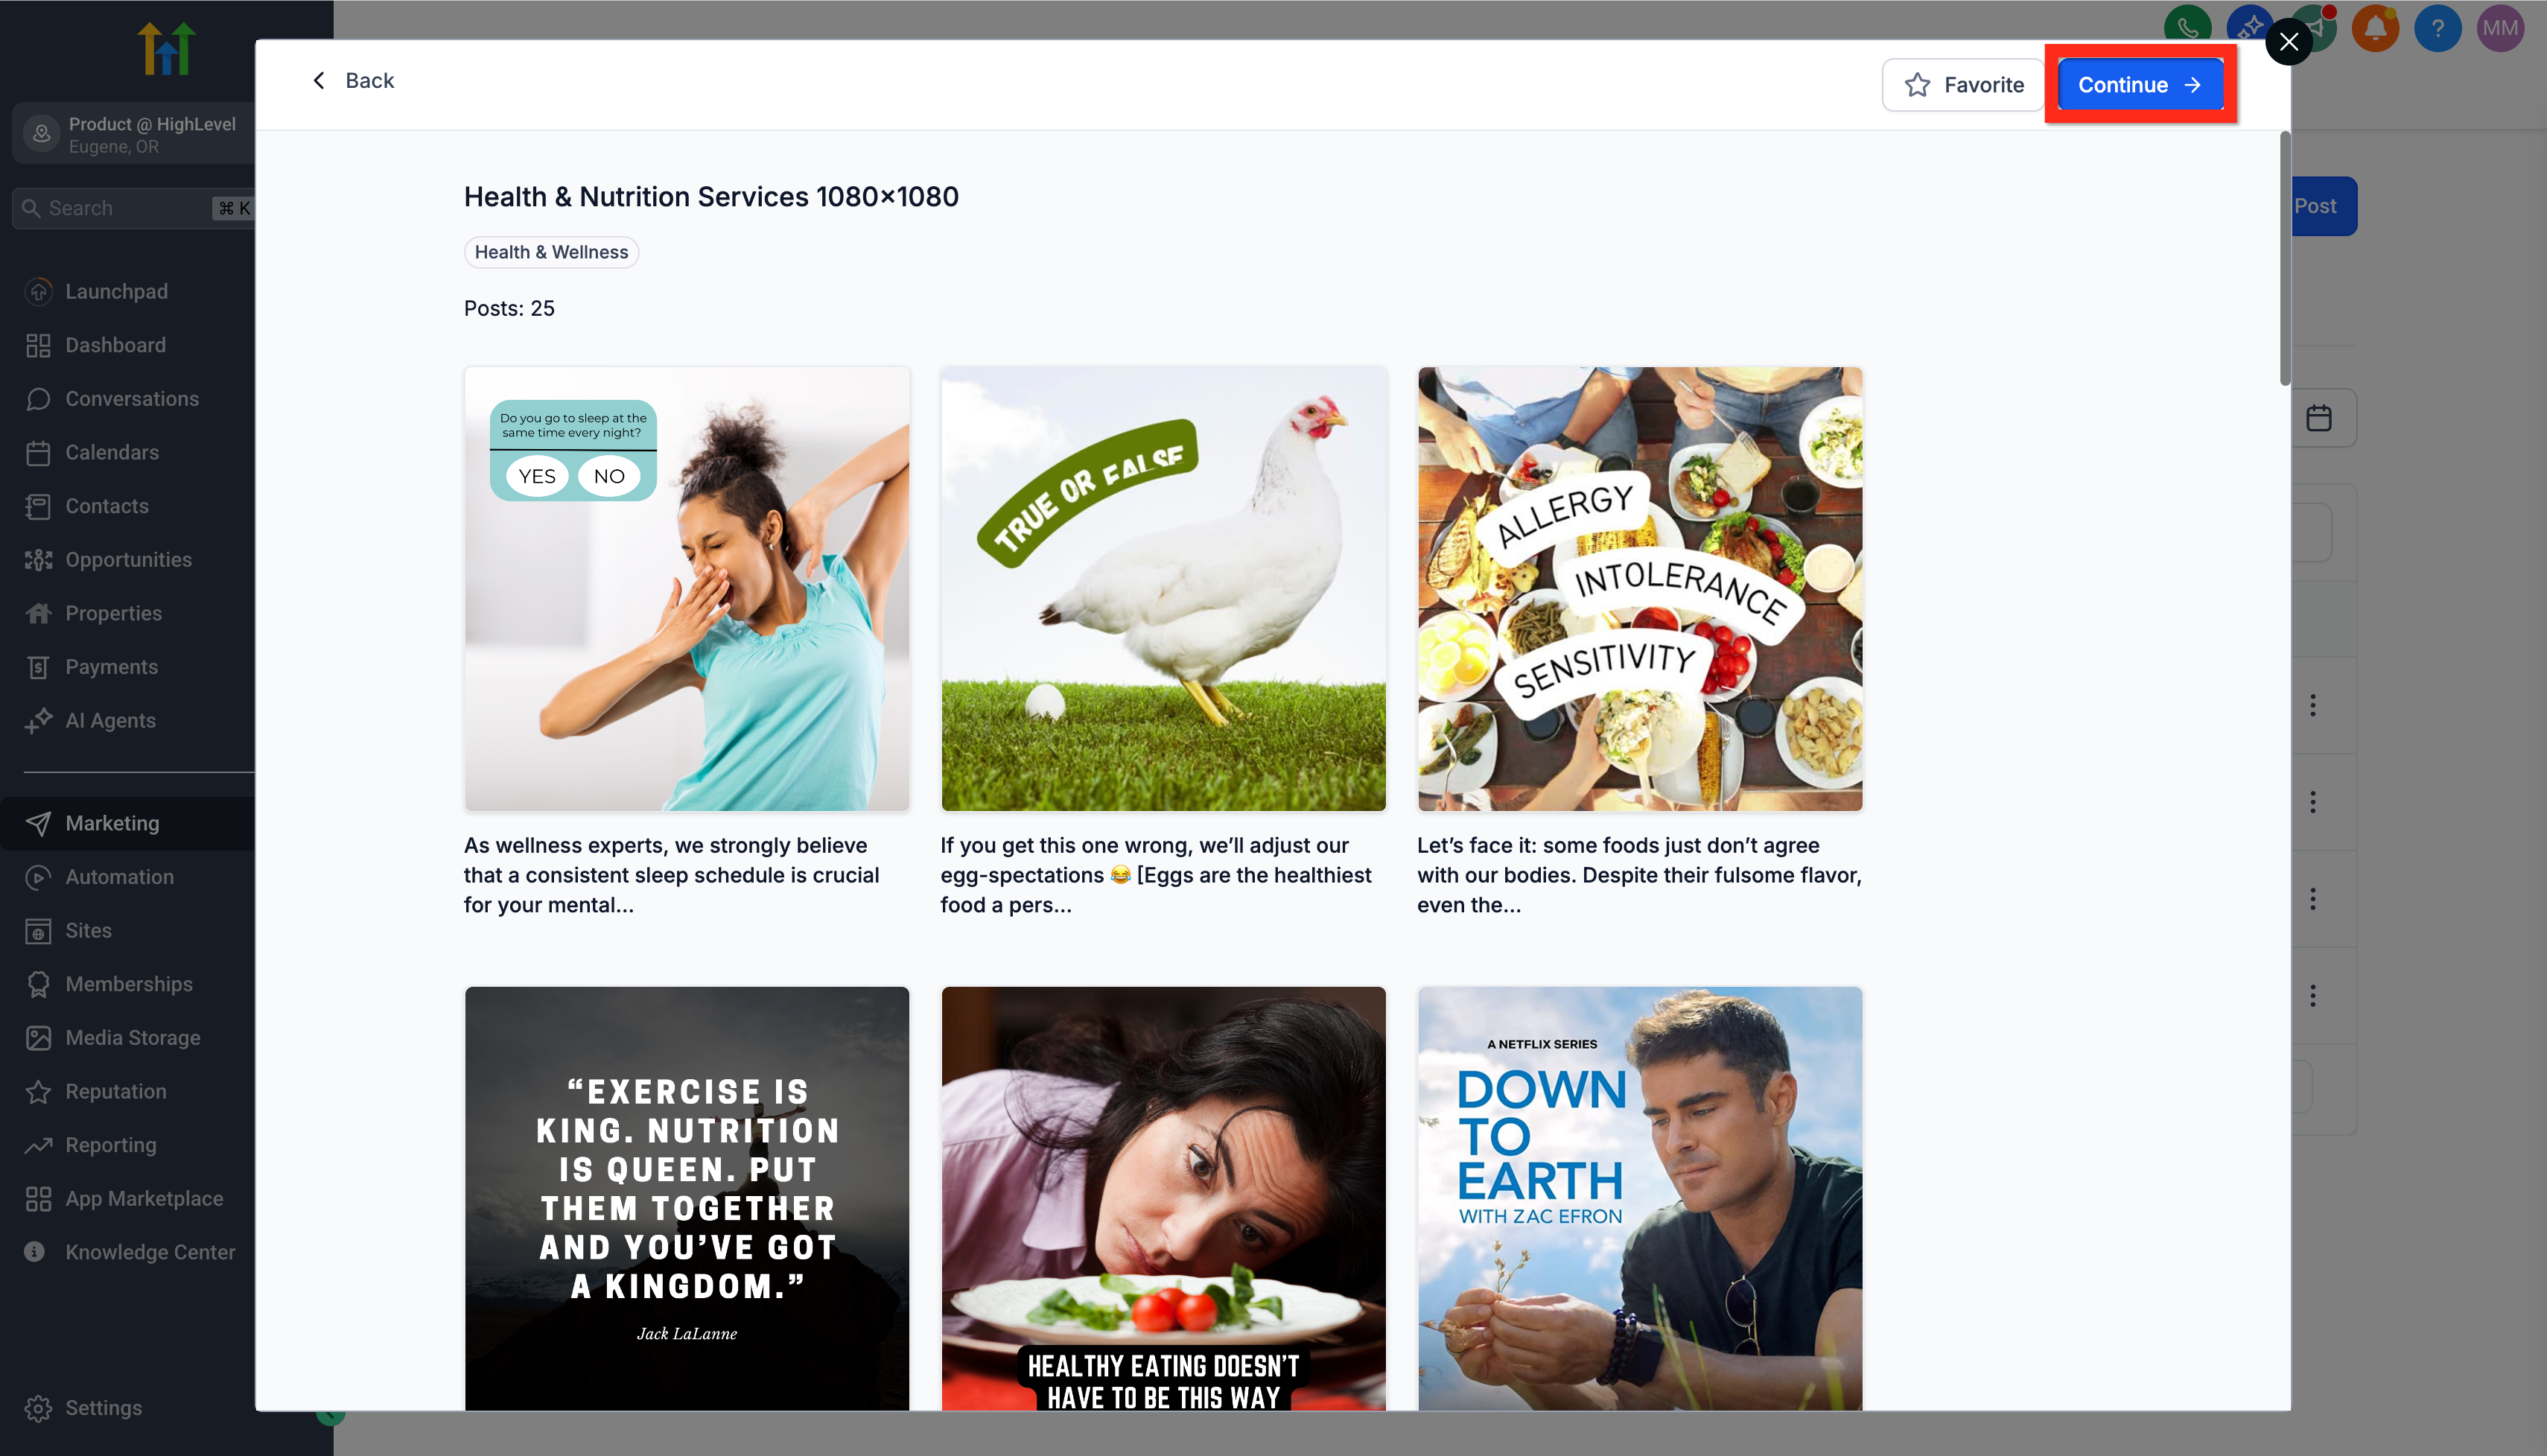
- Preview a template you like, then click Continue.
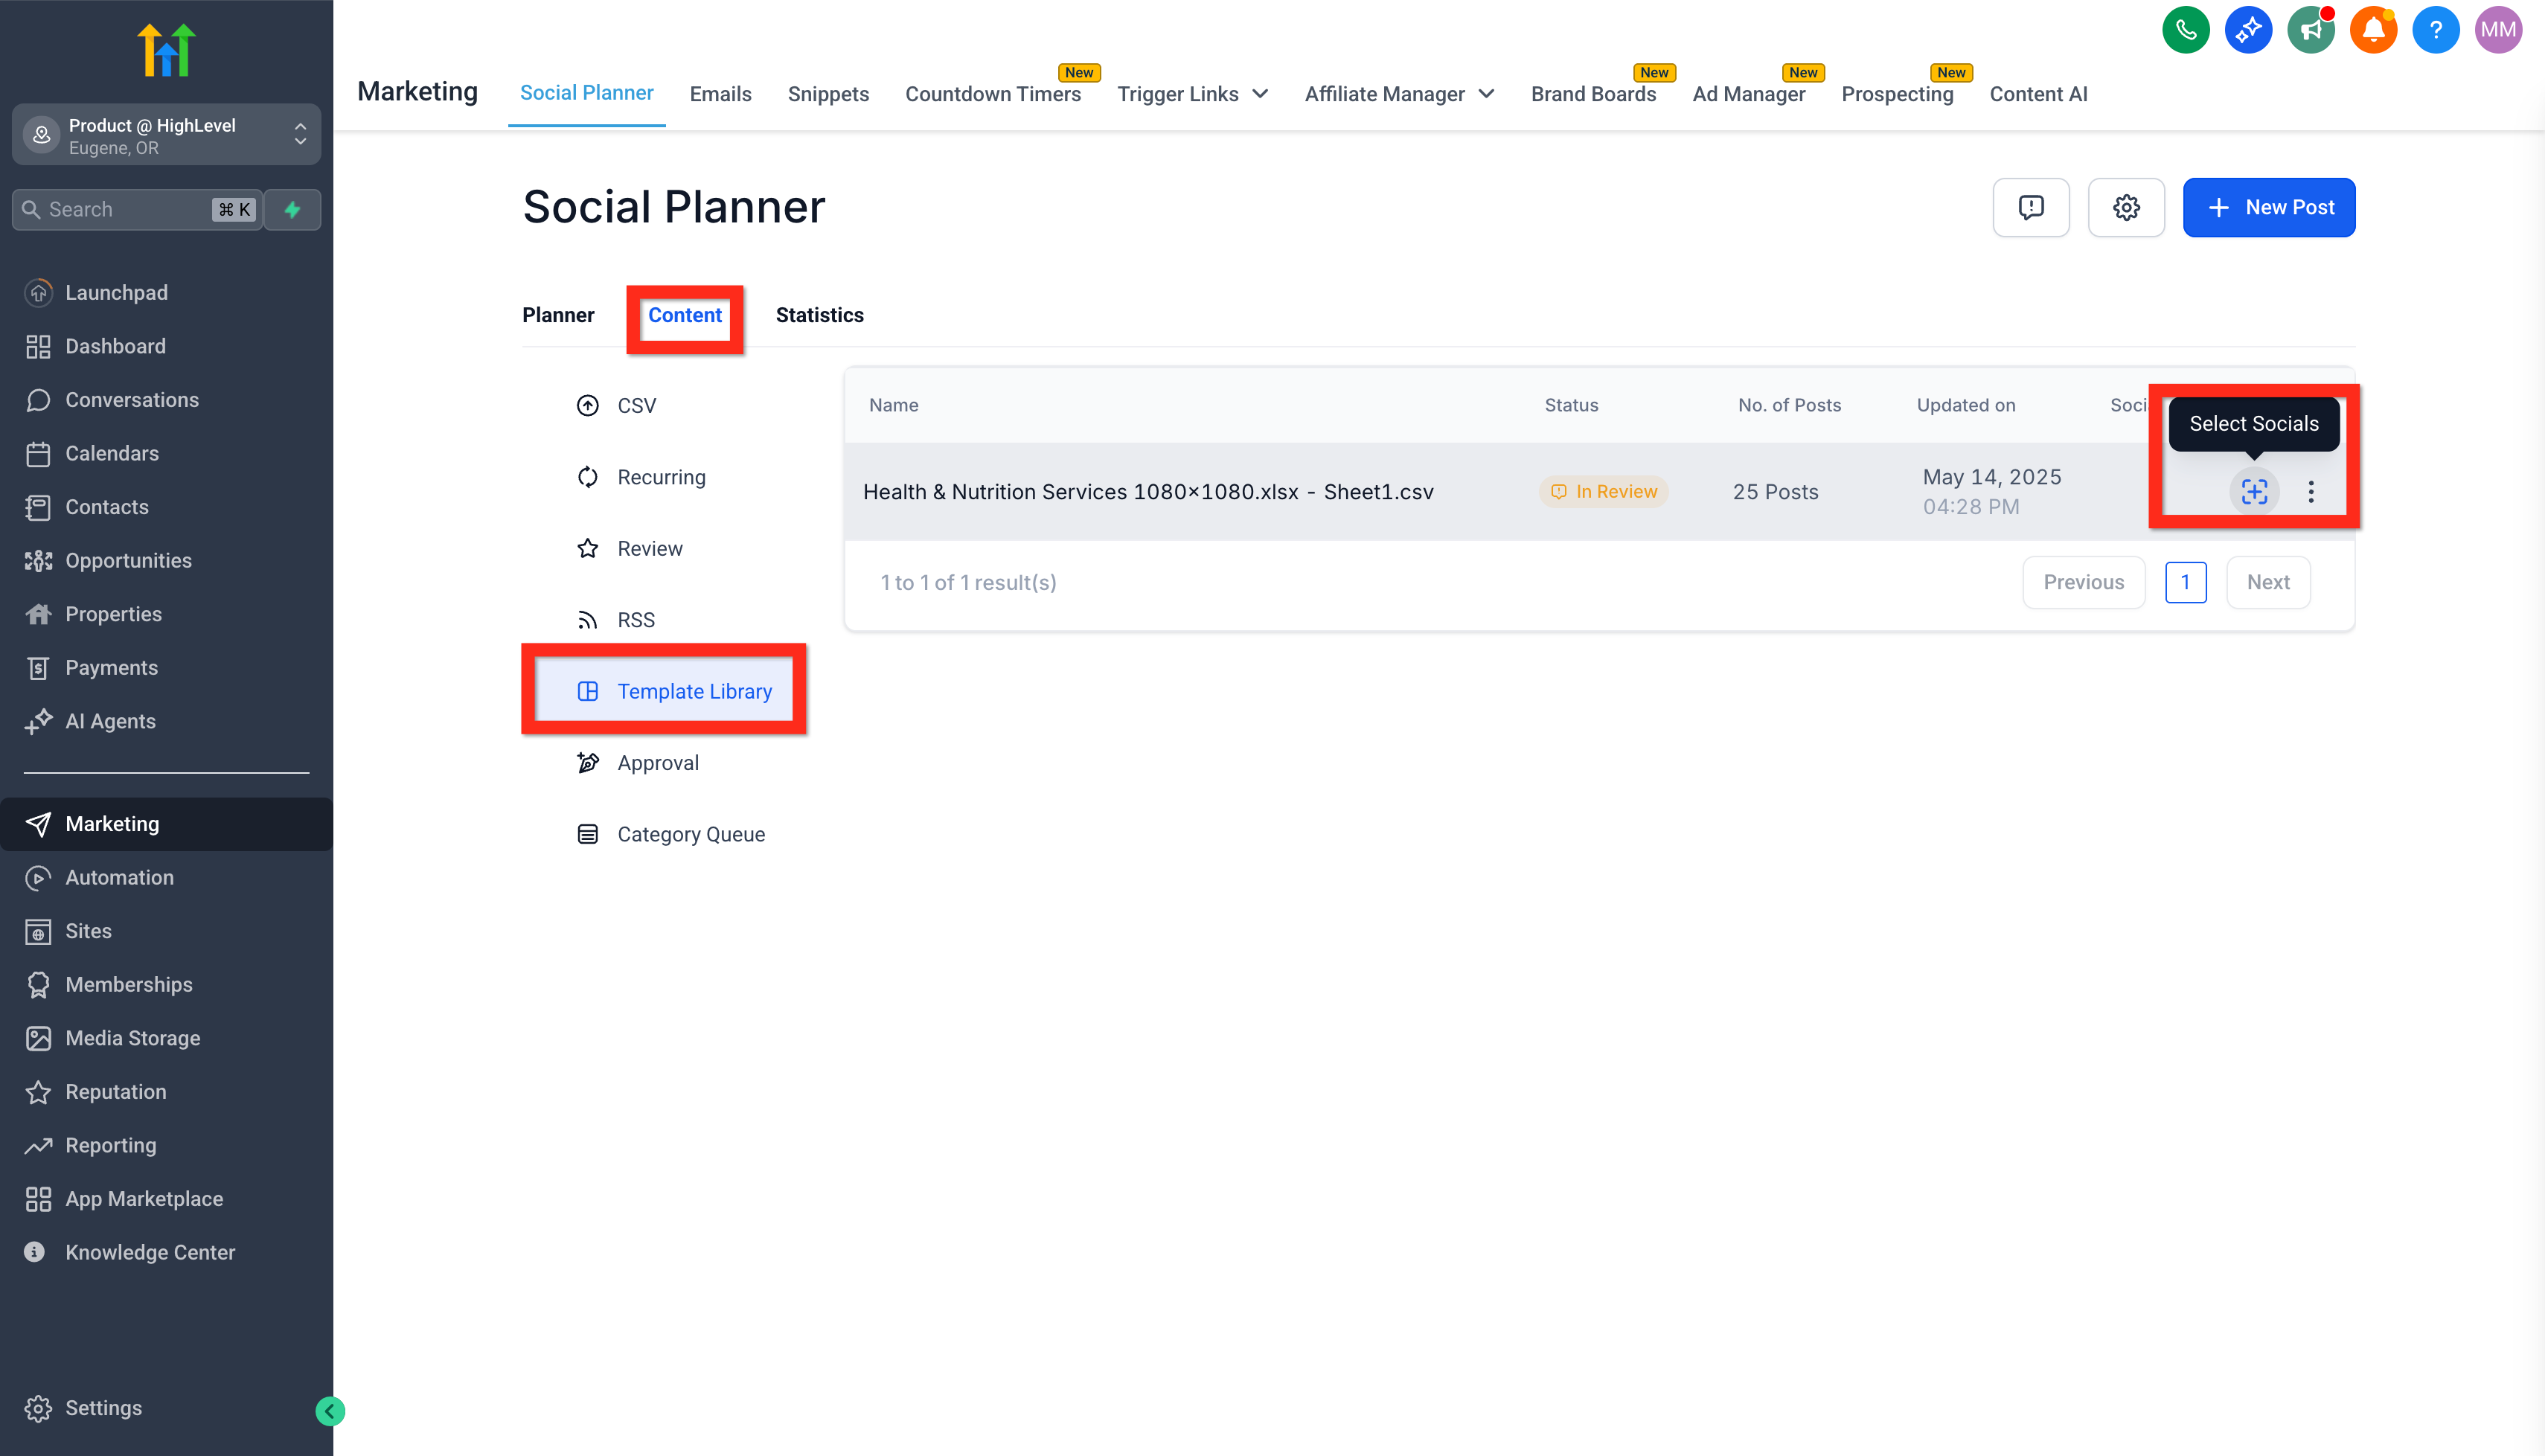
- Schedule your selected template by clicking Select Socials (the plus icon on the right).
- Fill out the necessary details in the Schedule Post modal, including your Facebook account and timing.
- Click Schedule Posts.
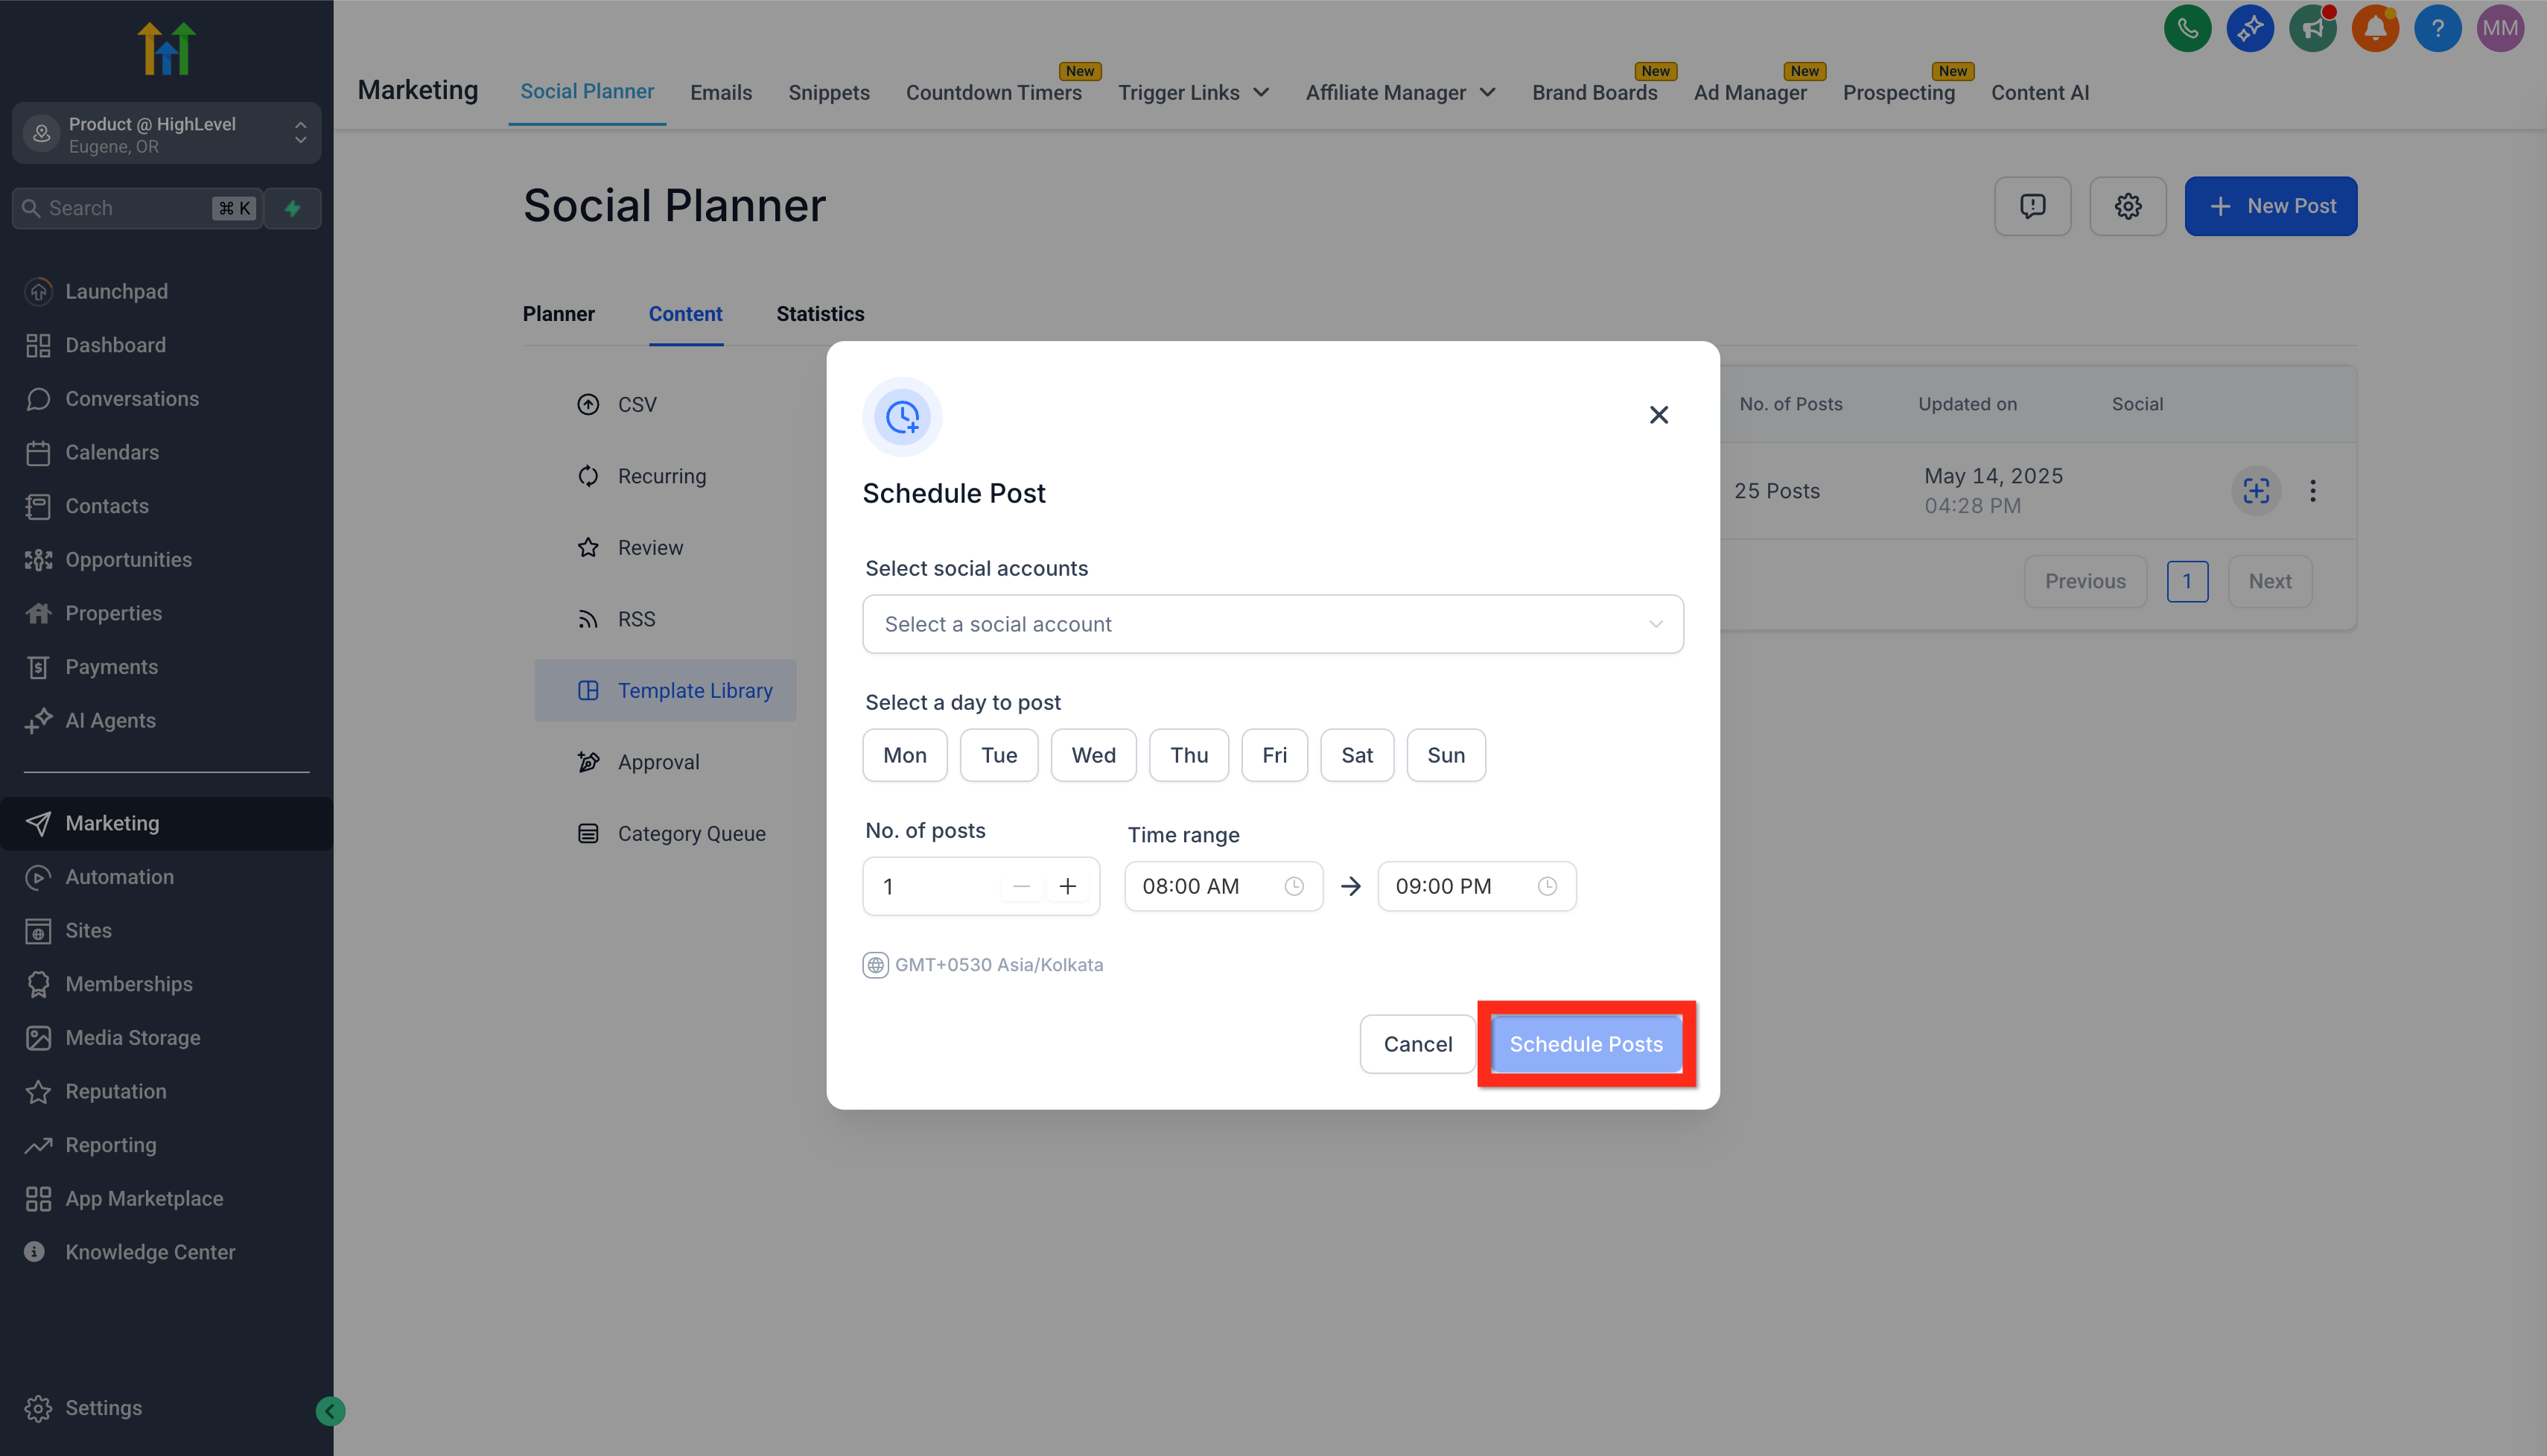
Your post is scheduled and ready to go! Next, why not explore creating your own unique post?
Creating Custom Posts
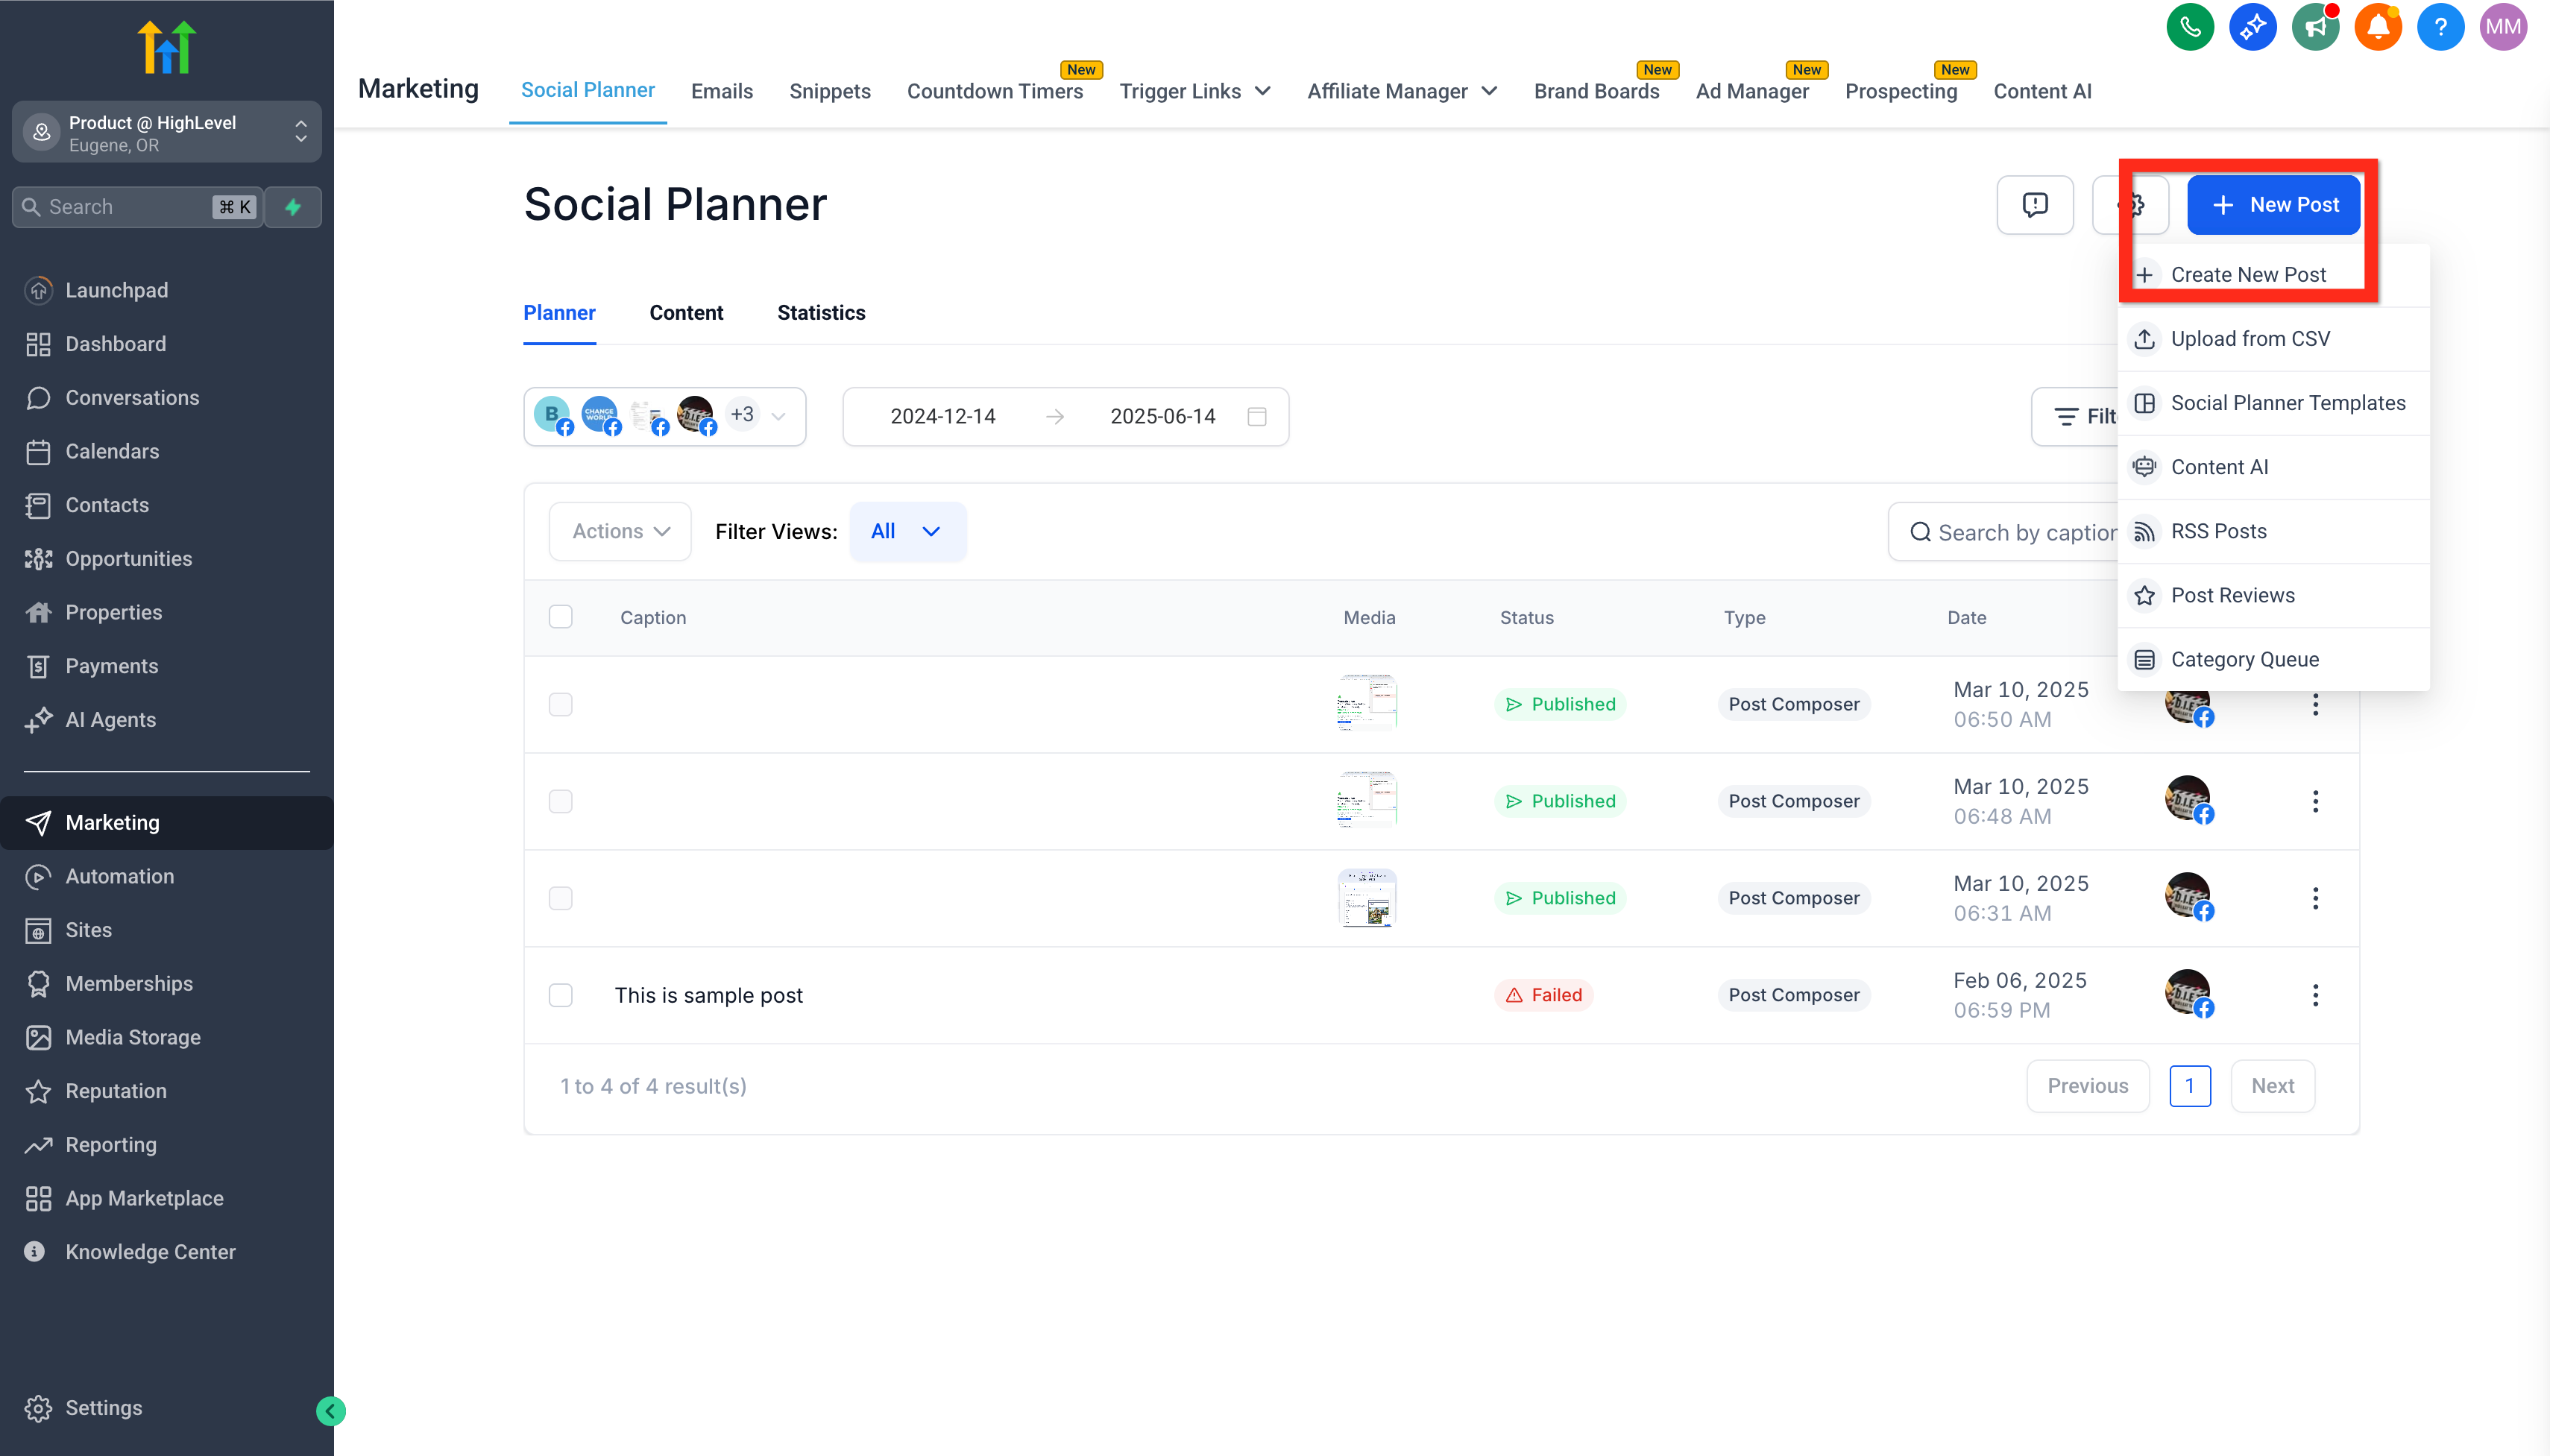
Feeling creative? Craft your own custom posts in just a few clicks. Here’s how easy it is: 1. In Marketing > Social Planner, click New Post > Create New Post.
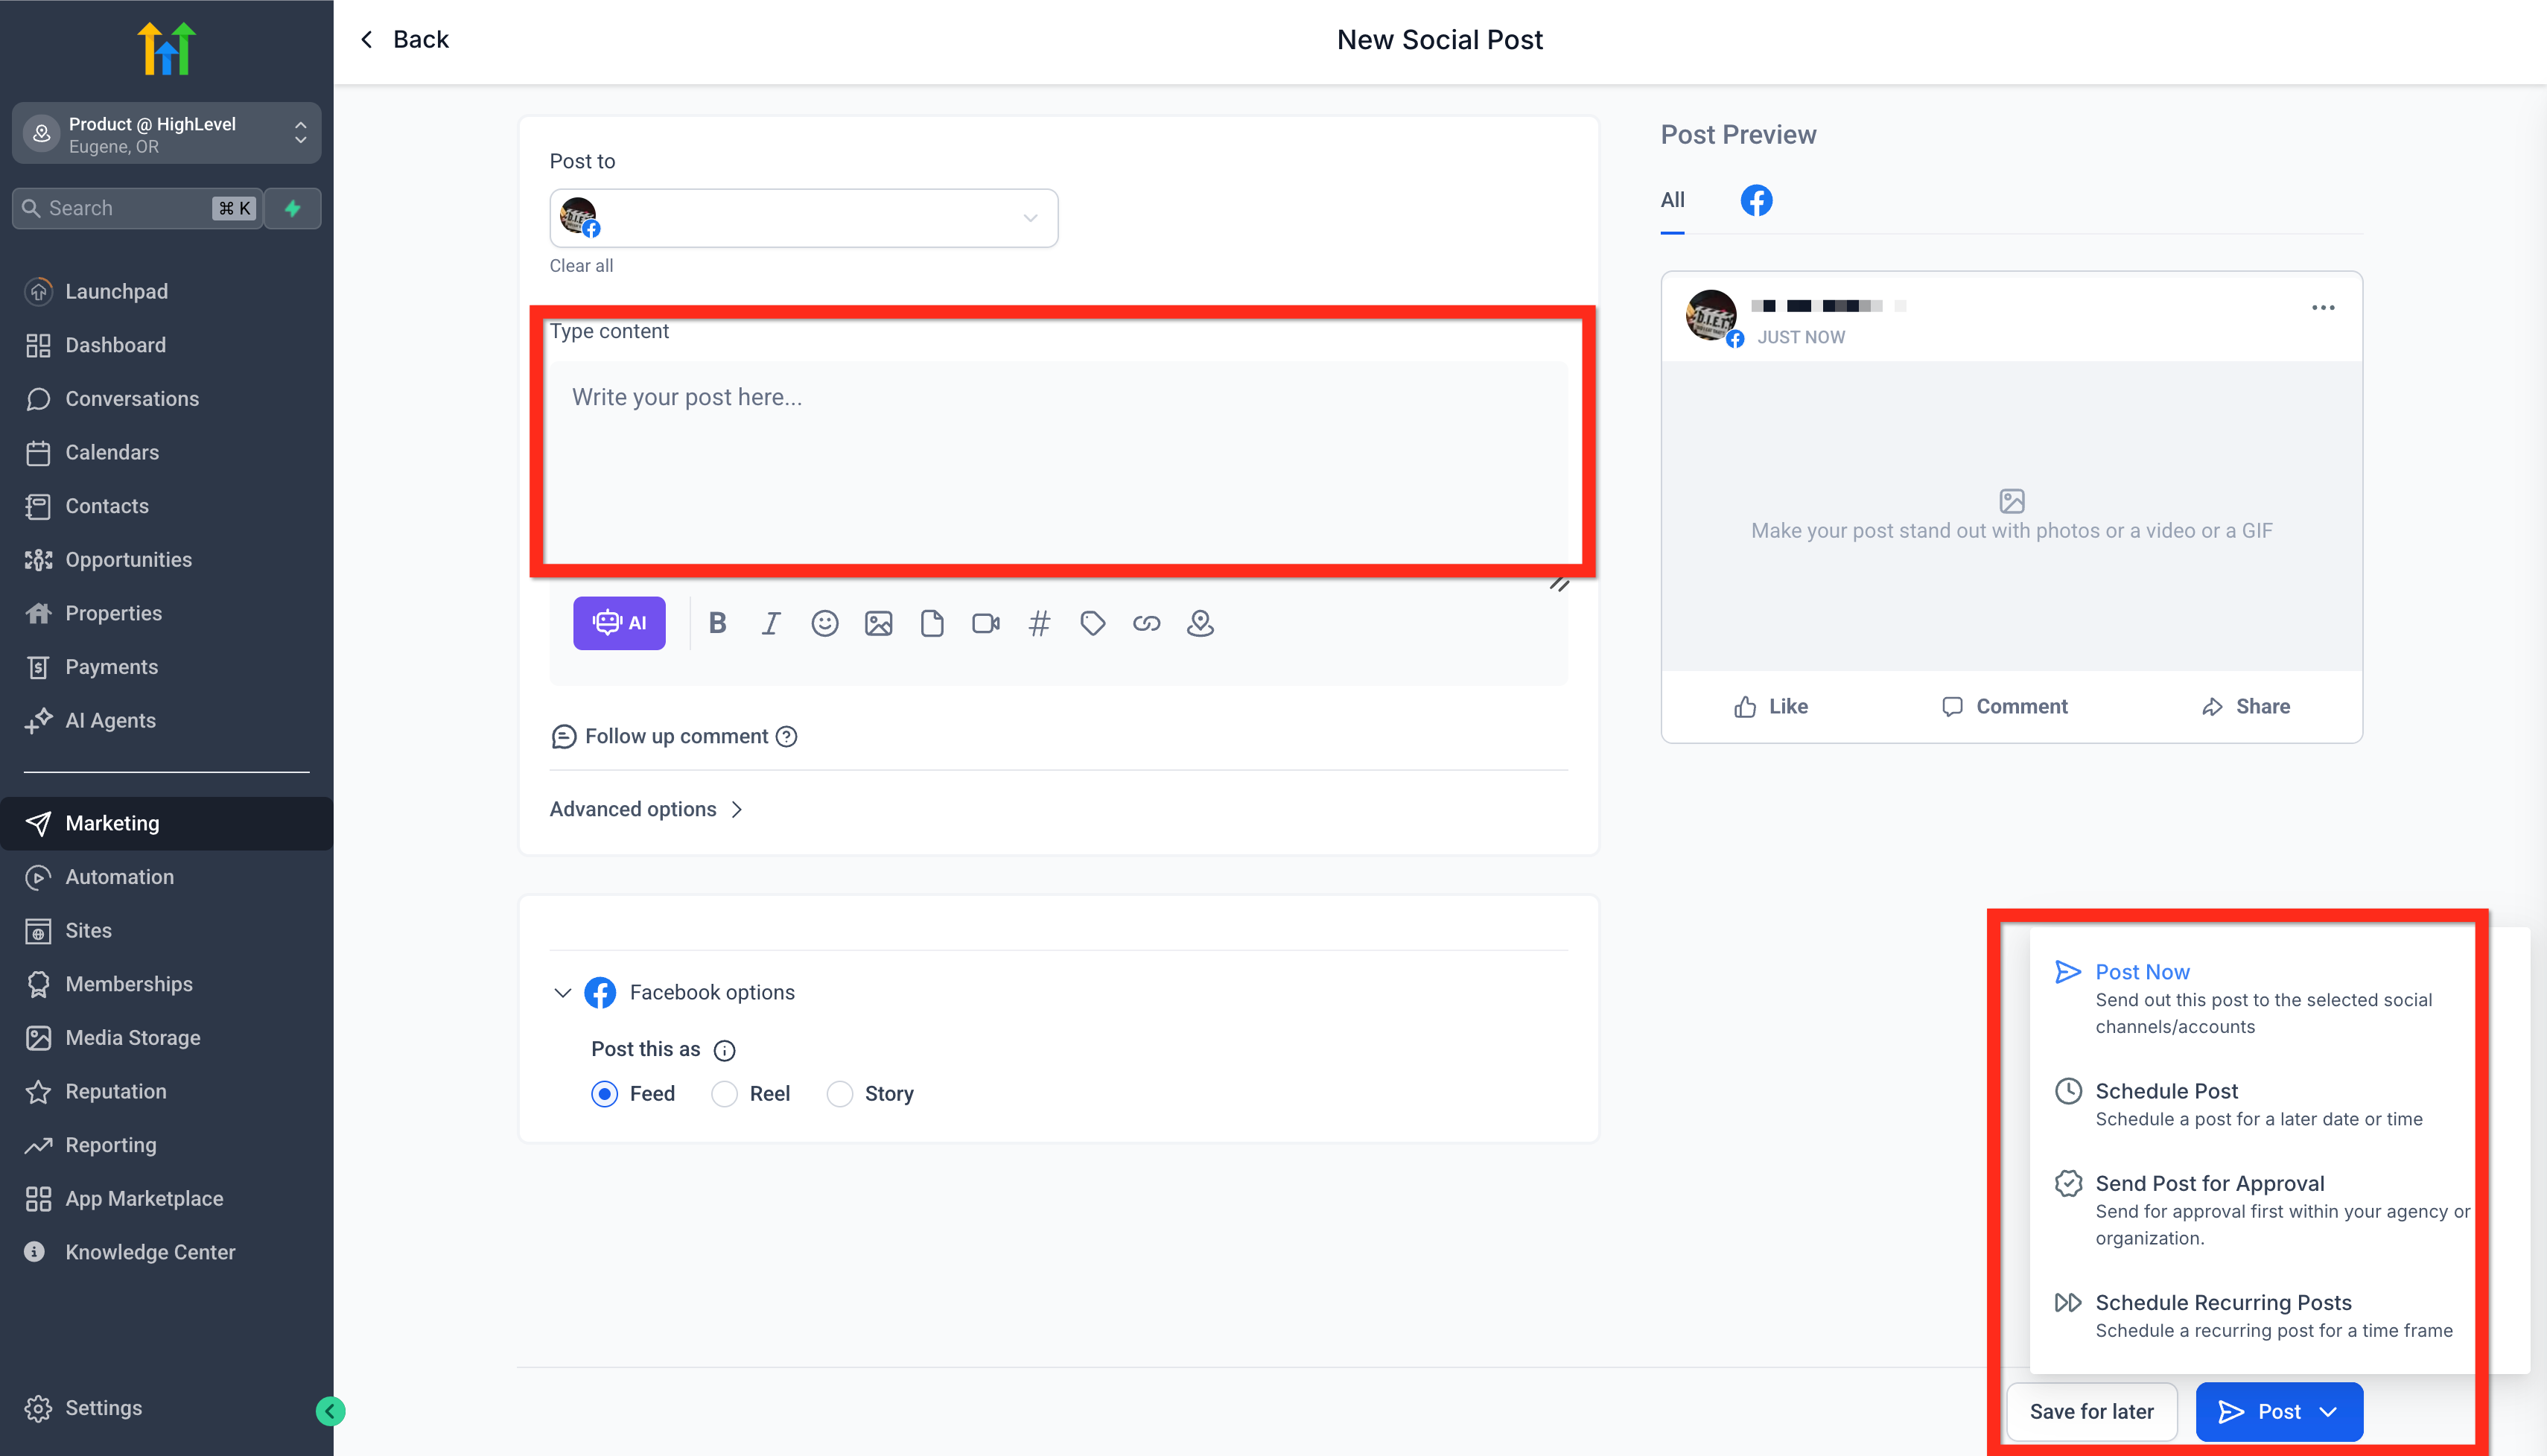
- Enter your post details, selecting your social account, content, and more.
- Choose to save for later, post now, schedule for later, send for approval, or schedule as recurring.
Fantastic! Your content is all set. Now, let’s enhance your experience further by connecting more social accounts.
You can Add images or videos from the Media Library using the video and Image Icon on the Panel. When you add a video, you can Preview your media in the composer located at the left side. Tip: You can replace or edit media and keep it in the same position in the post’s media sequence. This helps you swap files without changing your layout.
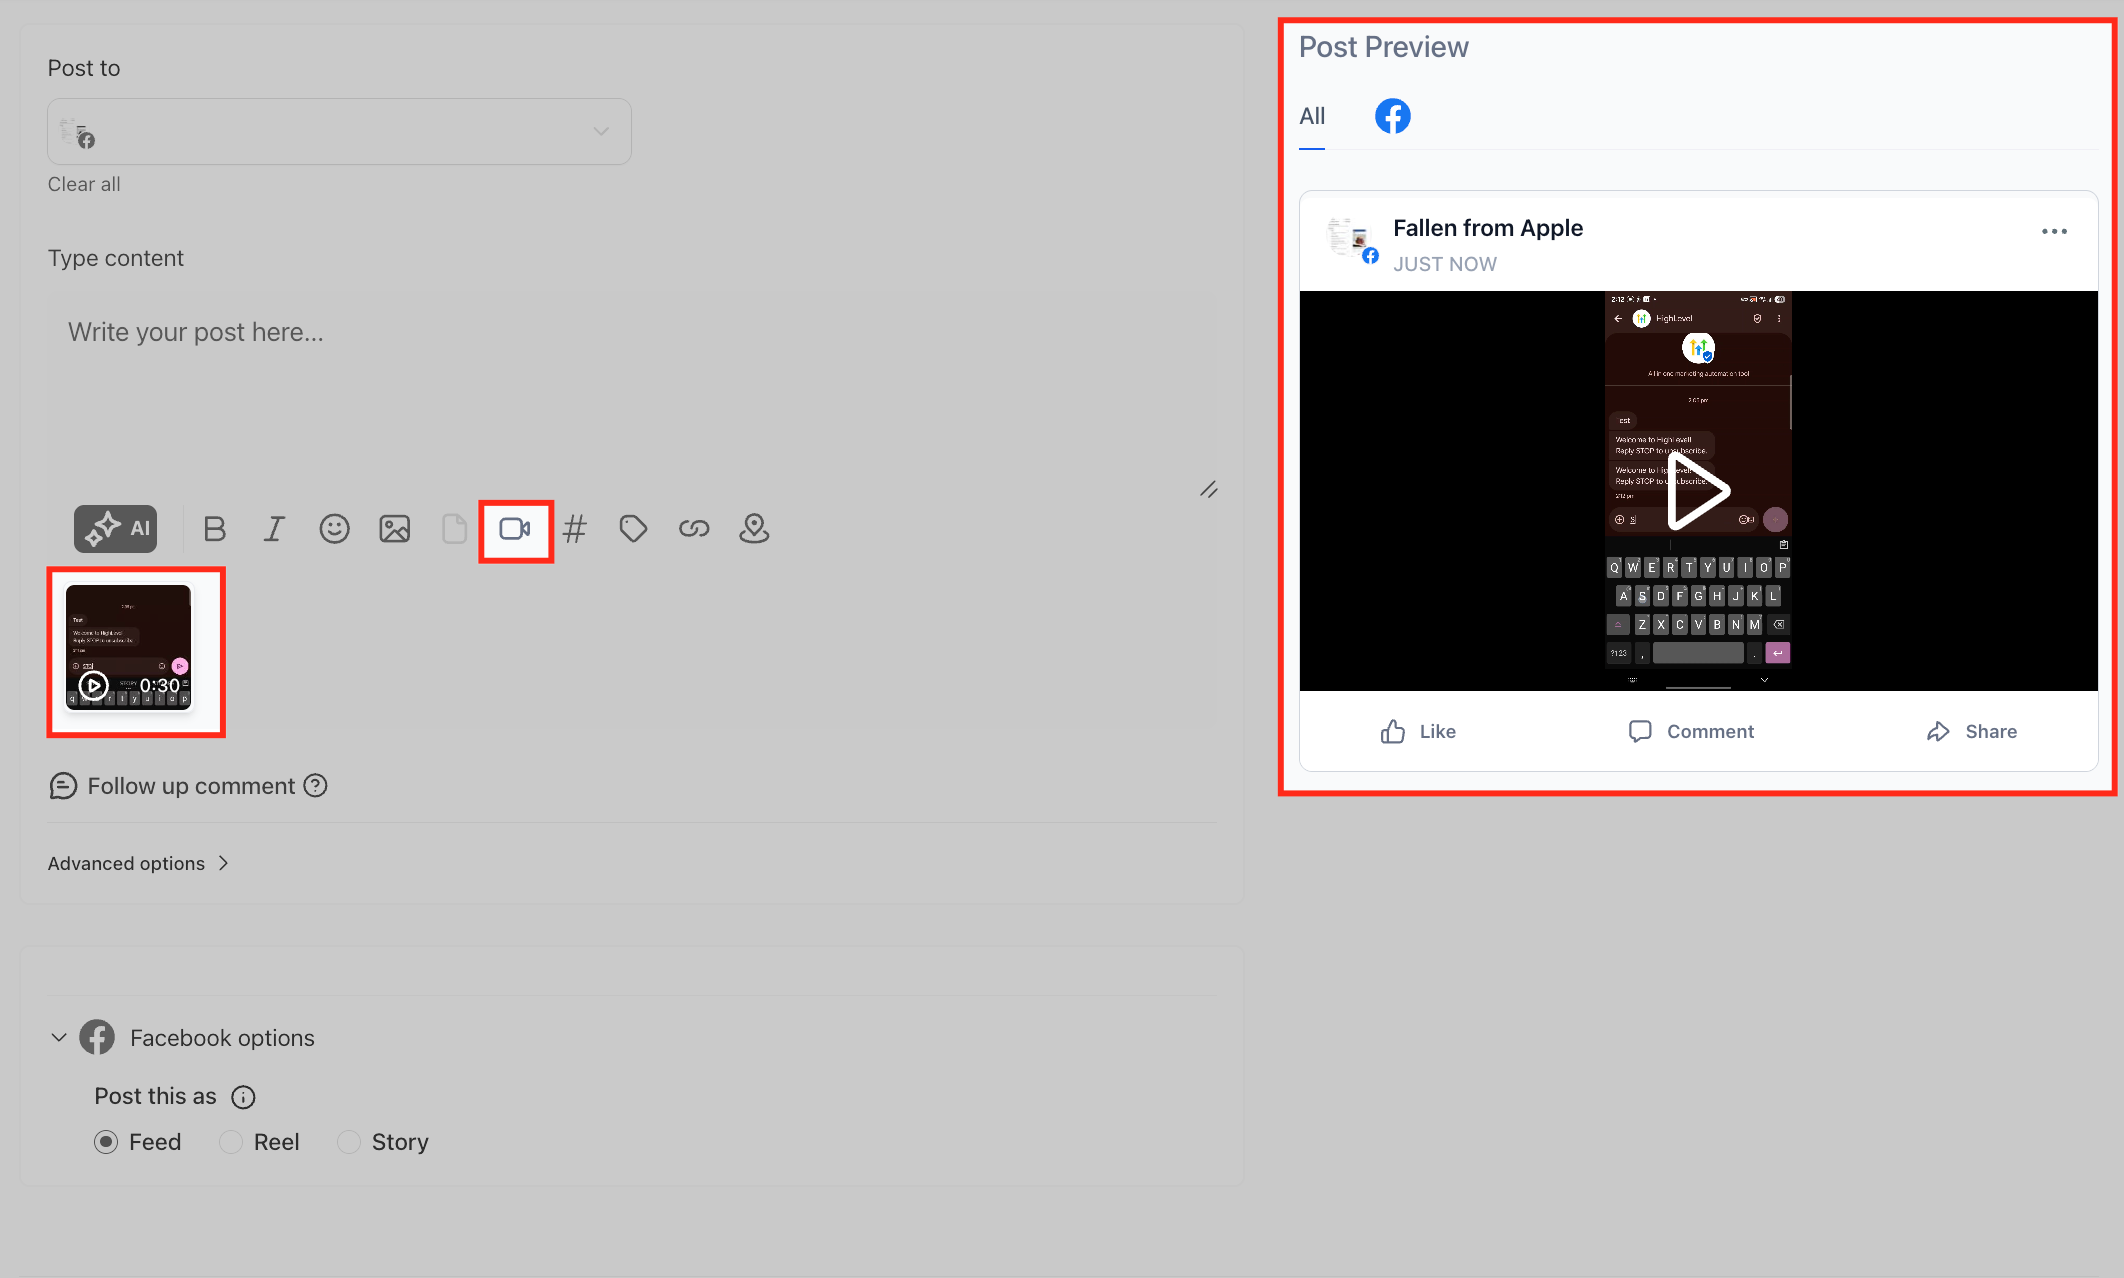
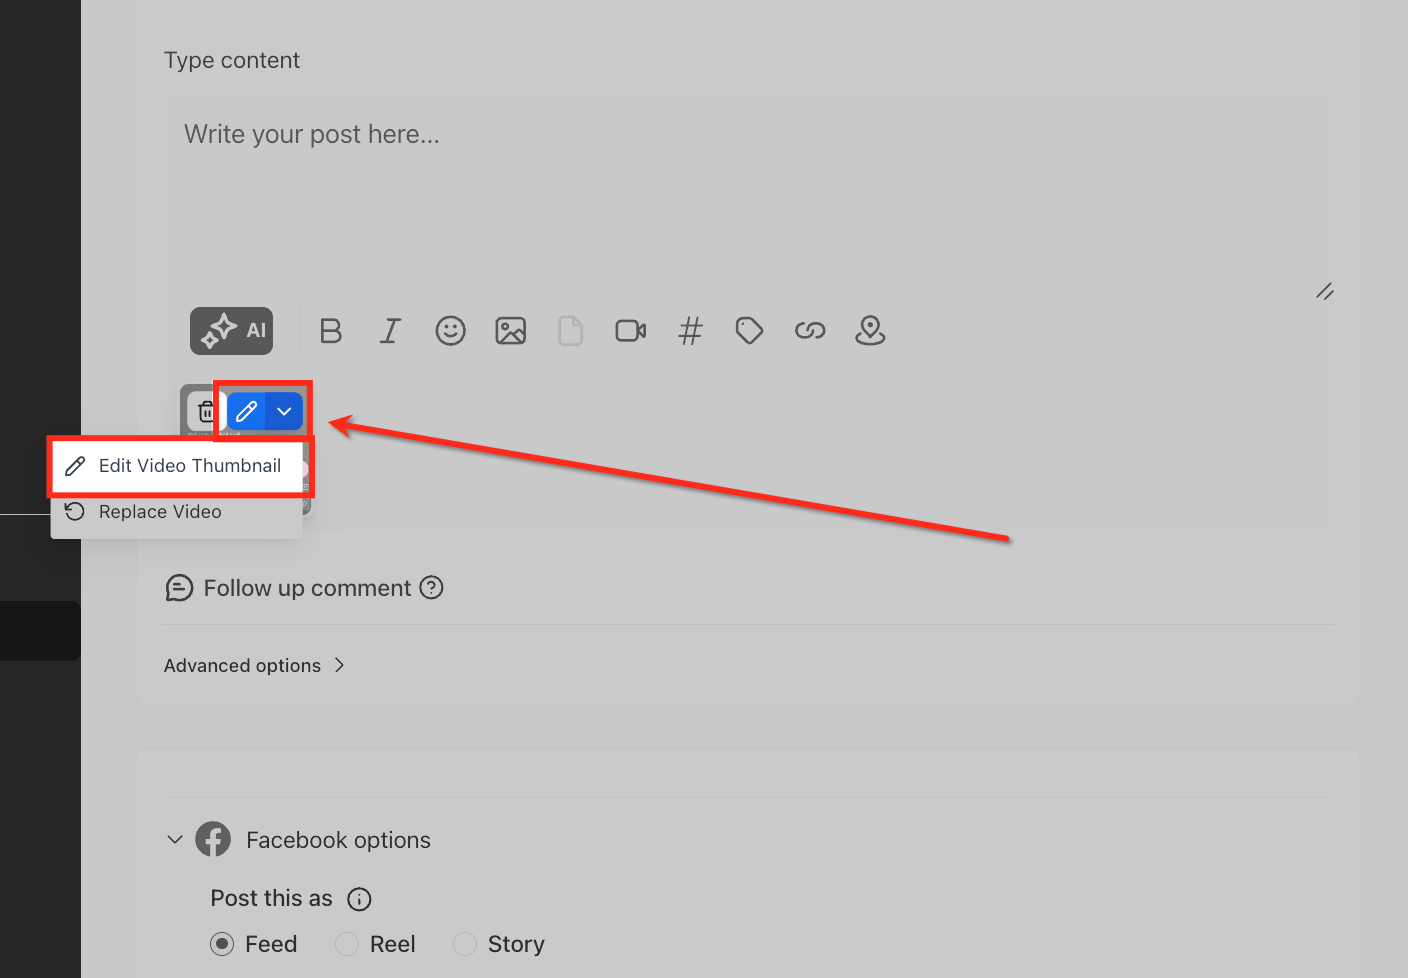
In order to edit a video thumbnail, click the pencil icon on the video thumbnail. (hover over the media for the edit option to appear.
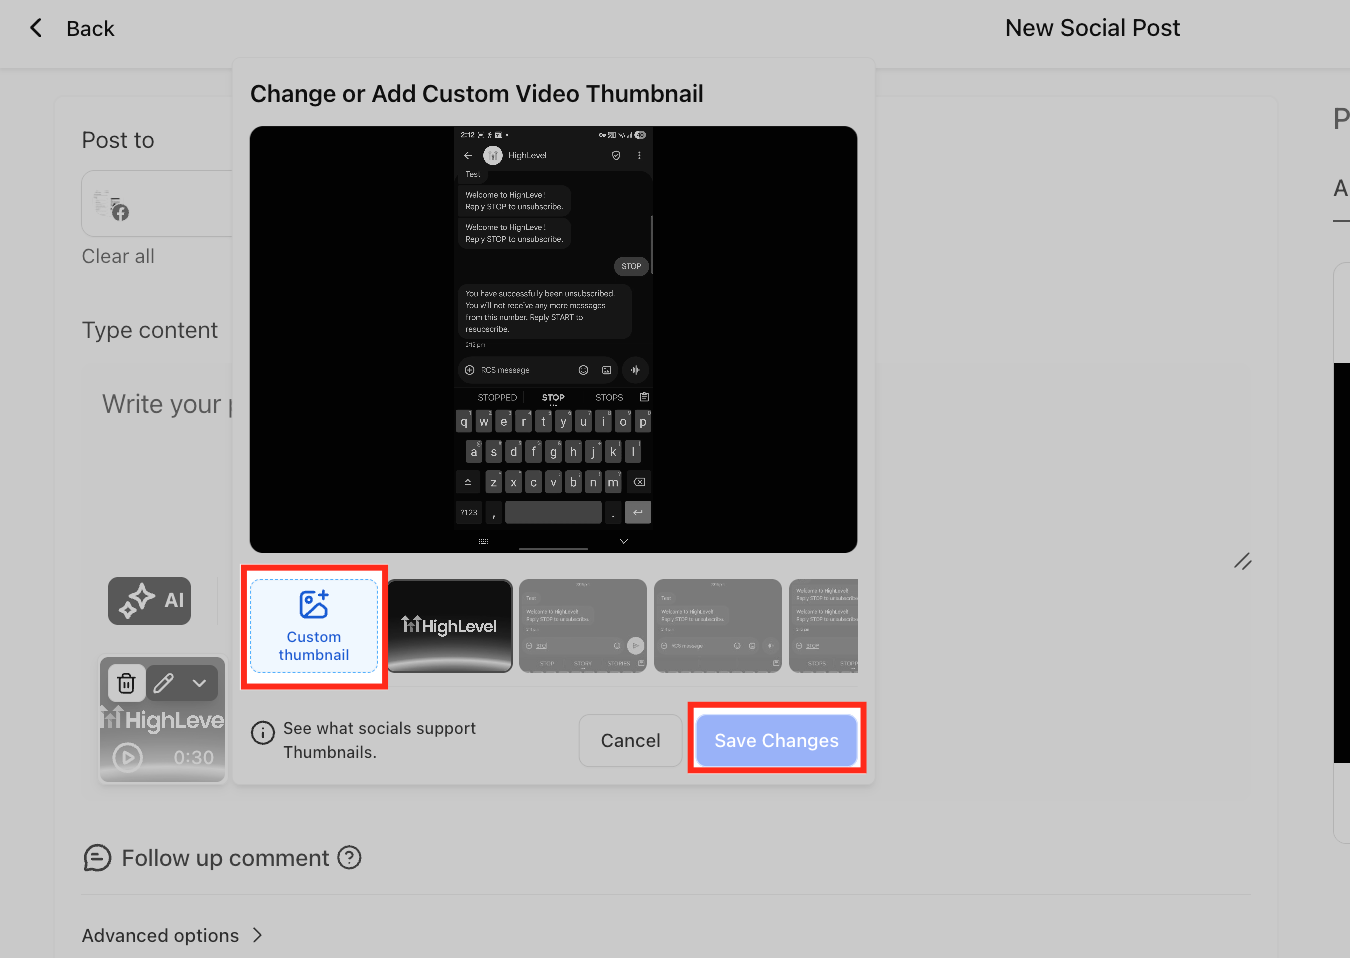
Click the custom thumbnail tab to upload an image. Currently, Custom Video Thumbnails are Supported for 1. Facebook Pages 2. Instagram Business Account 3. LinkedIn Profiles and Pages 4. Youtube Video and Shorts
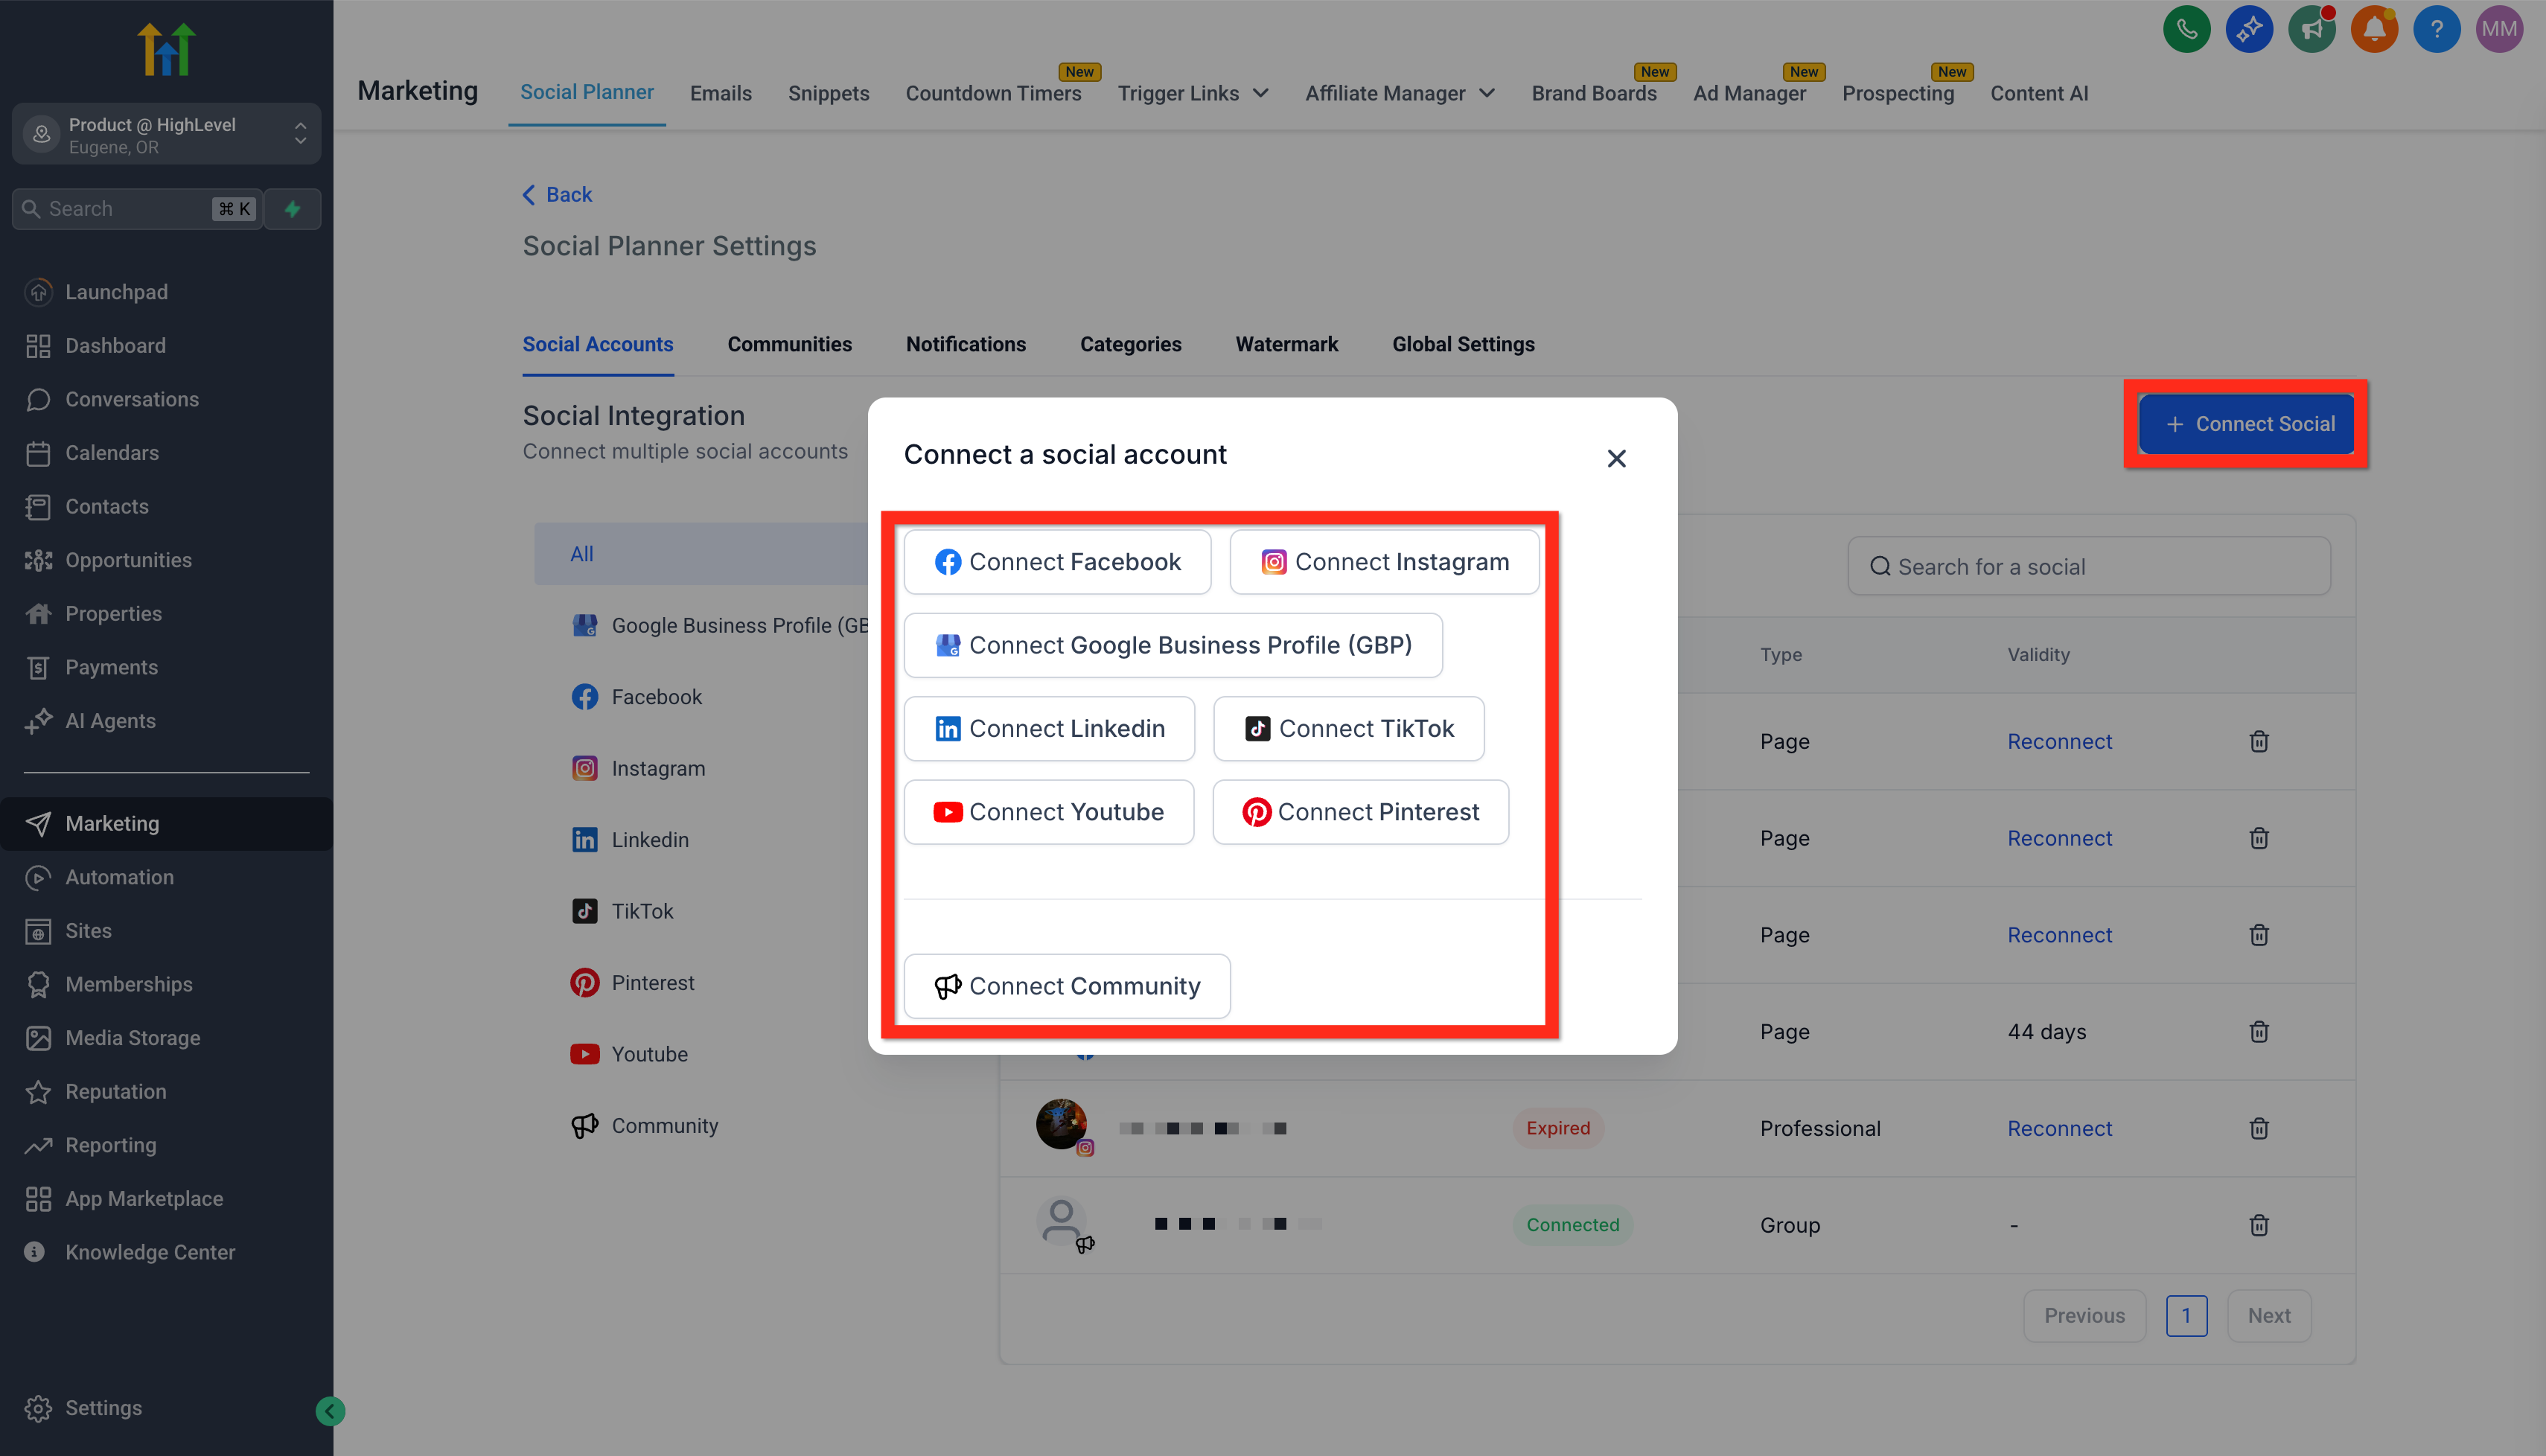
Expanding your social presence? Easily add more social media accounts to manage all in one place: 1. Click Settings (the gear icon). 2. Select additional social accounts you wish to connect. 3. Click Connect Social and follow the prompts.
There you go! You’re now managing multiple platforms effortlessly.
Learn More