How to Create vCards in the QR Code Builder
This article explains how to create a vCard QR Code using the Patient Copilot QR Code Builder. Share your contact details with a single scan—ideal for networking, events, and lead generation. * * * ## What is vCard Support in QR Code Builder? vCard Support in QR Code Builder allows users to create QR codes that, when scanned, instantly display a digital contact card. This functionality simplifies sharing professional and personal contact details by leveraging dynamic QR codes to open a full contact card on any mobile device. Users can now input vital contact information like names, phone numbers, email addresses, physical addresses, websites, and even a profile image, ensuring a seamless networking experience. * * * ## Key Benefits of vCard Support in QR Code Builder This feature enhances your networking abilities by offering several key advantages: - Instant sharing of comprehensive contact details, reducing manual data entry.
- Customizable contact fields for tailored professional branding.
- Dynamic QR codes that enable updates and re-use without generating new codes.
- Ideal for digital networking, contactless information sharing, and efficient lead generation. * * * Setting up vCard Support in the QR Code Builder is a straightforward process that ensures your contact information is shared instantly and efficiently. Follow these steps to get started: ### Step 1: Navigate to the QR Code Builder 1. Log in to your Patient Copilot sub-account.
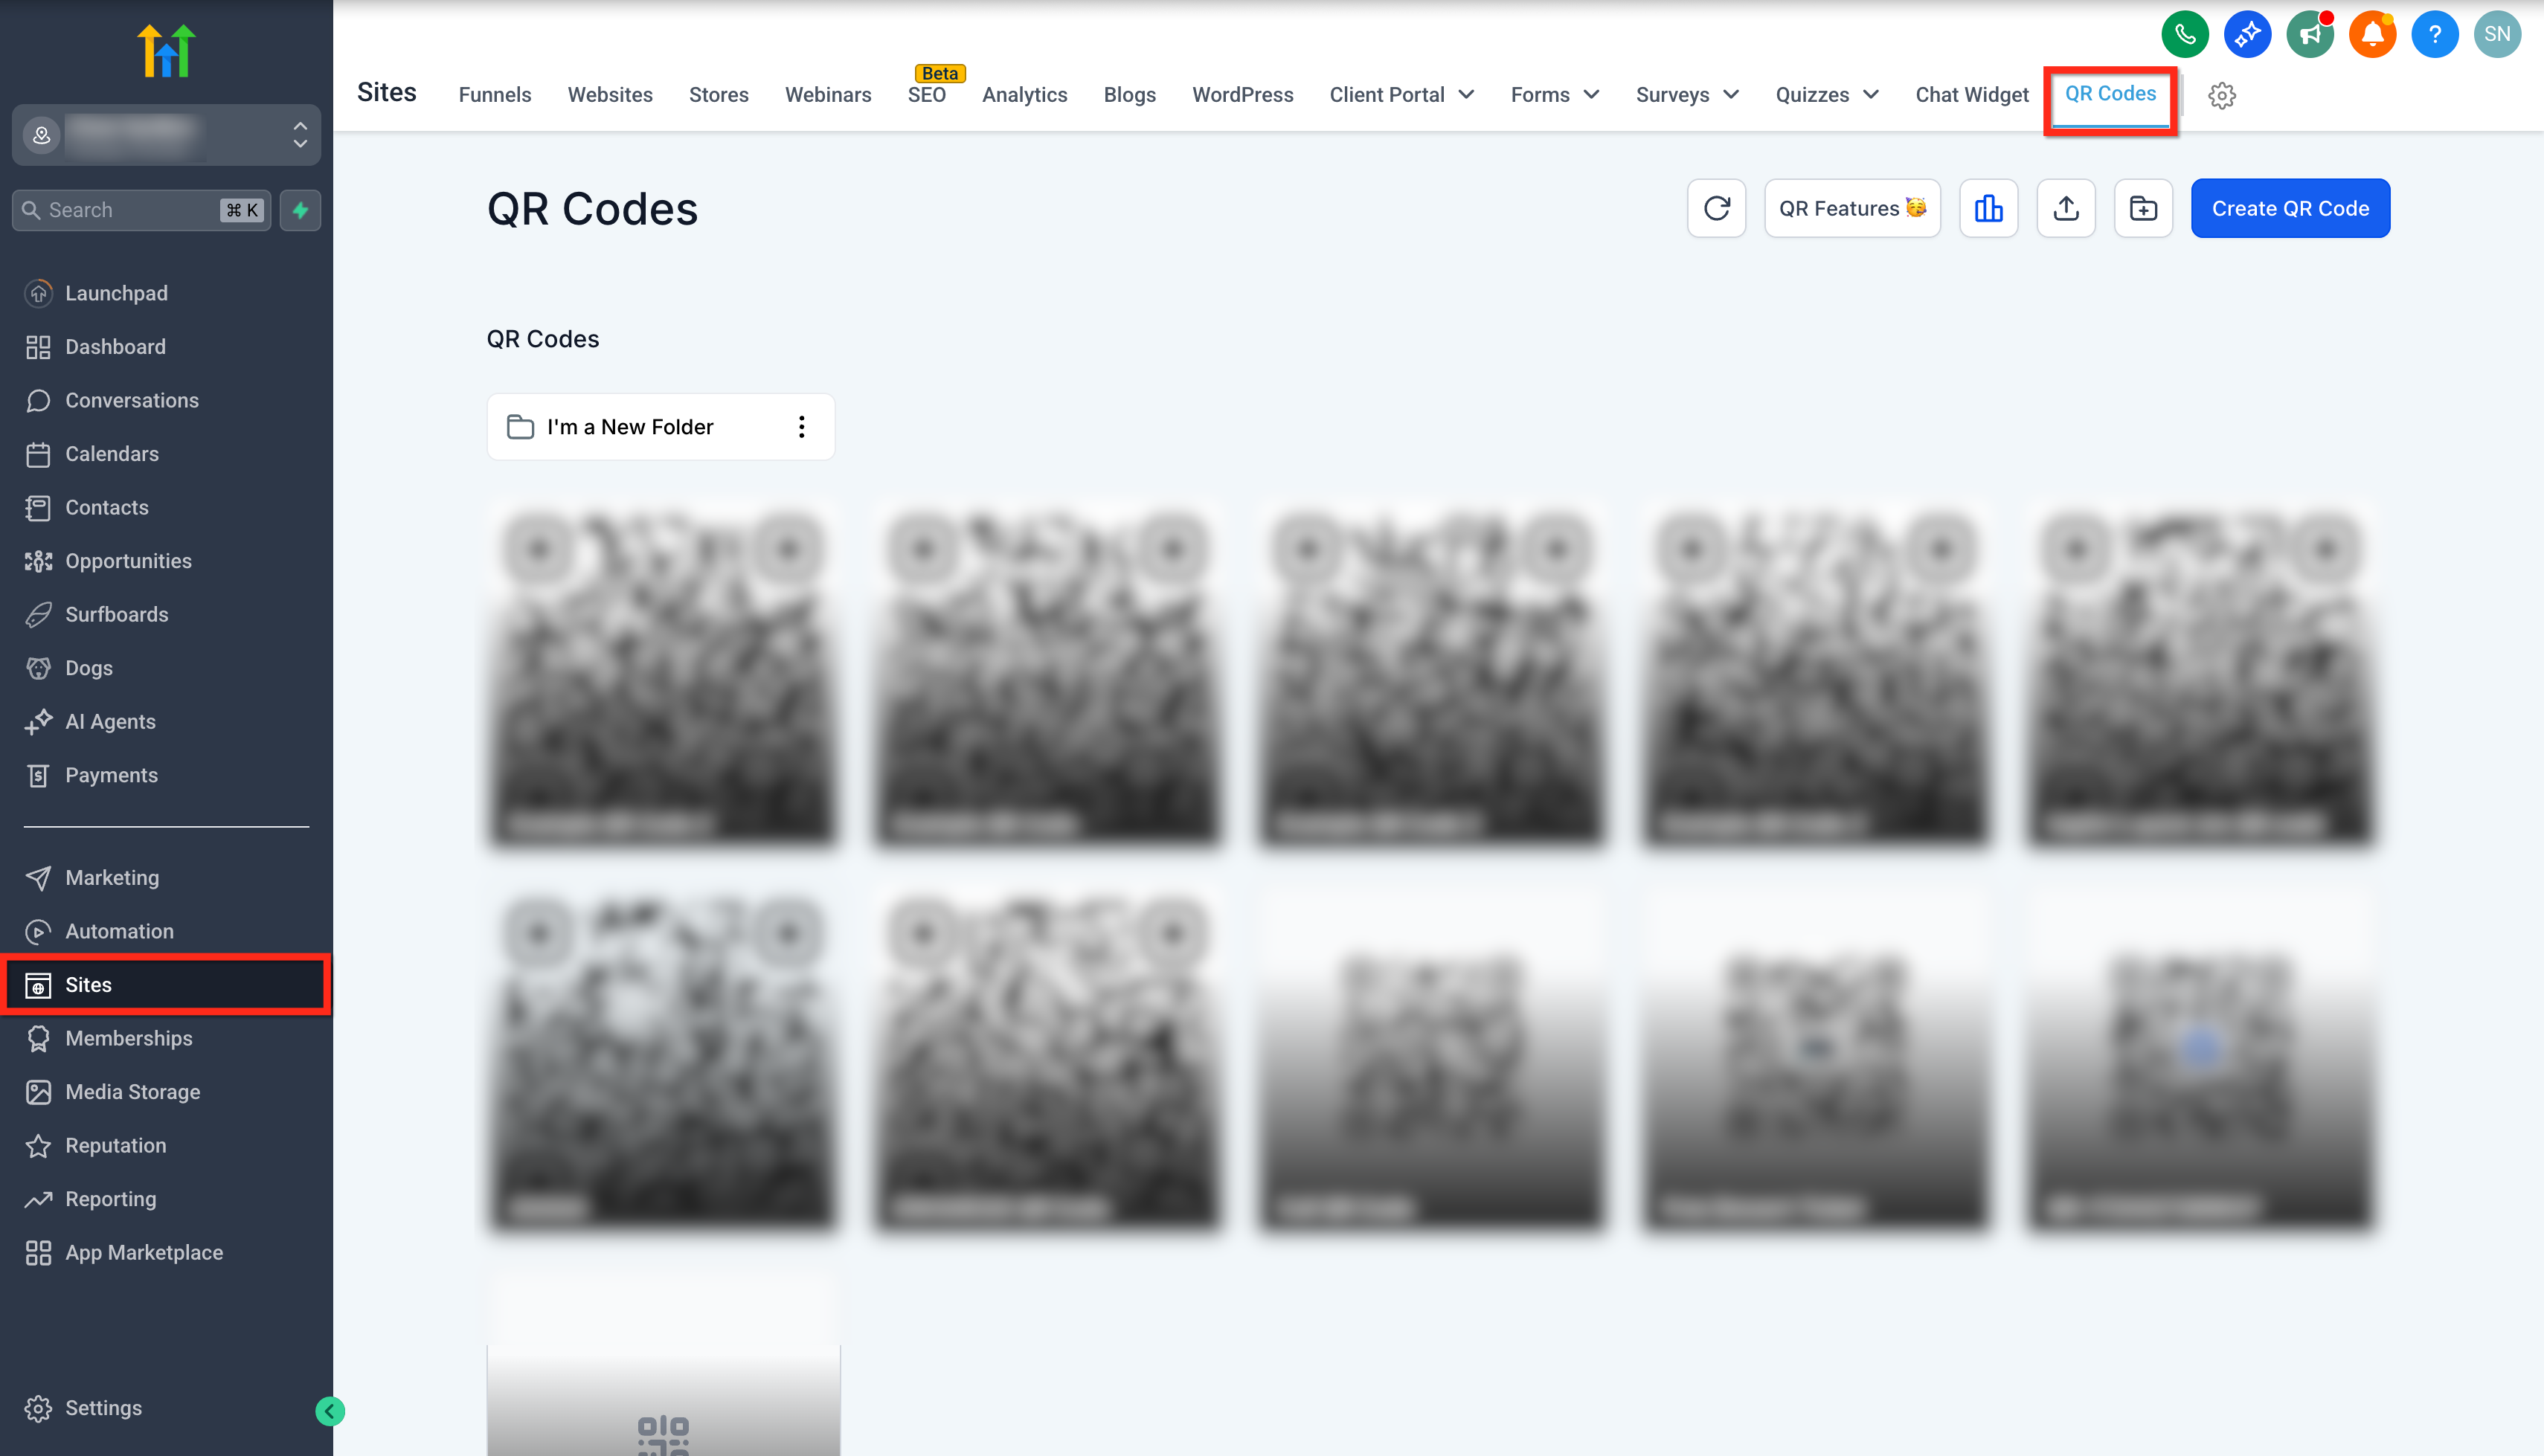
- Click on the Sites tab in the left-hand menu.
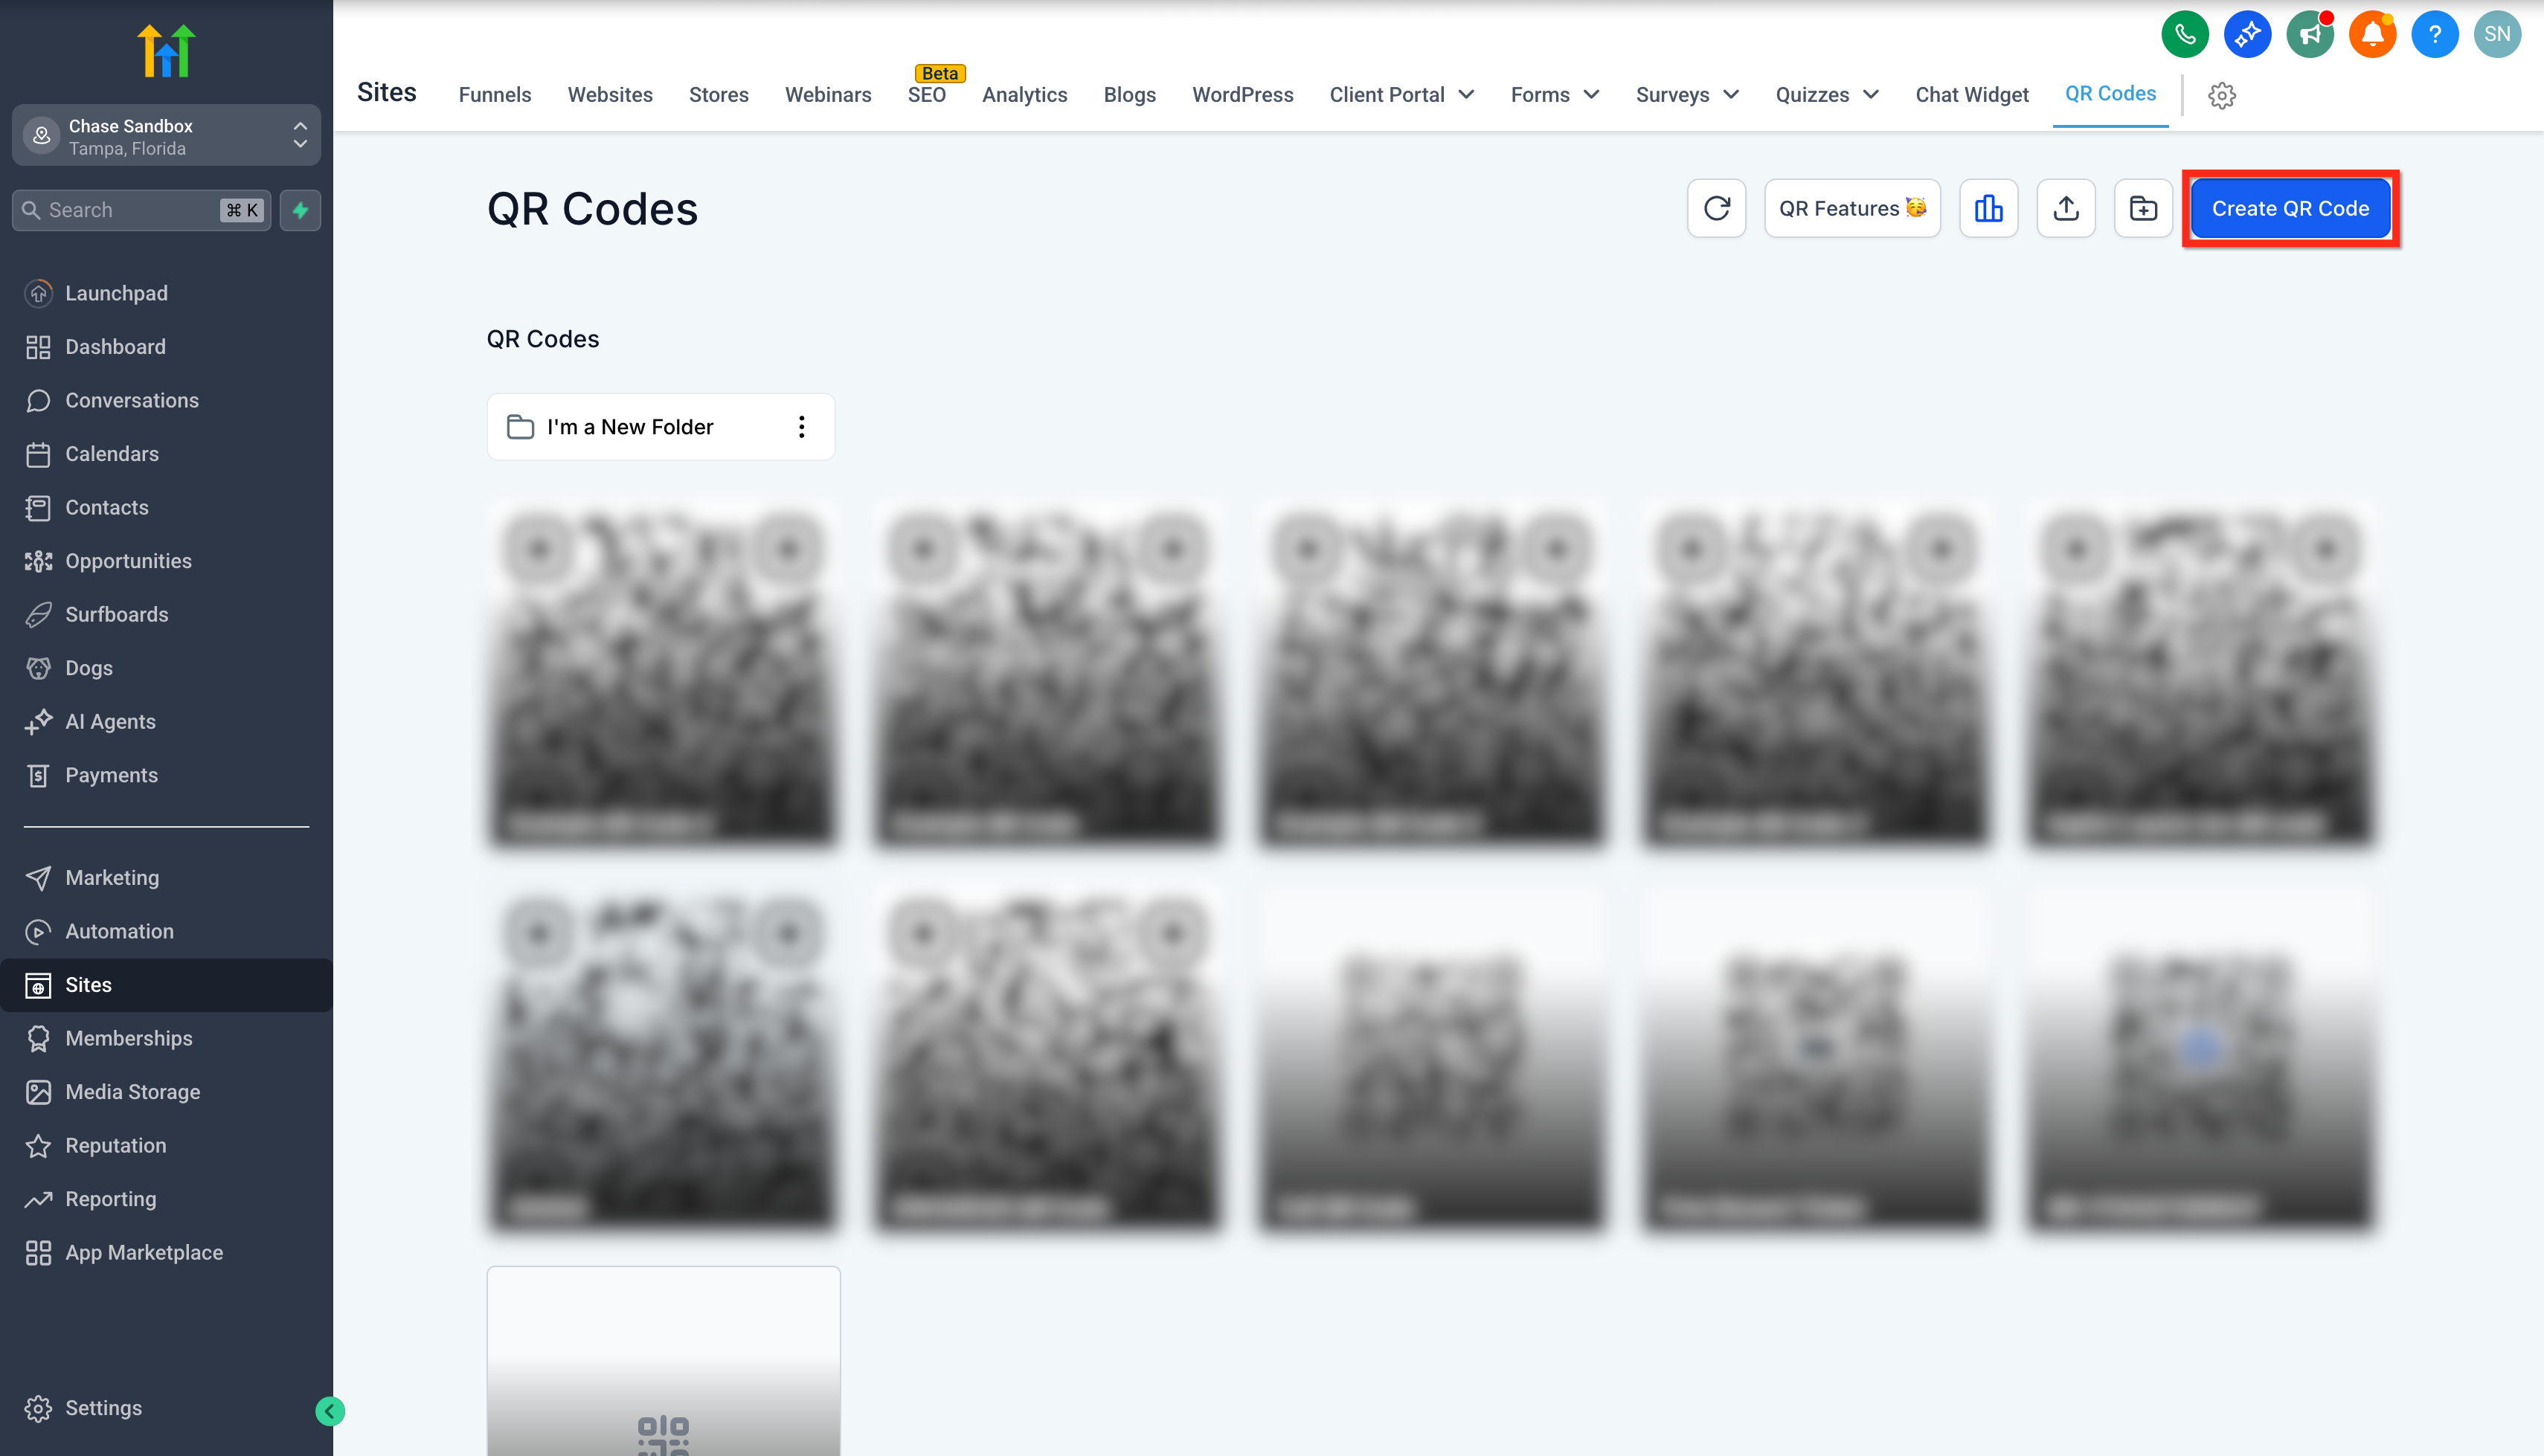
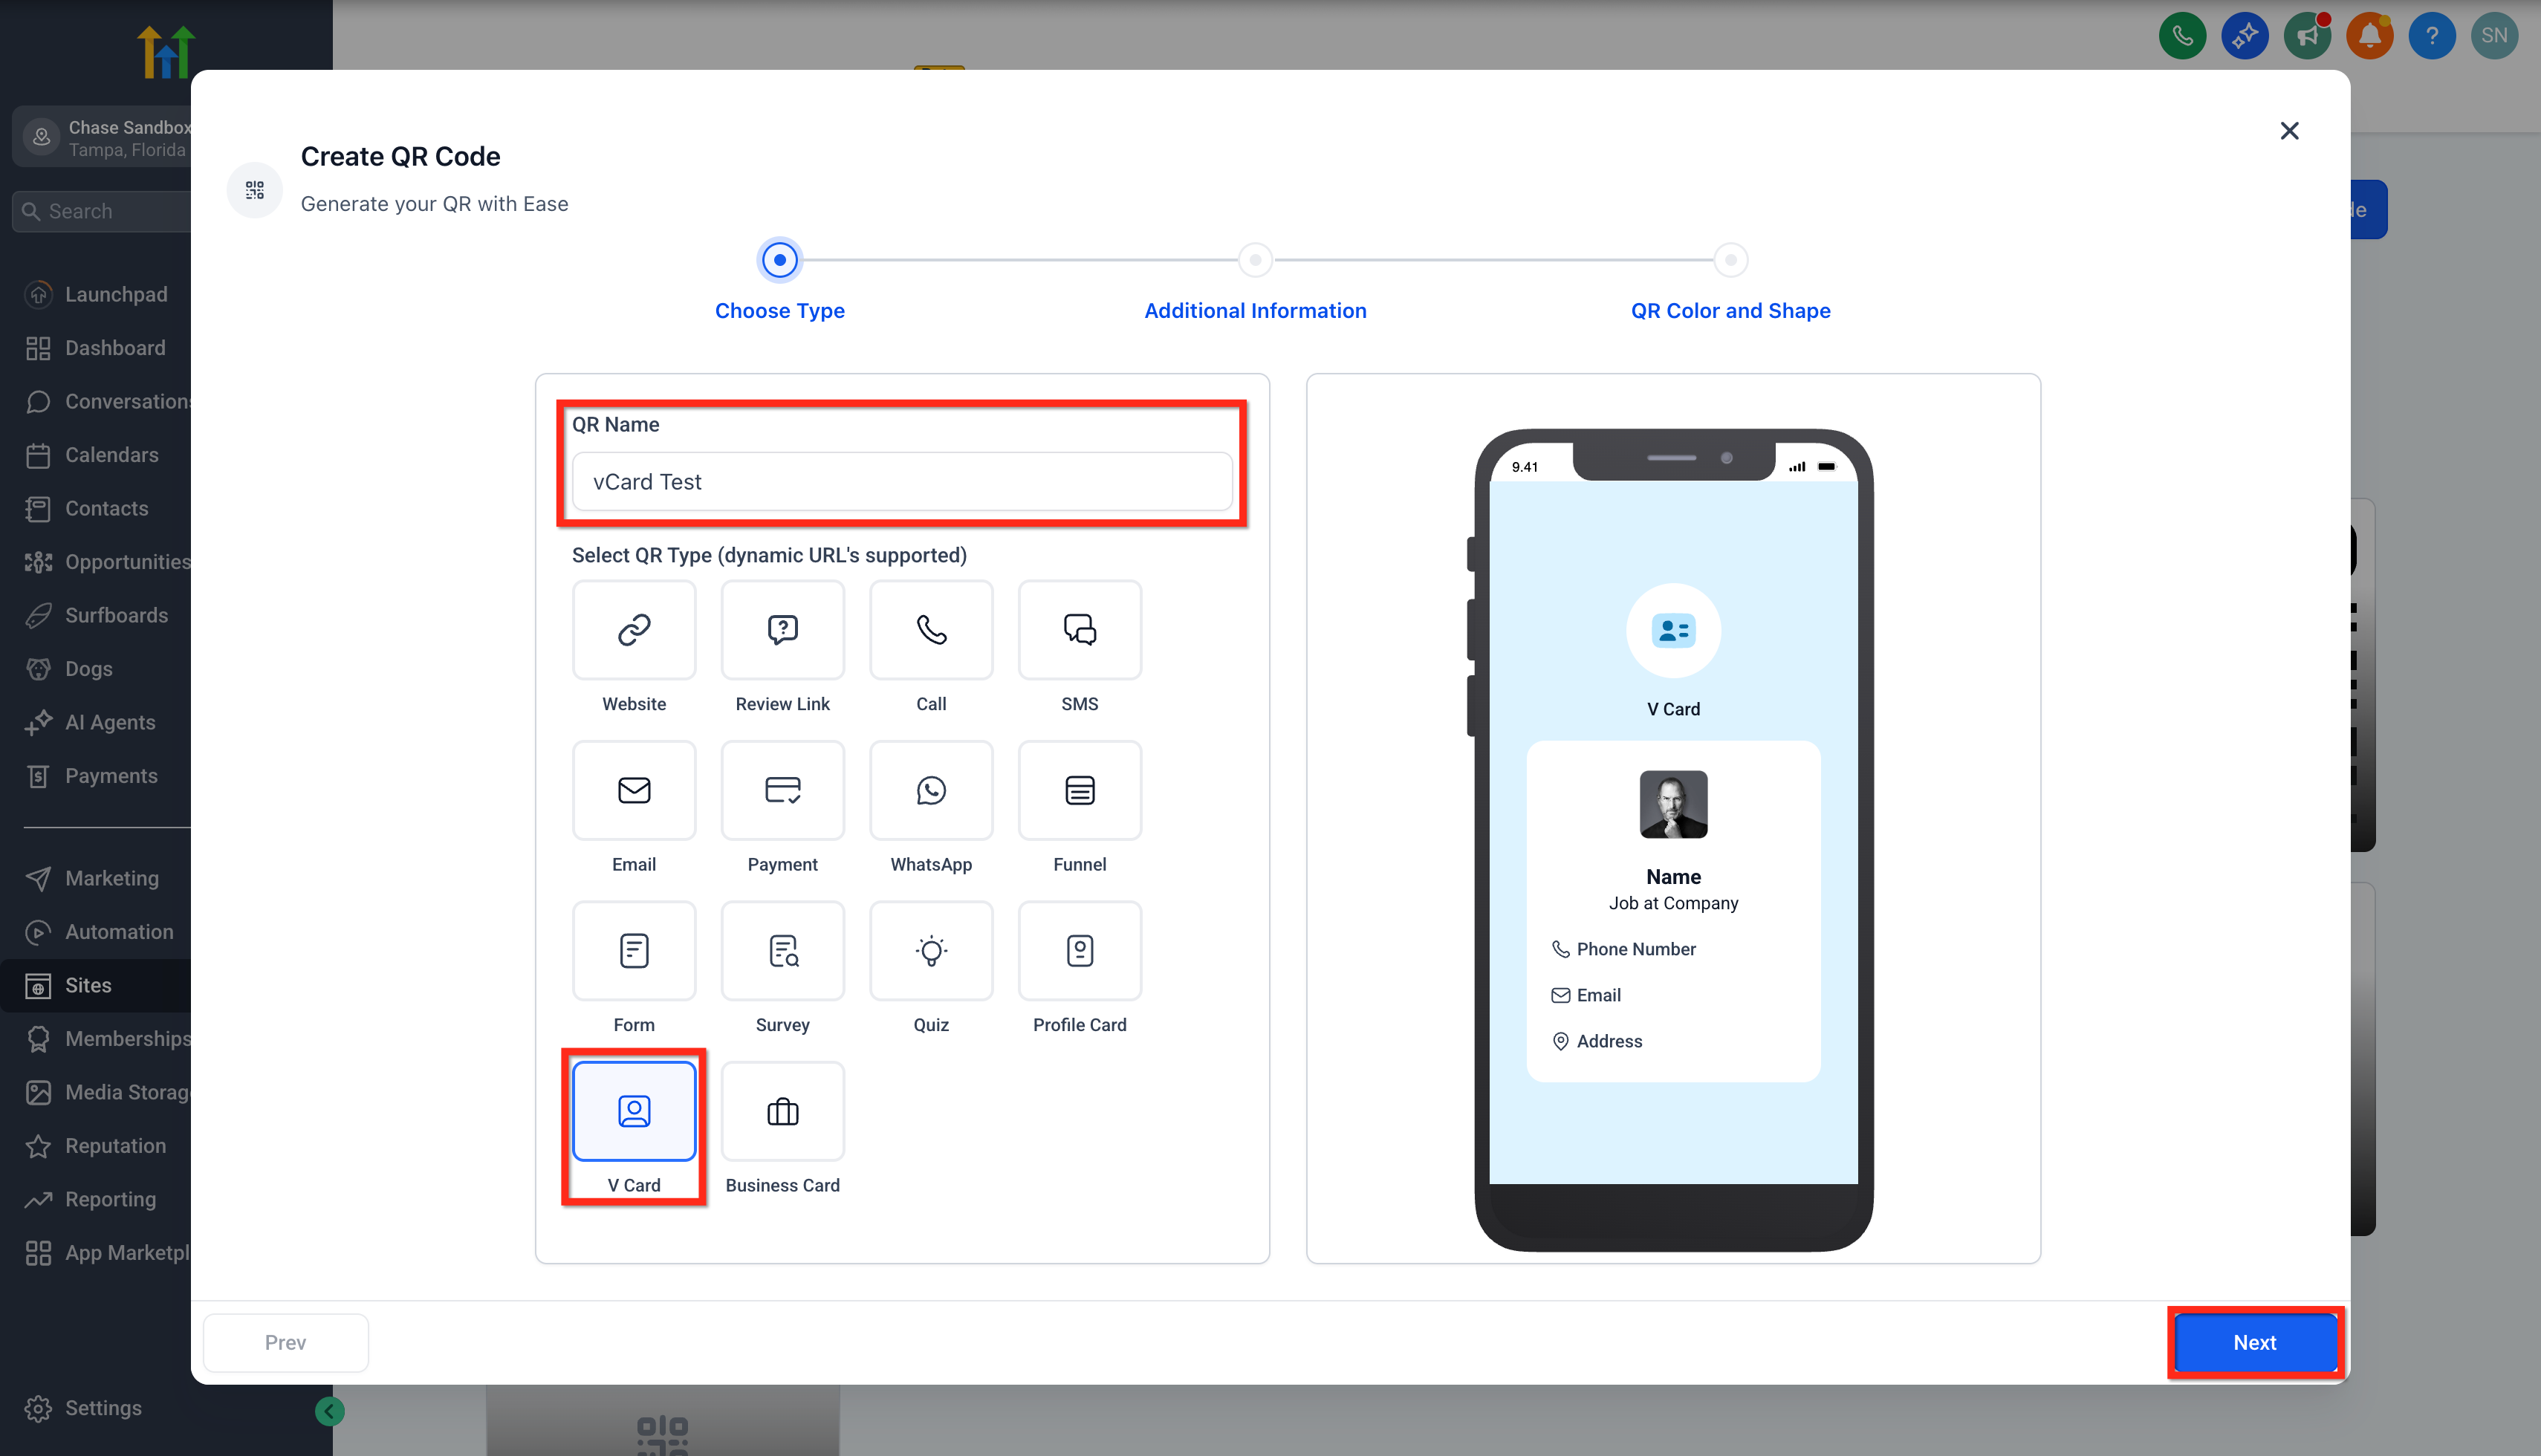
- Click on the QR Codes tab.!(https://assets.patientcopilot.ai/6d96ed51a4deaadc.png) ### Step 2: Select QR Code Type 1. Click the Create QR Code button.!(https://assets.patientcopilot.ai/a2c9b512ecab22f0.png) 2. In the QR Code Name field, enter a descriptive name for your reference.
- From the Select QR Code Type section, choose vCard.
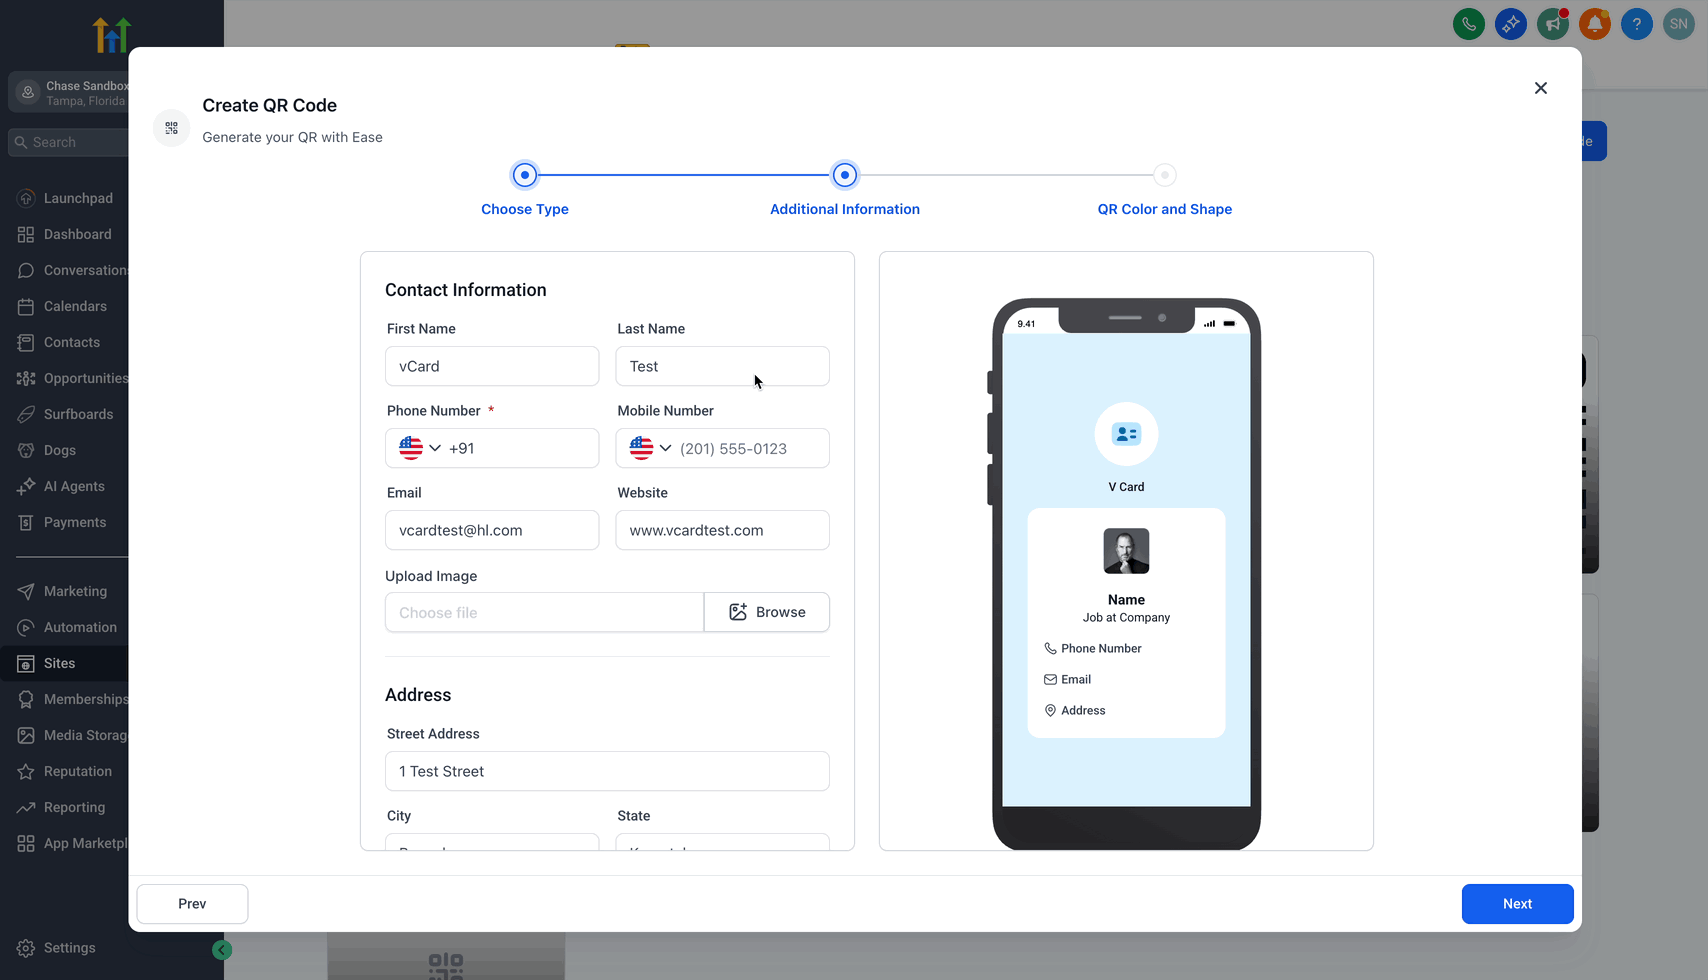
- Click Next.!(https://assets.patientcopilot.ai/0565a197e556ddf3.png) ### Step 3: Fill in Contact Information Enter the following contact fields: 1. First Name
- Last Name
- Phone Number (Required)
- Mobile Number
- Website 7. Upload your profile image or company logo.
- Street Address, City, State, Country, Postal Code
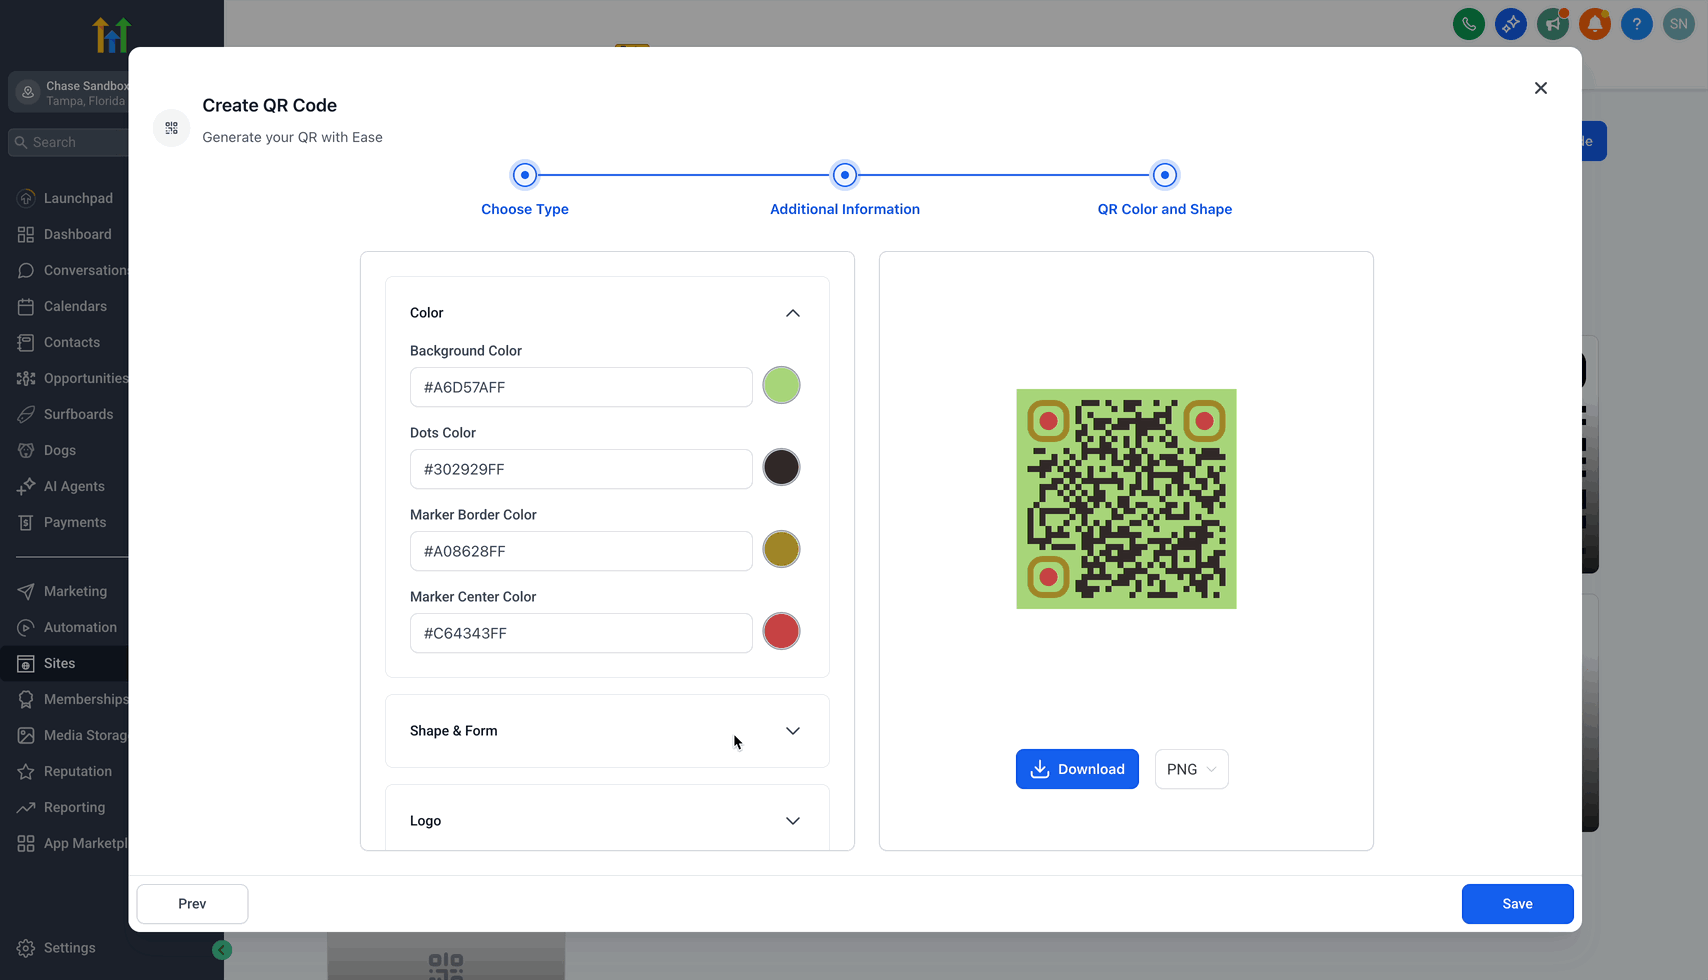
- Company Name and Job Title 8. Once all necessary fields are filled, click Next.!(https://assets.patientcopilot.ai/a7cc79a4485396d9.gif) ### Step 4: Choose your desired QR Code colors 1. Background Color
- Dots Color
- Marker Border Color
- Marker Center Color
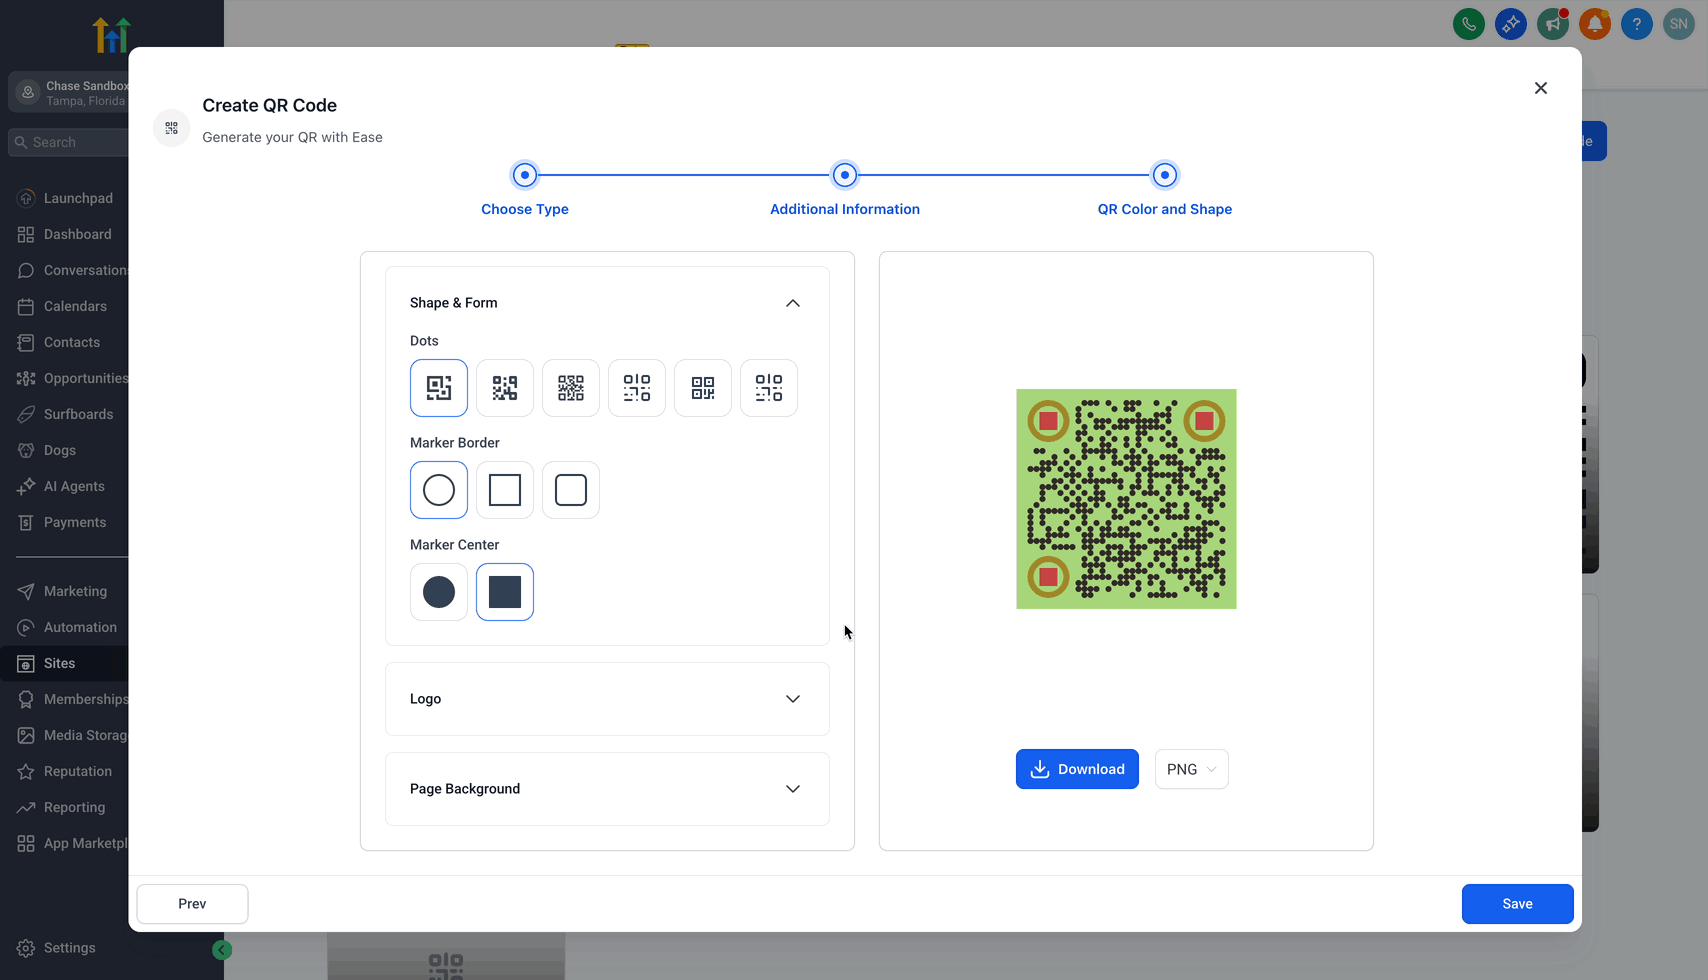
- Use a color picker or enter hex codes.!(https://assets.patientcopilot.ai/a90bd6e9bf0747a4.gif) ### Step 5: Select your QR shape and Form 1. Choose from different styles of: - Dots. - Marker borders. - Marker centers.!(https://assets.patientcopilot.ai/5bda02a0261ecc6e.gif) ### Step 6: Add a Logo 1. Upload your logo or choose from built-in options.
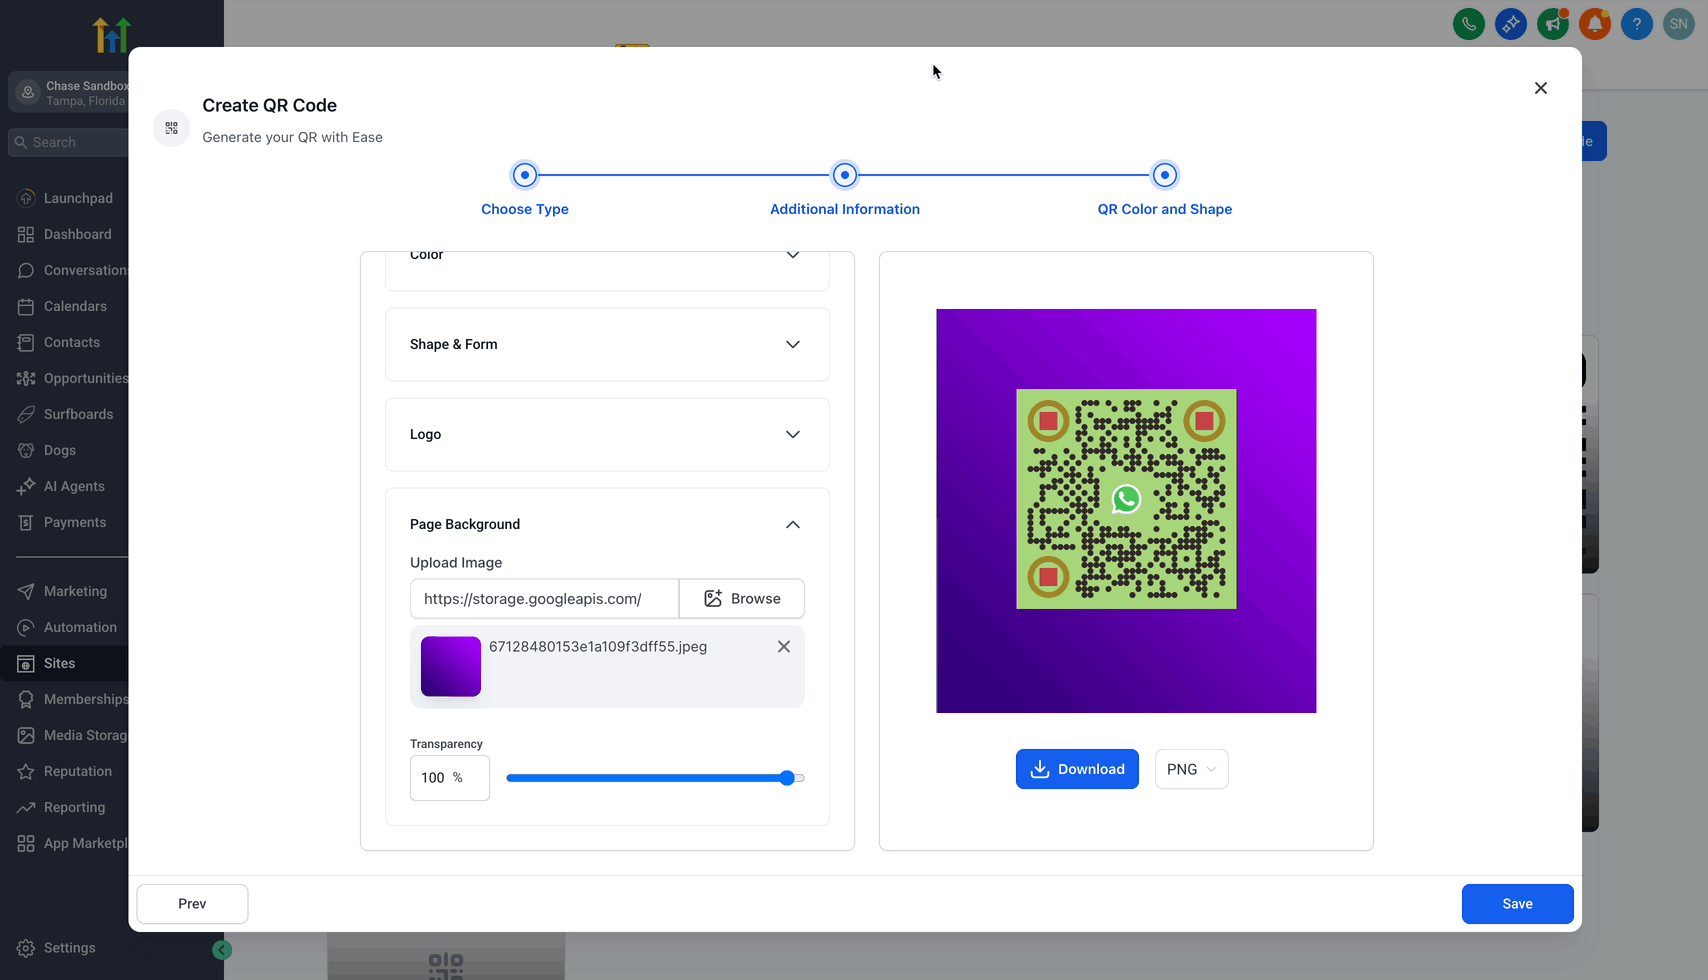
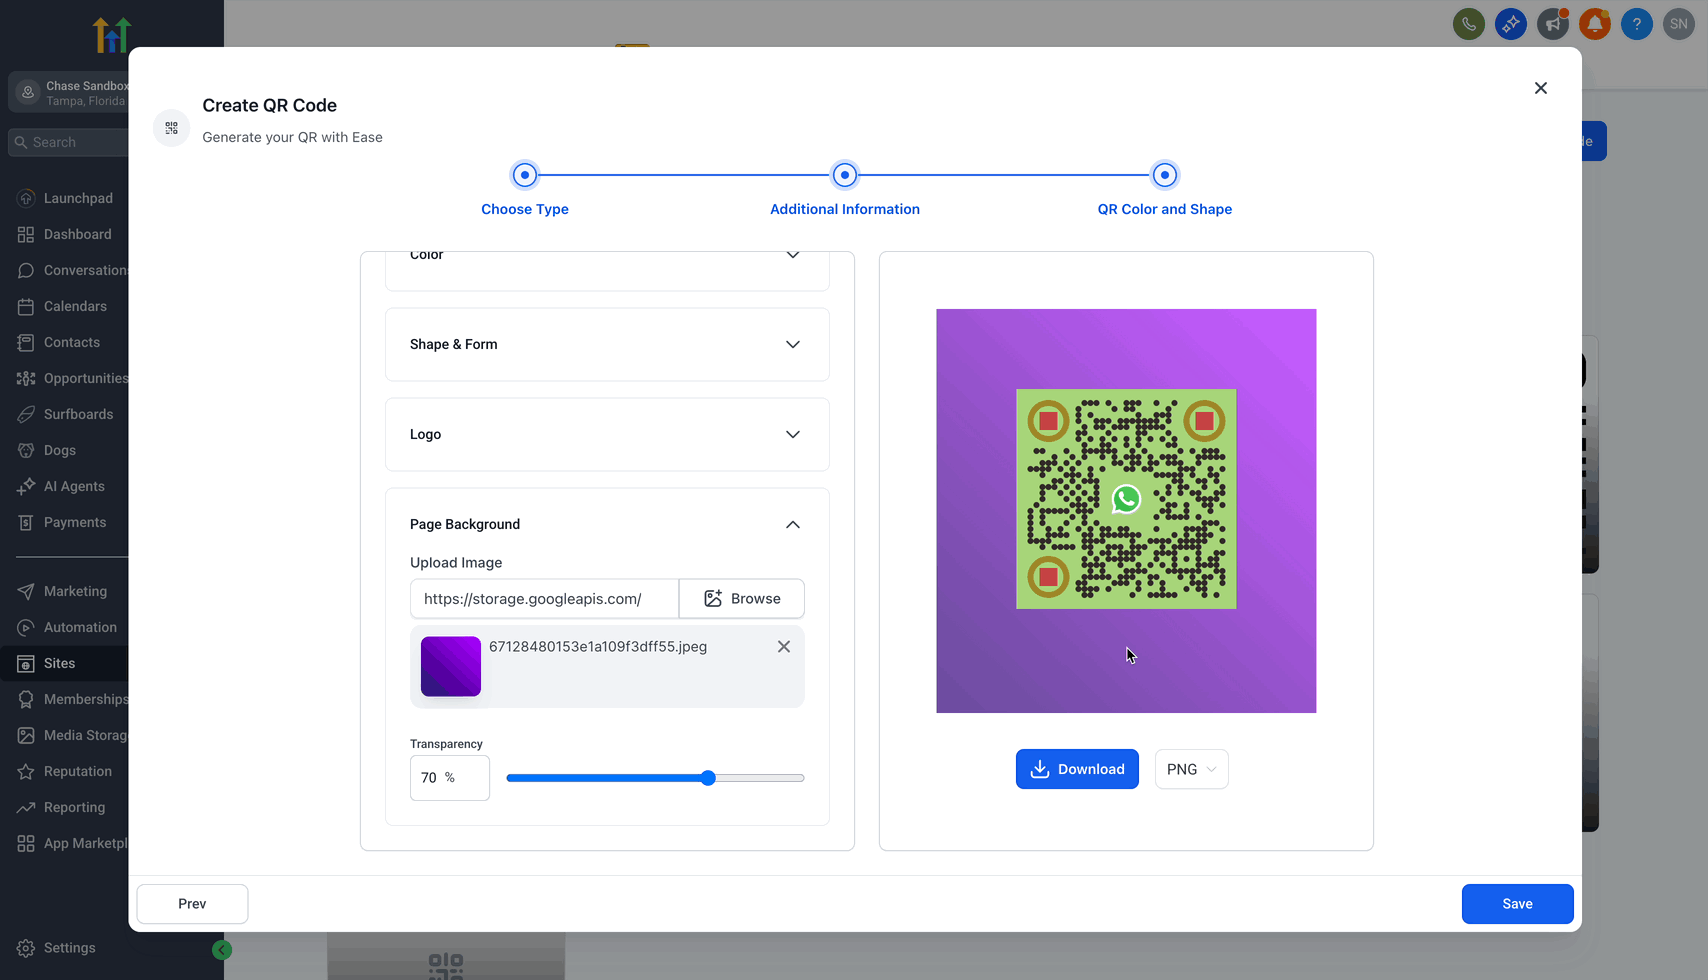
- Toggle Remove background behind logo ON or OFF based on preference. - ON: Makes the background around the logo clear. - OFF: Places the logo as-is on top of the QR code.!(https://assets.patientcopilot.ai/a267bc883187c4f4.gif) ### Step 7: Page Background Image 1. Upload a Background Image of your choice.
- Adjust the transparency level for the background as needed.!(https://assets.patientcopilot.ai/841c9a06762ae3ae.gif) ### Step 8: Download and Save Your QR Code 1. Click on the file type (PNG by default), from the dropdown, choose one of the available formats: - PNG - SVG - PDF
- Click Download to store the QR code file in your device.
- Click Save to store it in Patient Copilot.!(https://assets.patientcopilot.ai/cc21851de8a174fd.gif) * * * ## Dynamic & Ready-to-Scan The dynamic nature of the vCard QR codes means that the links remain update-able and reusable. This sub-feature is tailored for efficiency and ongoing adaptability. - Supports dynamic URLs, allowing for real-time updates.
- Ensures that the QR code remains effective for multiple contact sharing events.
- Ideal for scenarios where contact information might change over time. * * * ## Frequently Asked Questions Q: Do vCard QR Codes work offline? Once the QR code is scanned, the contact details are saved directly to the device, even if offline. Q: Can I include social media links? Currently, only basic contact info is supported. For social links, consider using a Profile Card. Q: What devices are compatible with scanning vCard QR codes? All standard smartphones with a QR code scanner app can easily scan and view the vCard. Q: Can I update my contact information after generating the QR code? Yes, the dynamic URL feature allows updates without needing to create a new QR code. * * * ## Related Articles - QR Code Generation and Download Guide
- Bulk QR Code Creation
- How to create a QR Code linked with Review Page
- How to Set up Digital QR Code for Maximising Review Generation
- How to create a QR Code linked with Website