Step-by-Step Guide: Creating Pipelines
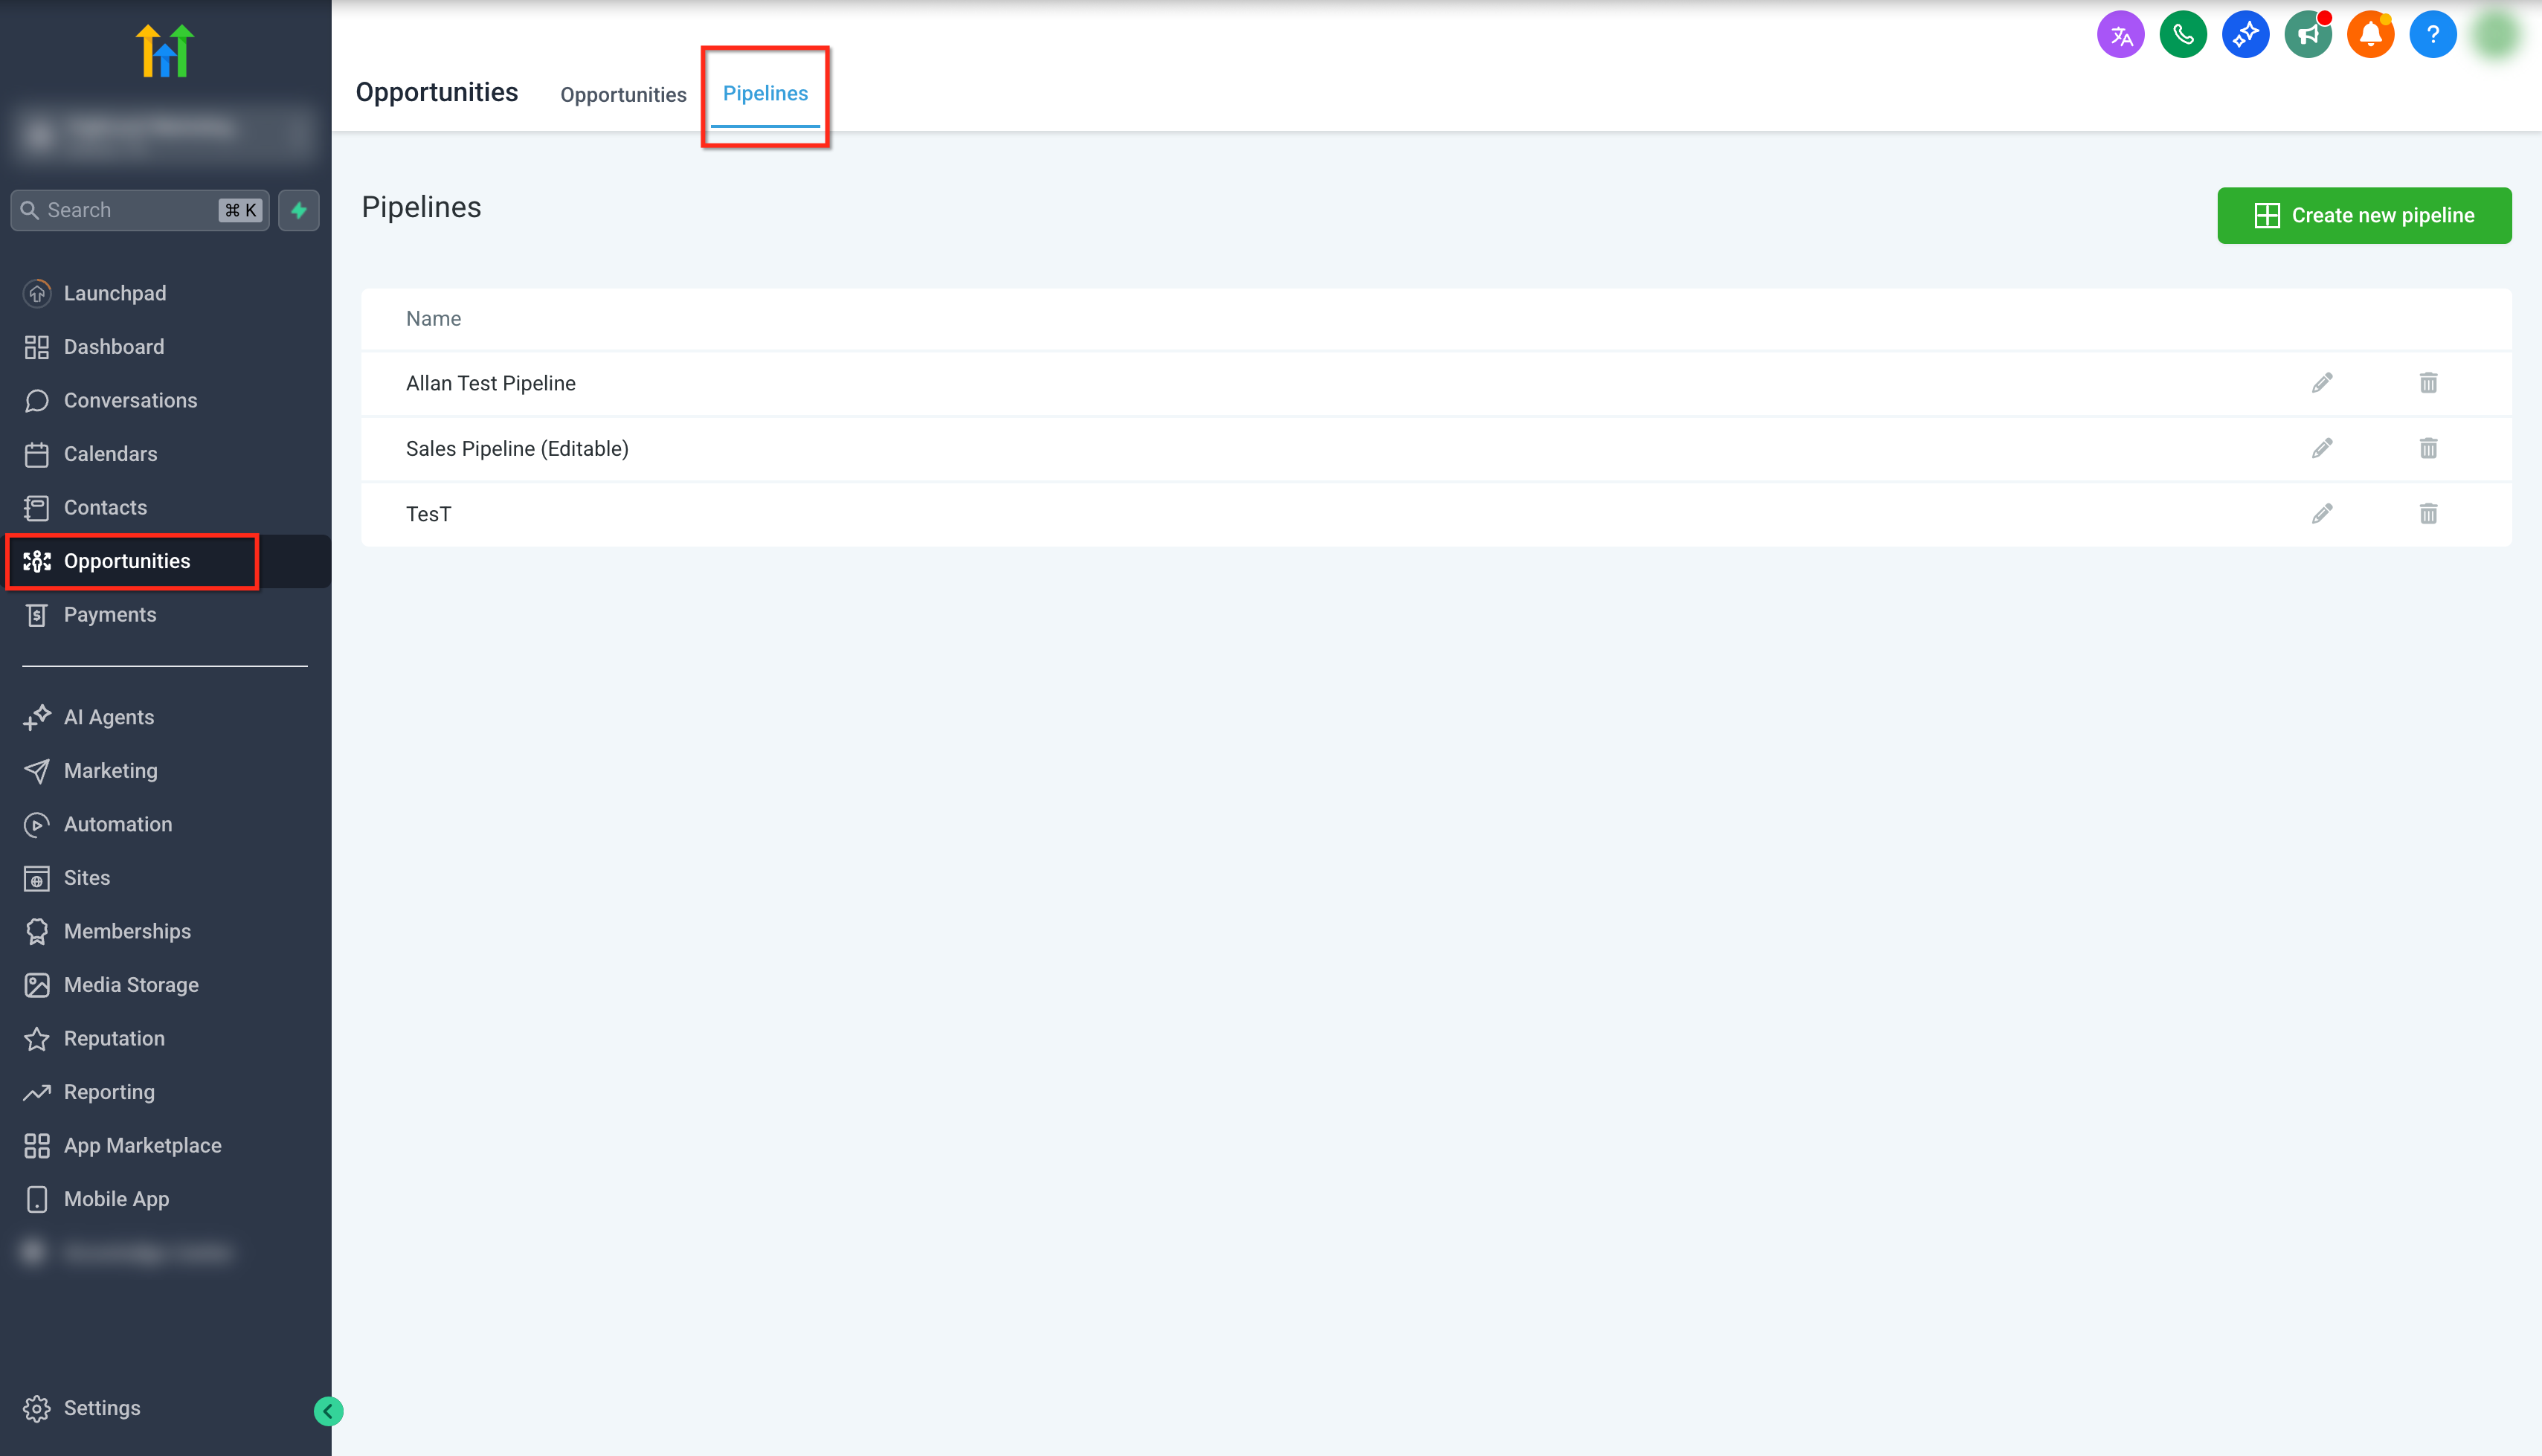
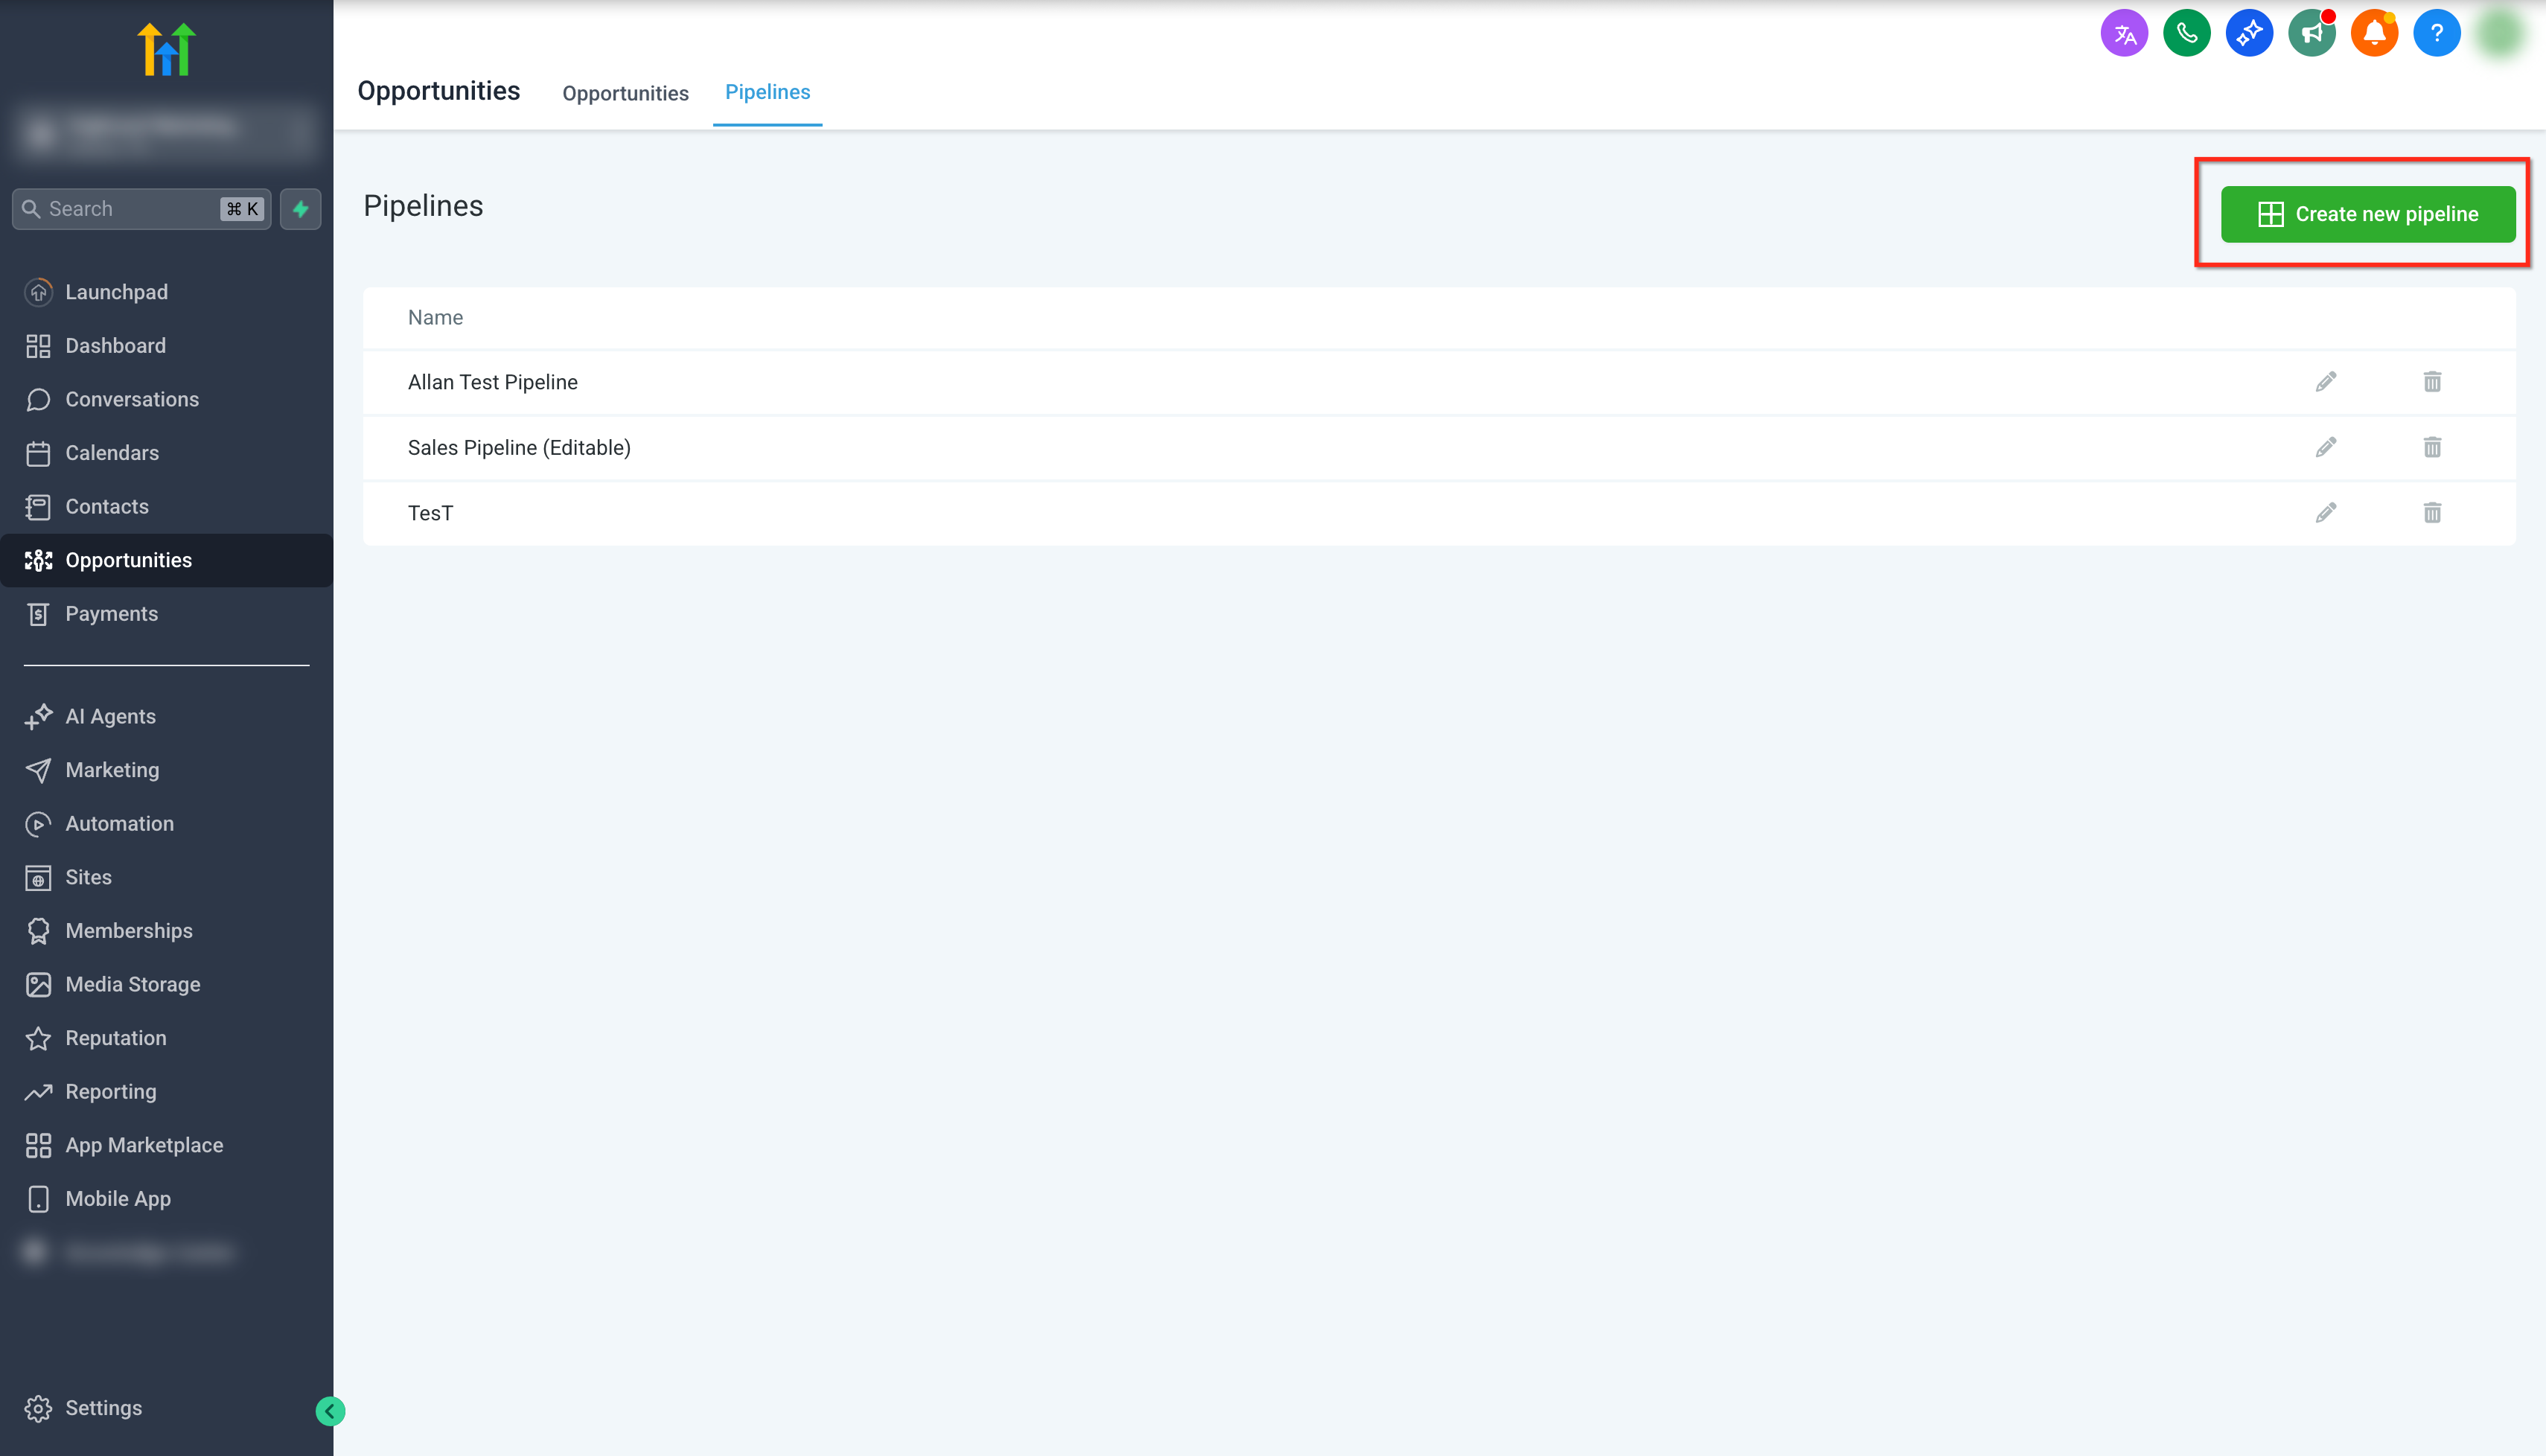
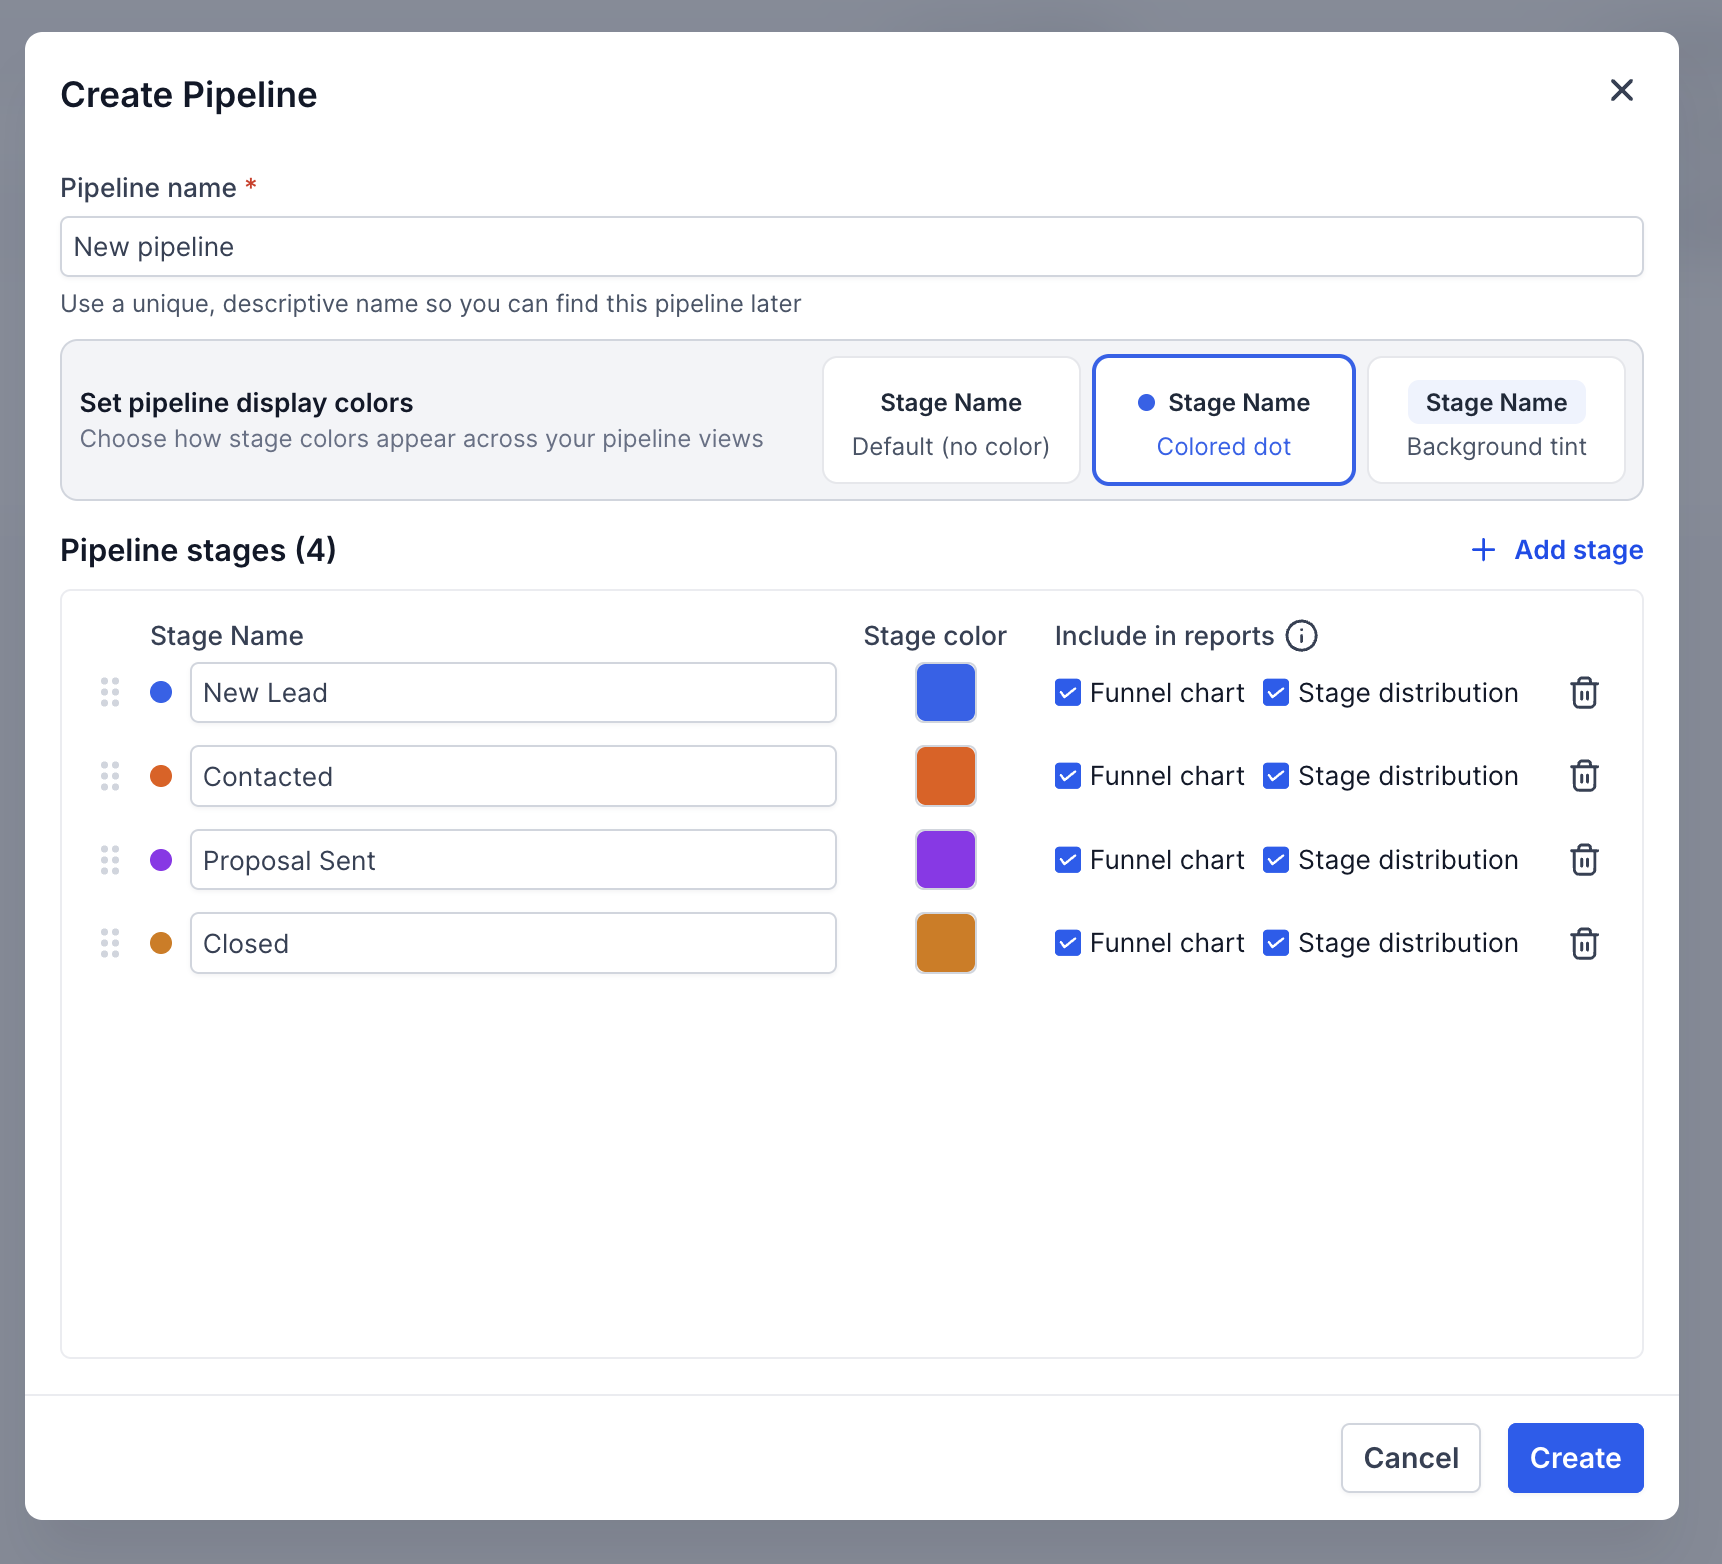
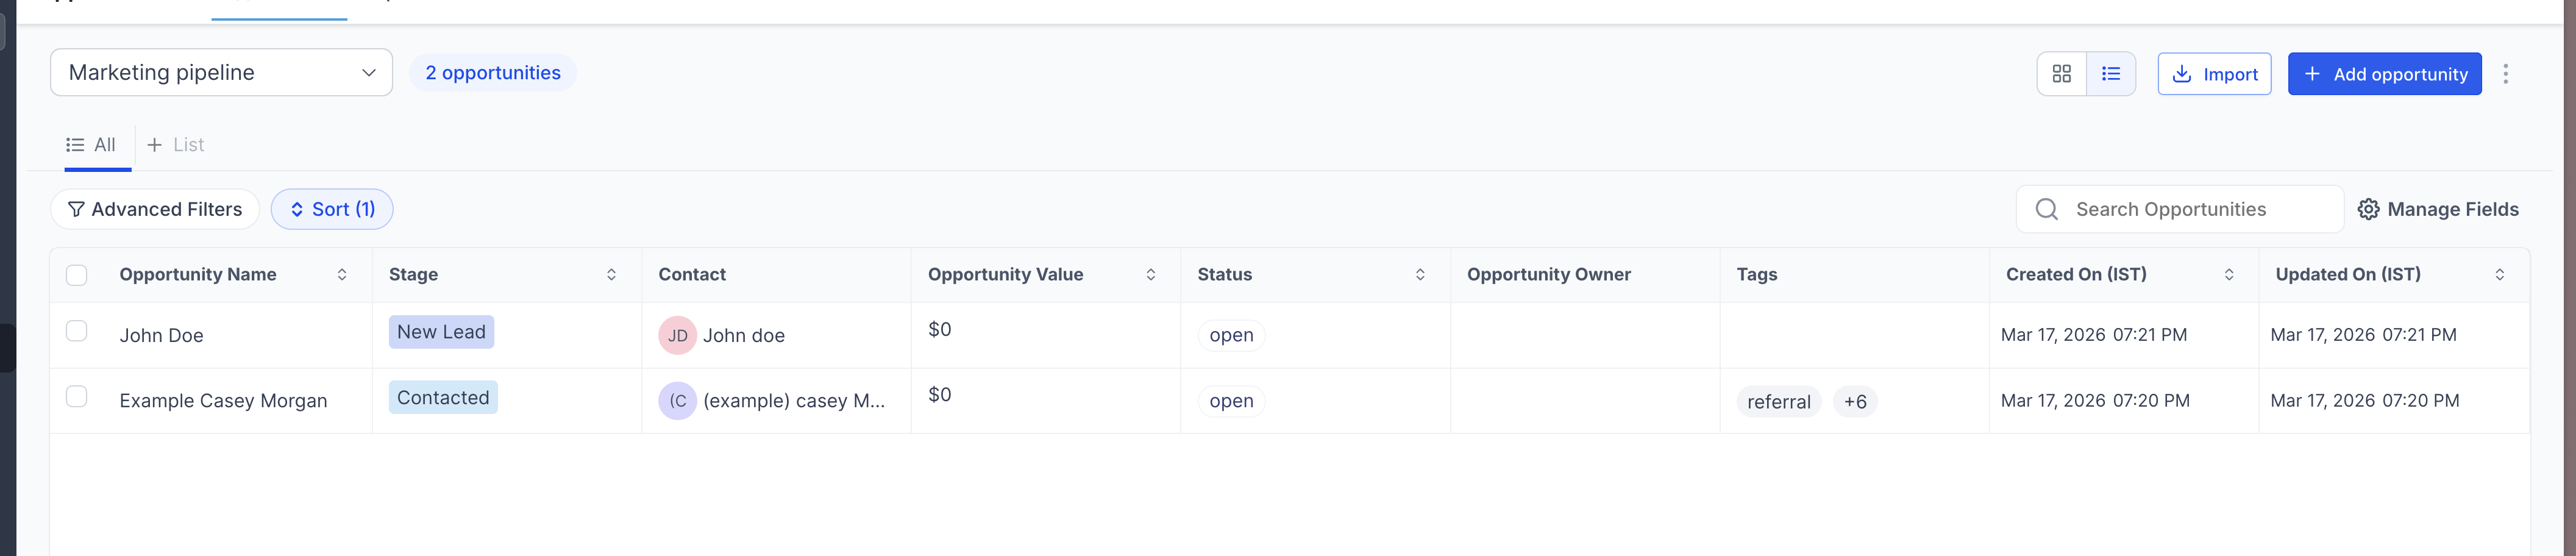
Pipelines in Patient Copilot help you organize and automate your sales or service workflows by visually tracking opportunities through defined stages. This article explains how to access pipelines, create a new pipeline, add and manage stages, and configure dashboard visibility using the updated Pipelines experience. * * * ## Overview Pipelines allow you to map each step of a customer journey—from lead capture to closing or onboarding. They power automation, reporting, and opportunity dashboards across the platform. > Updated Pipelines Experience (Labs) > The Pipelines page now uses the HighRise design system for a faster and more intuitive experience. > You can enable this update from Sub-account → Labs. * * * ## How to Create and Manage Pipelines ### Step 1: Access the Pipelines Section To access pipelines in your sub-account: - Click Opportunities from the left-hand sidebar - Select Pipelines from the top navigation menu !(https://assets.patientcopilot.ai/fce53bd8c75f03ac.png) ### Step 2: Create a New Pipeline Once you are on the Pipelines page: - Click Create new pipeline in the top-right corner - Enter a descriptive Pipeline Name - Click Save !(https://assets.patientcopilot.ai/980198e75c6ef5a3.png) > Note: > Pipeline names must be unique. You cannot create or update a pipeline using a name that already exists in the same sub-account. ### Step 3: Add and Manage Pipeline Stages After creating a pipeline, you can define the stages that make up your workflow. - Click Add stage to create additional stages - Repeat as needed to define the full flow - Reorder stages using the up and down arrows - Control reporting visibility using the funnel and pie chart icons - Delete stages using the trash icon !(https://assets.patientcopilot.ai/ffb1755061b28ecf.png) > Important: > ** - > Stage names must be unique within the pipeline - > Won and Lost stages are created automatically and do not need to be added manually ### Step 4: Customize Stage Colors You can assign colors to each stage to improve visibility across your pipeline. To set stage colors: - Open a pipeline - Go to the Stages tab - Select a color for each stage!(https://assets.patientcopilot.ai/fb1bb207bc1efdca.png) Choose how colors appear: - Default (no color) - Colored dot - Background tint!(https://assets.patientcopilot.ai/21610f12dafe7986.png) Stage colors are reflected across: - Kanban and List views!(https://assets.patientcopilot.ai/f18c7f14a0196689.png)** - Opportunity cards - Contact details view**!(https://assets.patientcopilot.ai/8e6a8c285e84d005.png)** ### Step 4: Delete a Pipeline Stage When deleting a pipeline stage, you can now move existing opportunities instead of losing them. - Open the pipeline you want to edit - Click the delete icon next to the stage - Select a destination stage for existing opportunities - Confirm the deletion All opportunities from the deleted stage are automatically moved to the selected stage. ### ** Step 5: Configure Pipeline Dashboard Visibility** You can control whether pipelines and stages appear in dashboards and reports. - Enable or disable pipeline visibility in: - Configure stage-level visibility using the icons next to each stage These settings determine how pipeline data appears in opportunity dashboards. * * * ## FAQs ### Q: Do I need to create Won and Lost stages manually? No. Patient Copilot automatically adds Won and Lost stages to every pipeline. ### Q: What happens to opportunities if I delete a stage? You can move all existing opportunities to another stage during deletion, preventing data loss. ### Q: Can I rename a pipeline after creating it? Yes, as long as the updated name is unique within the sub-account. ### Q: Does the updated Pipelines experience change functionality? No. Core functionality remains the same. The update focuses on UI improvements and safer stage management. * * * ## Related Articles - Understanding Pipelines - Creating an Opportunity